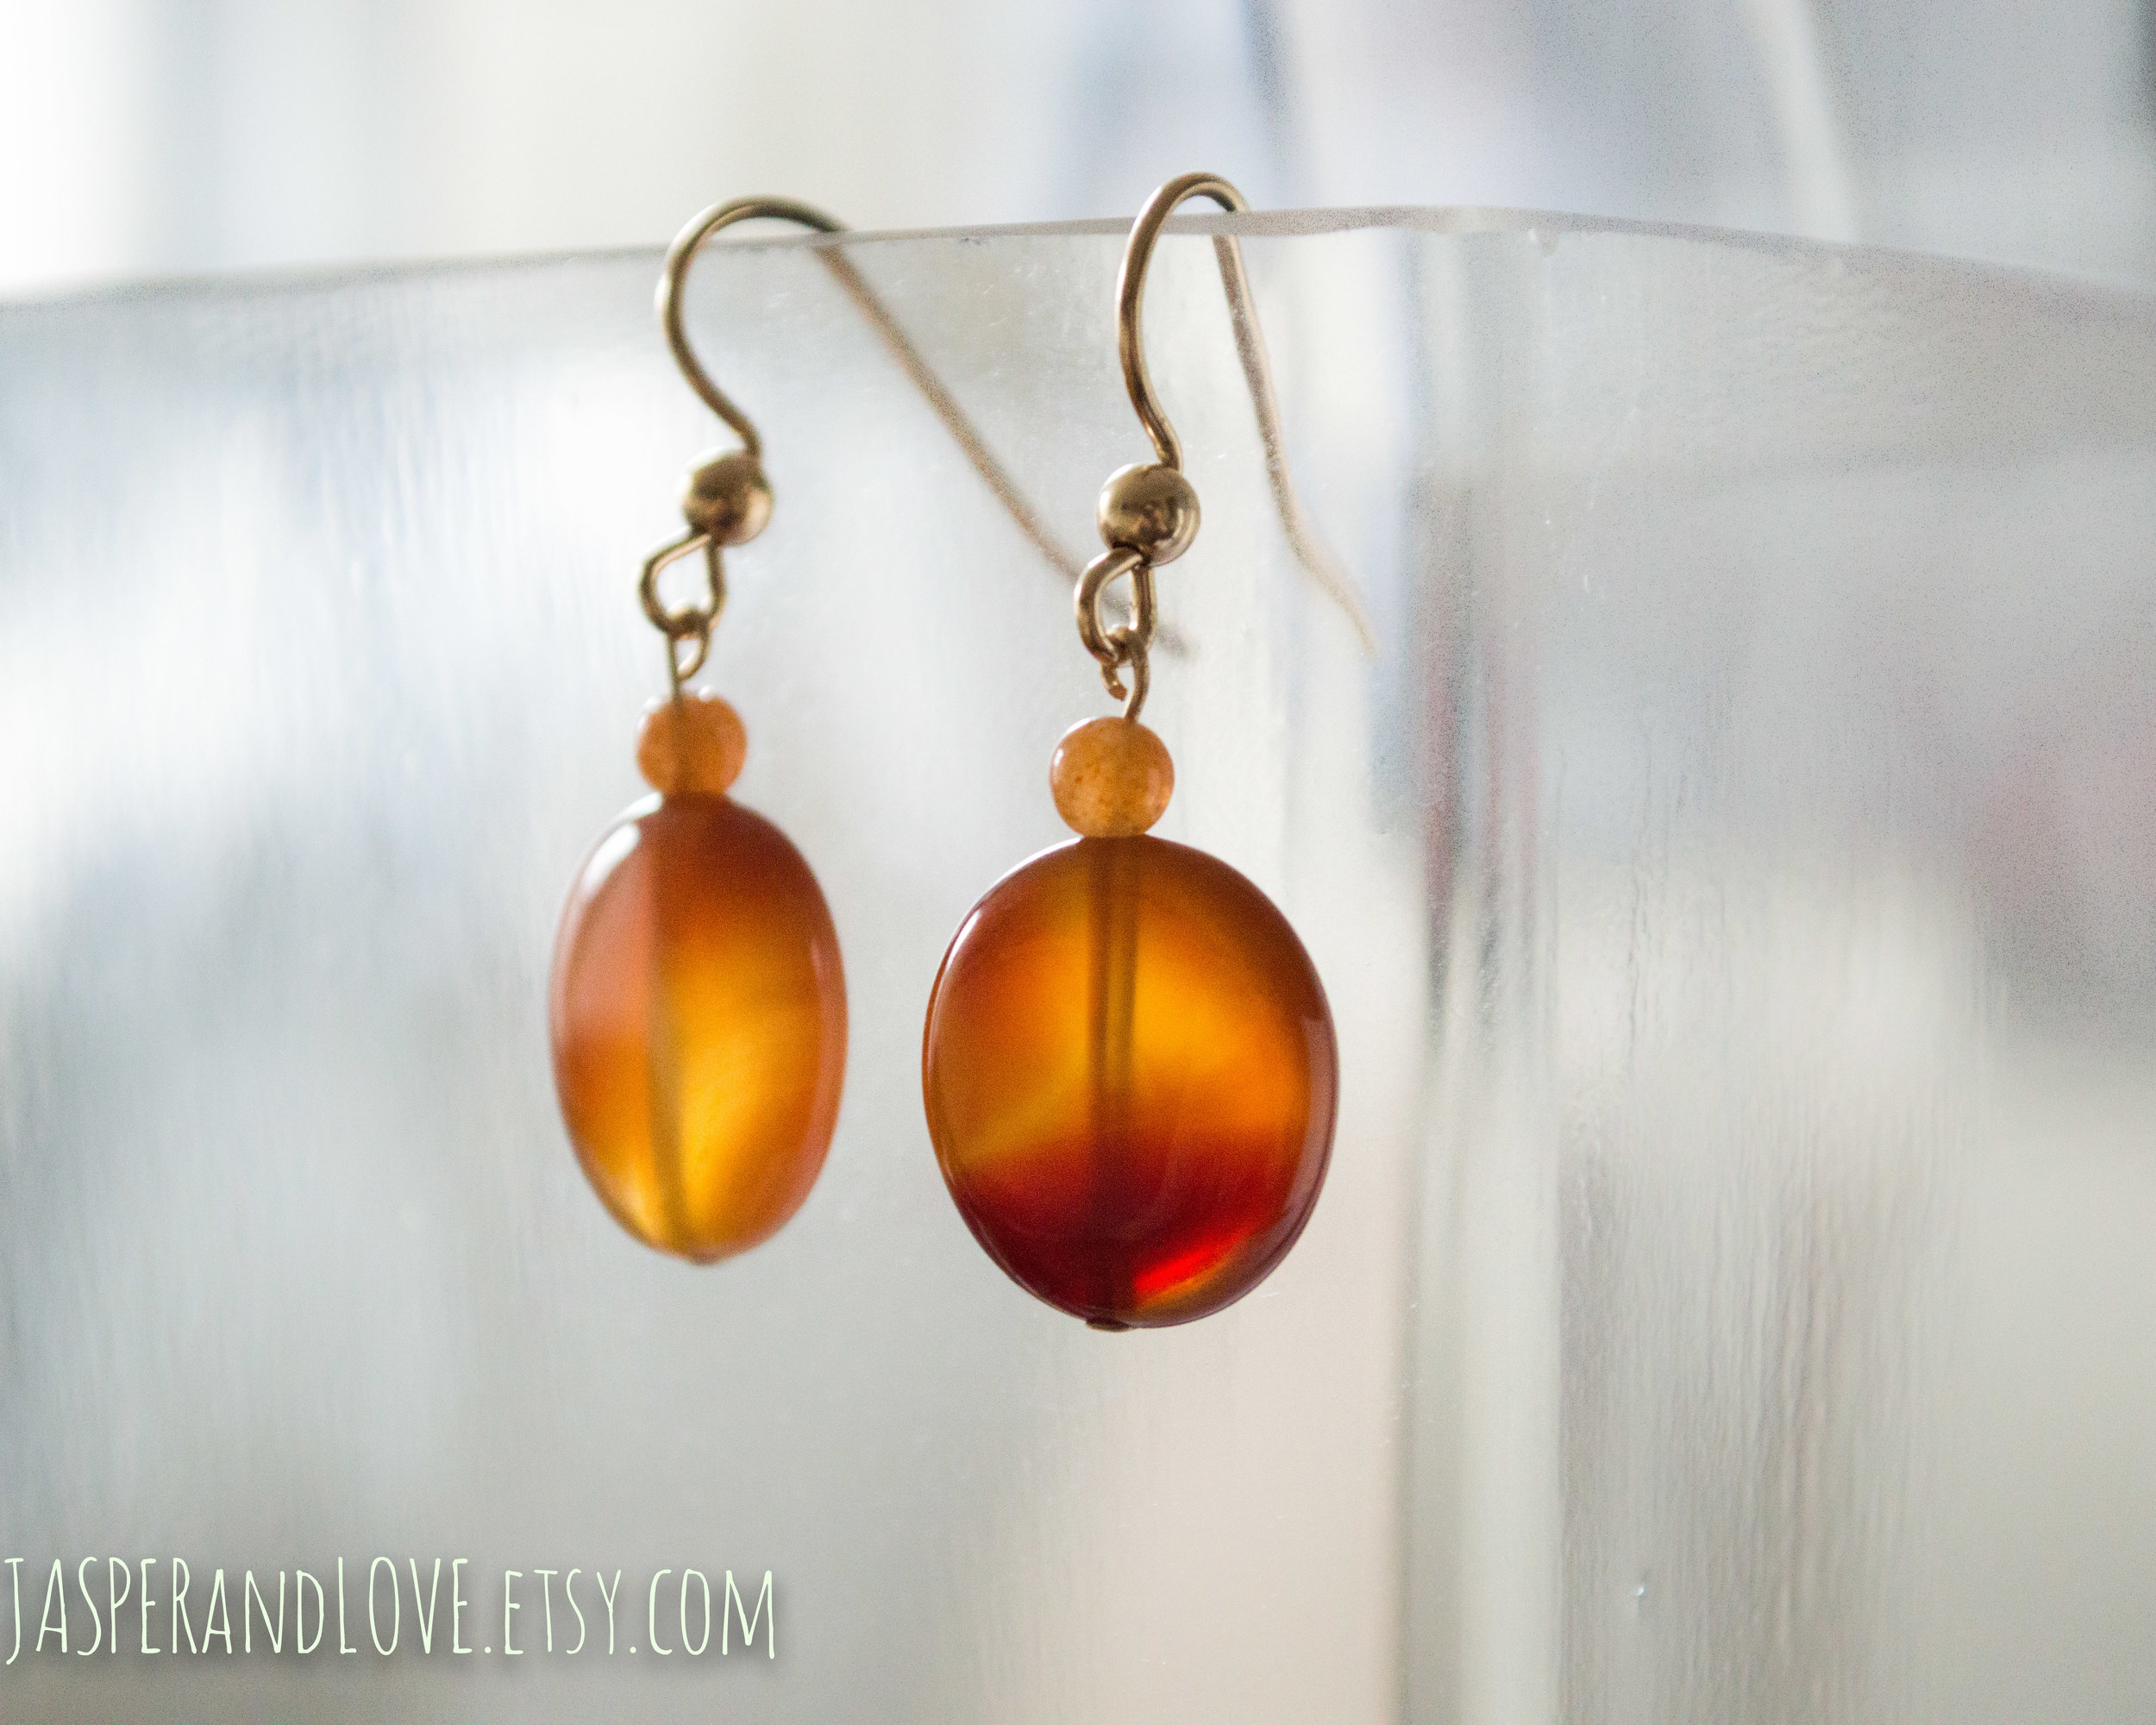
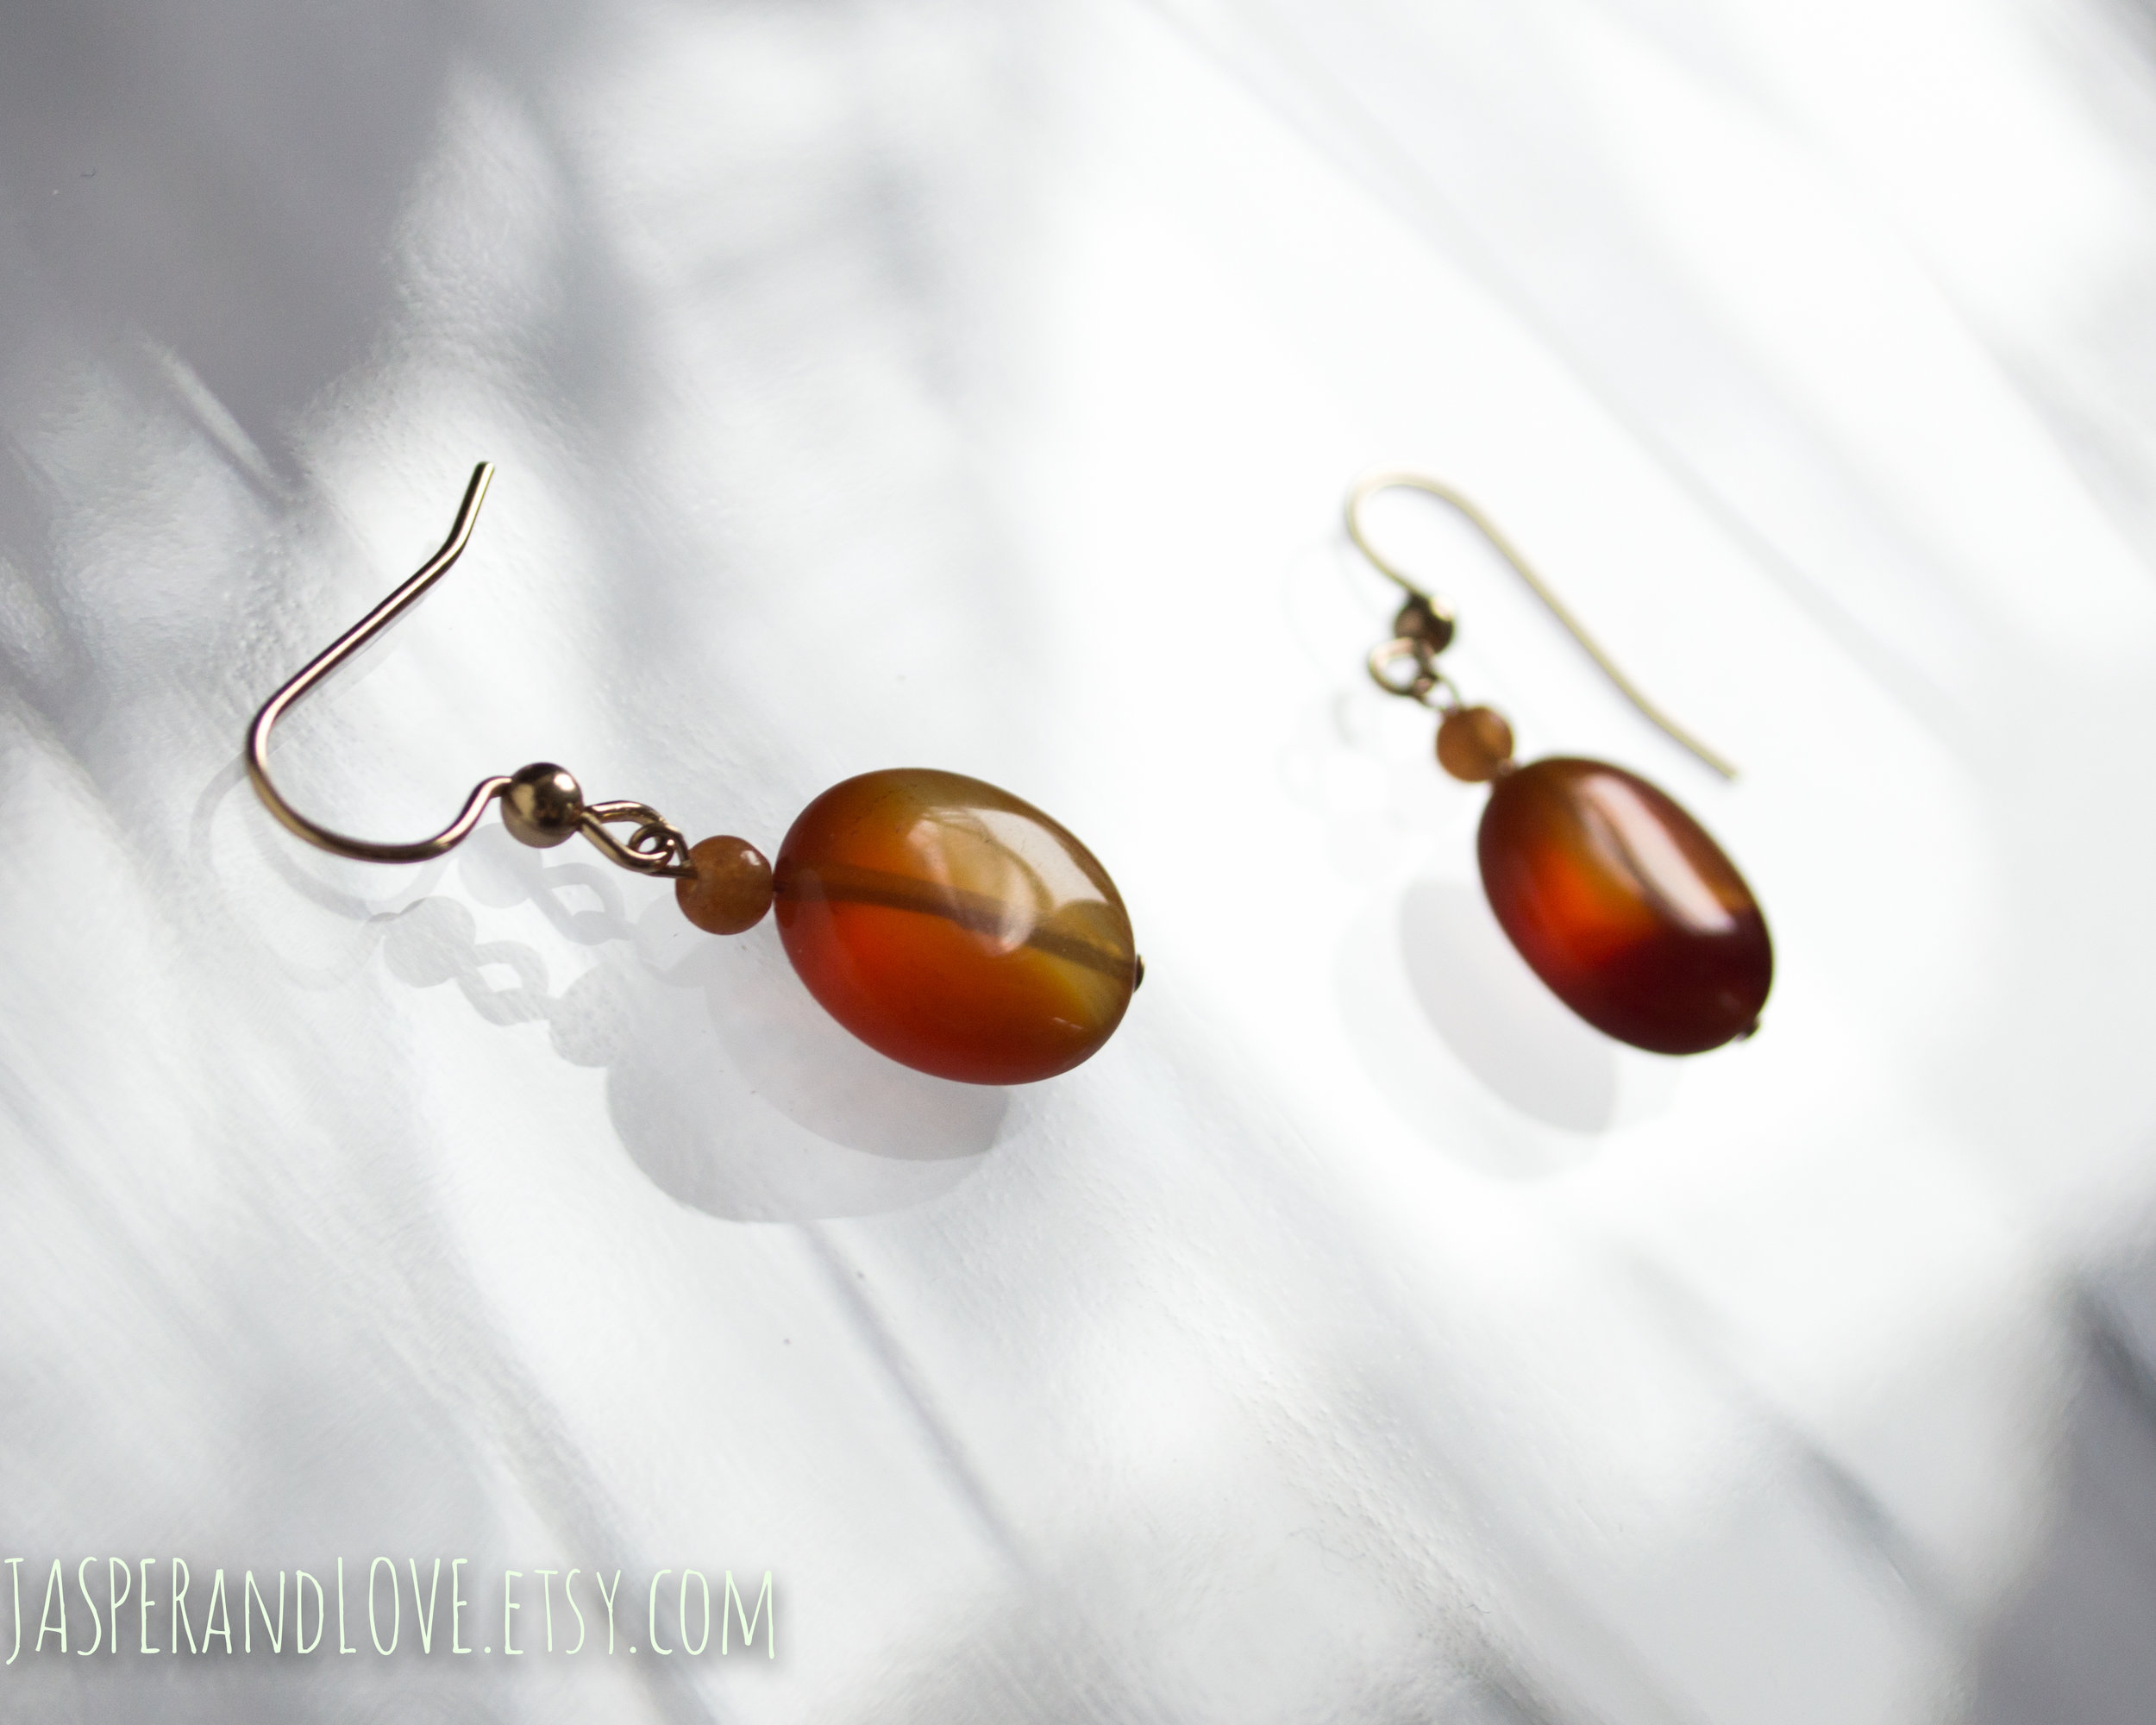
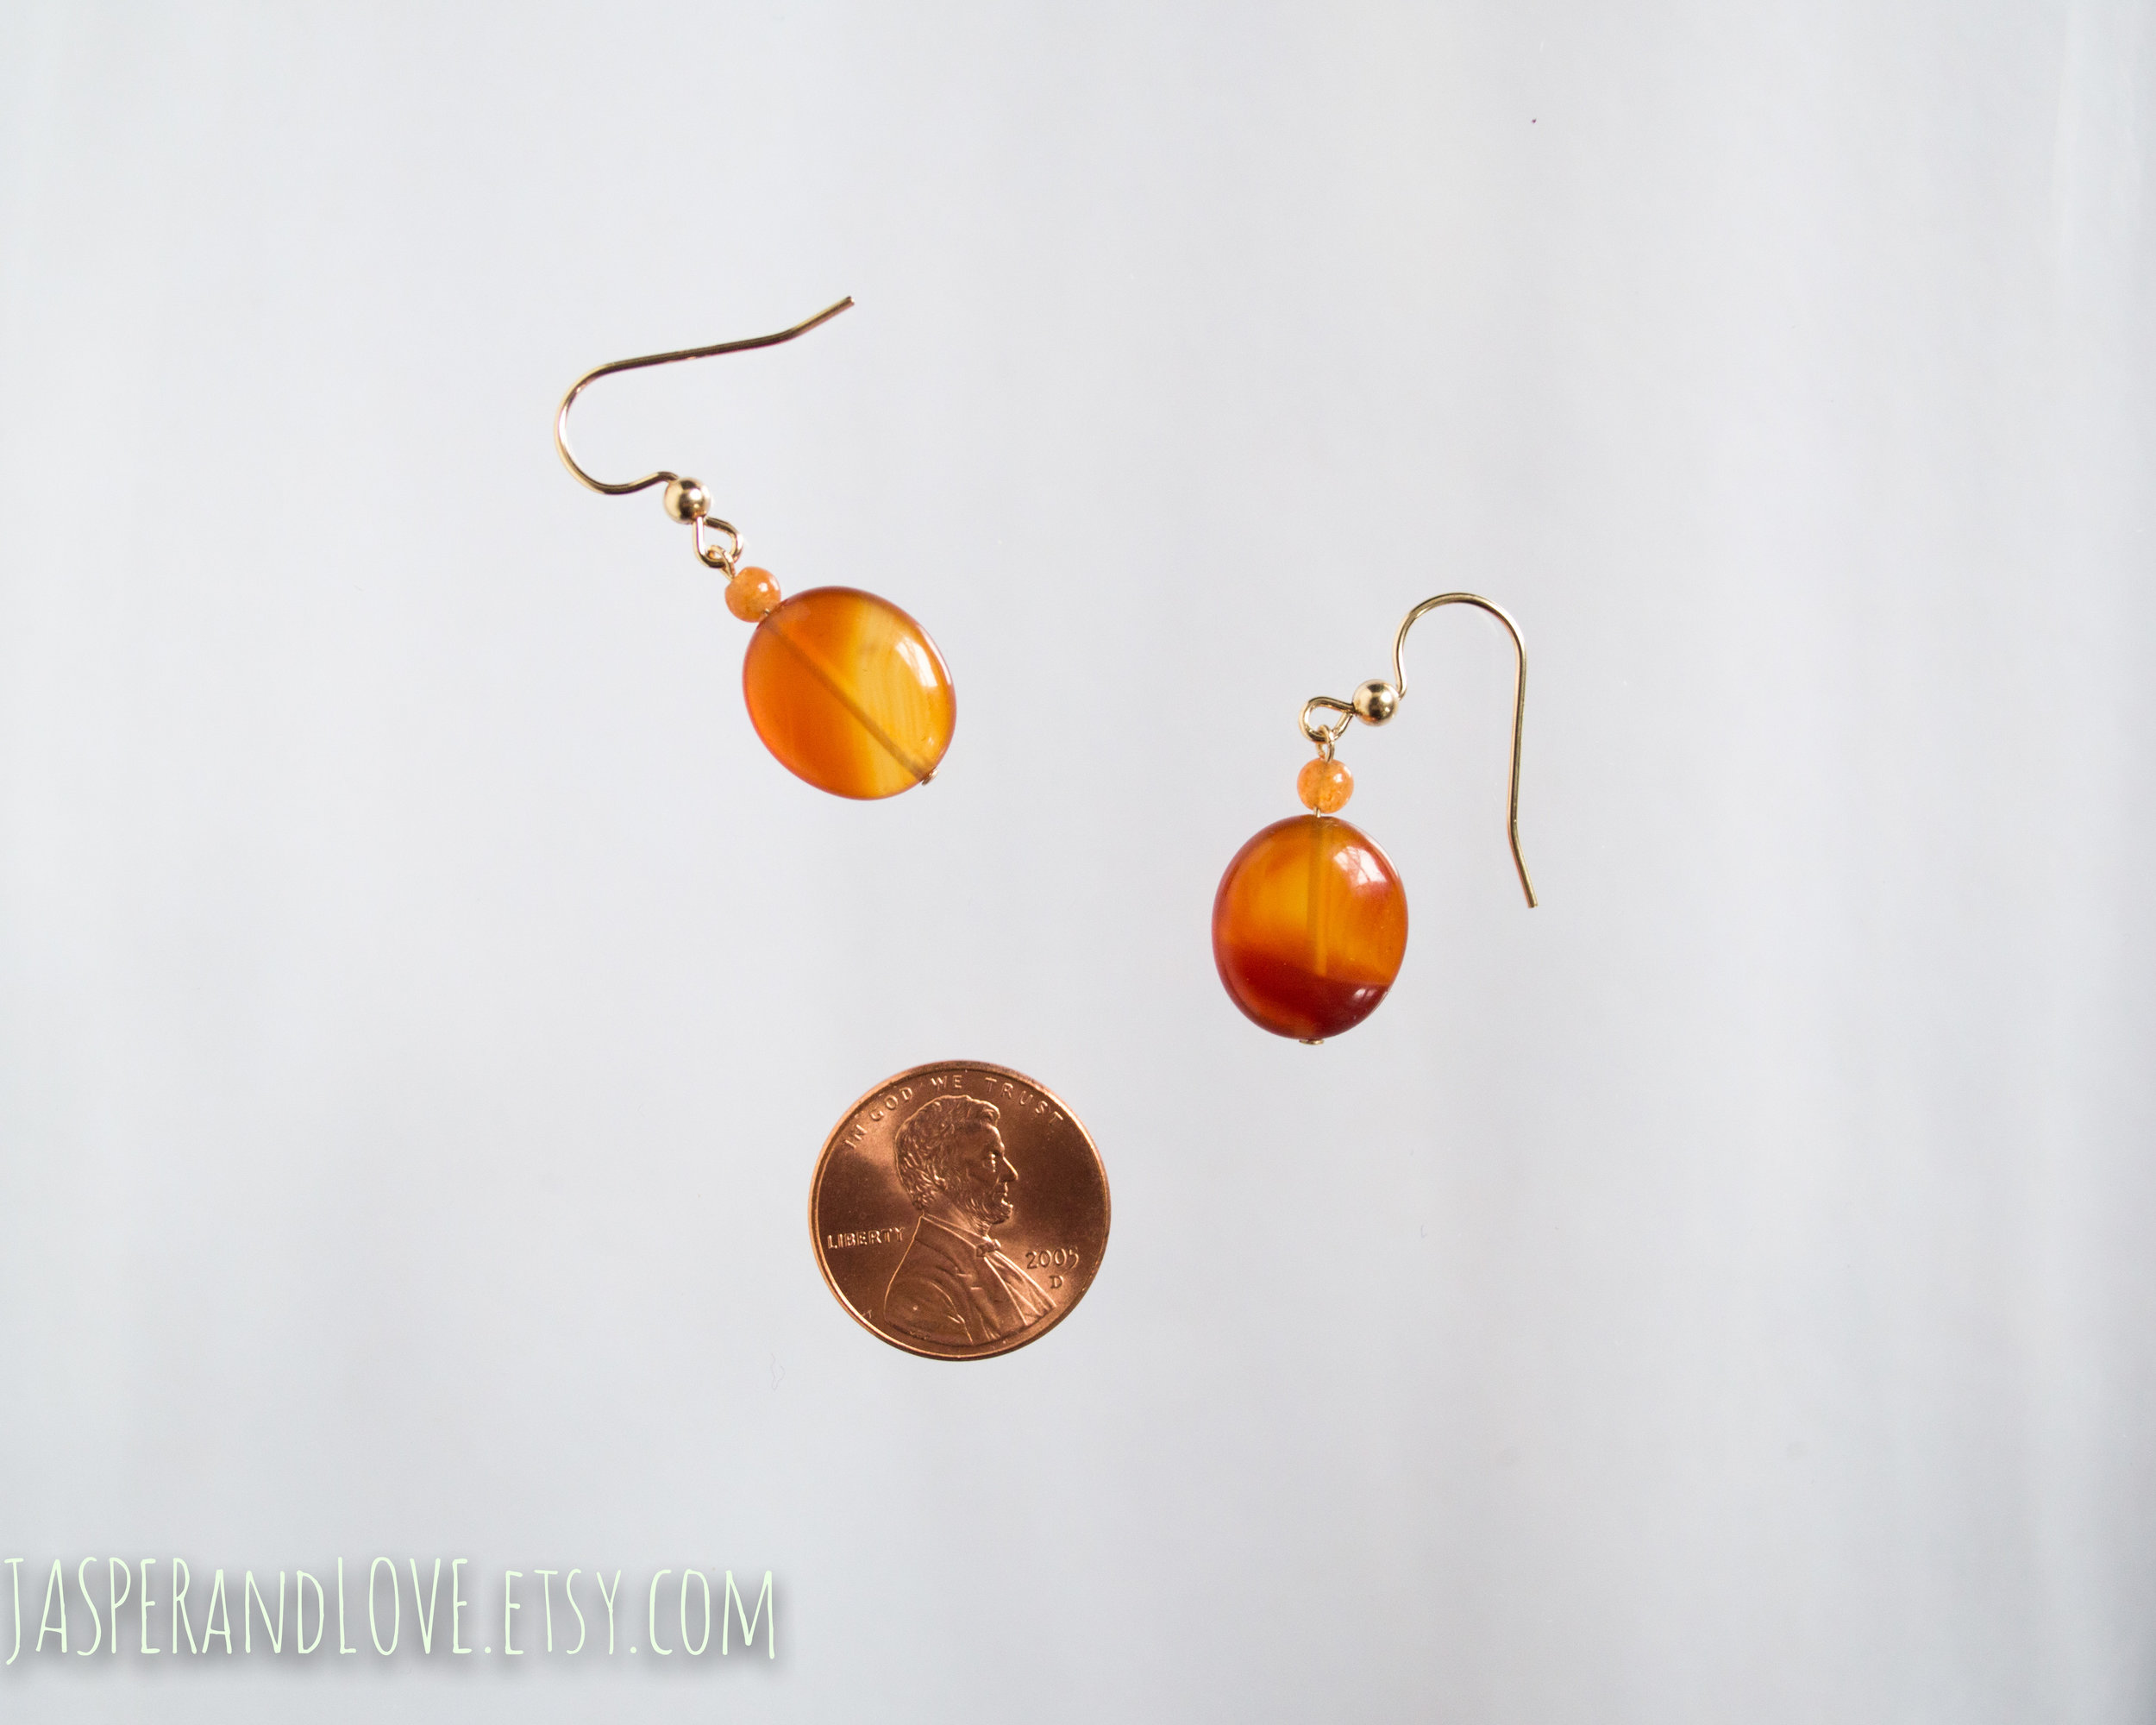
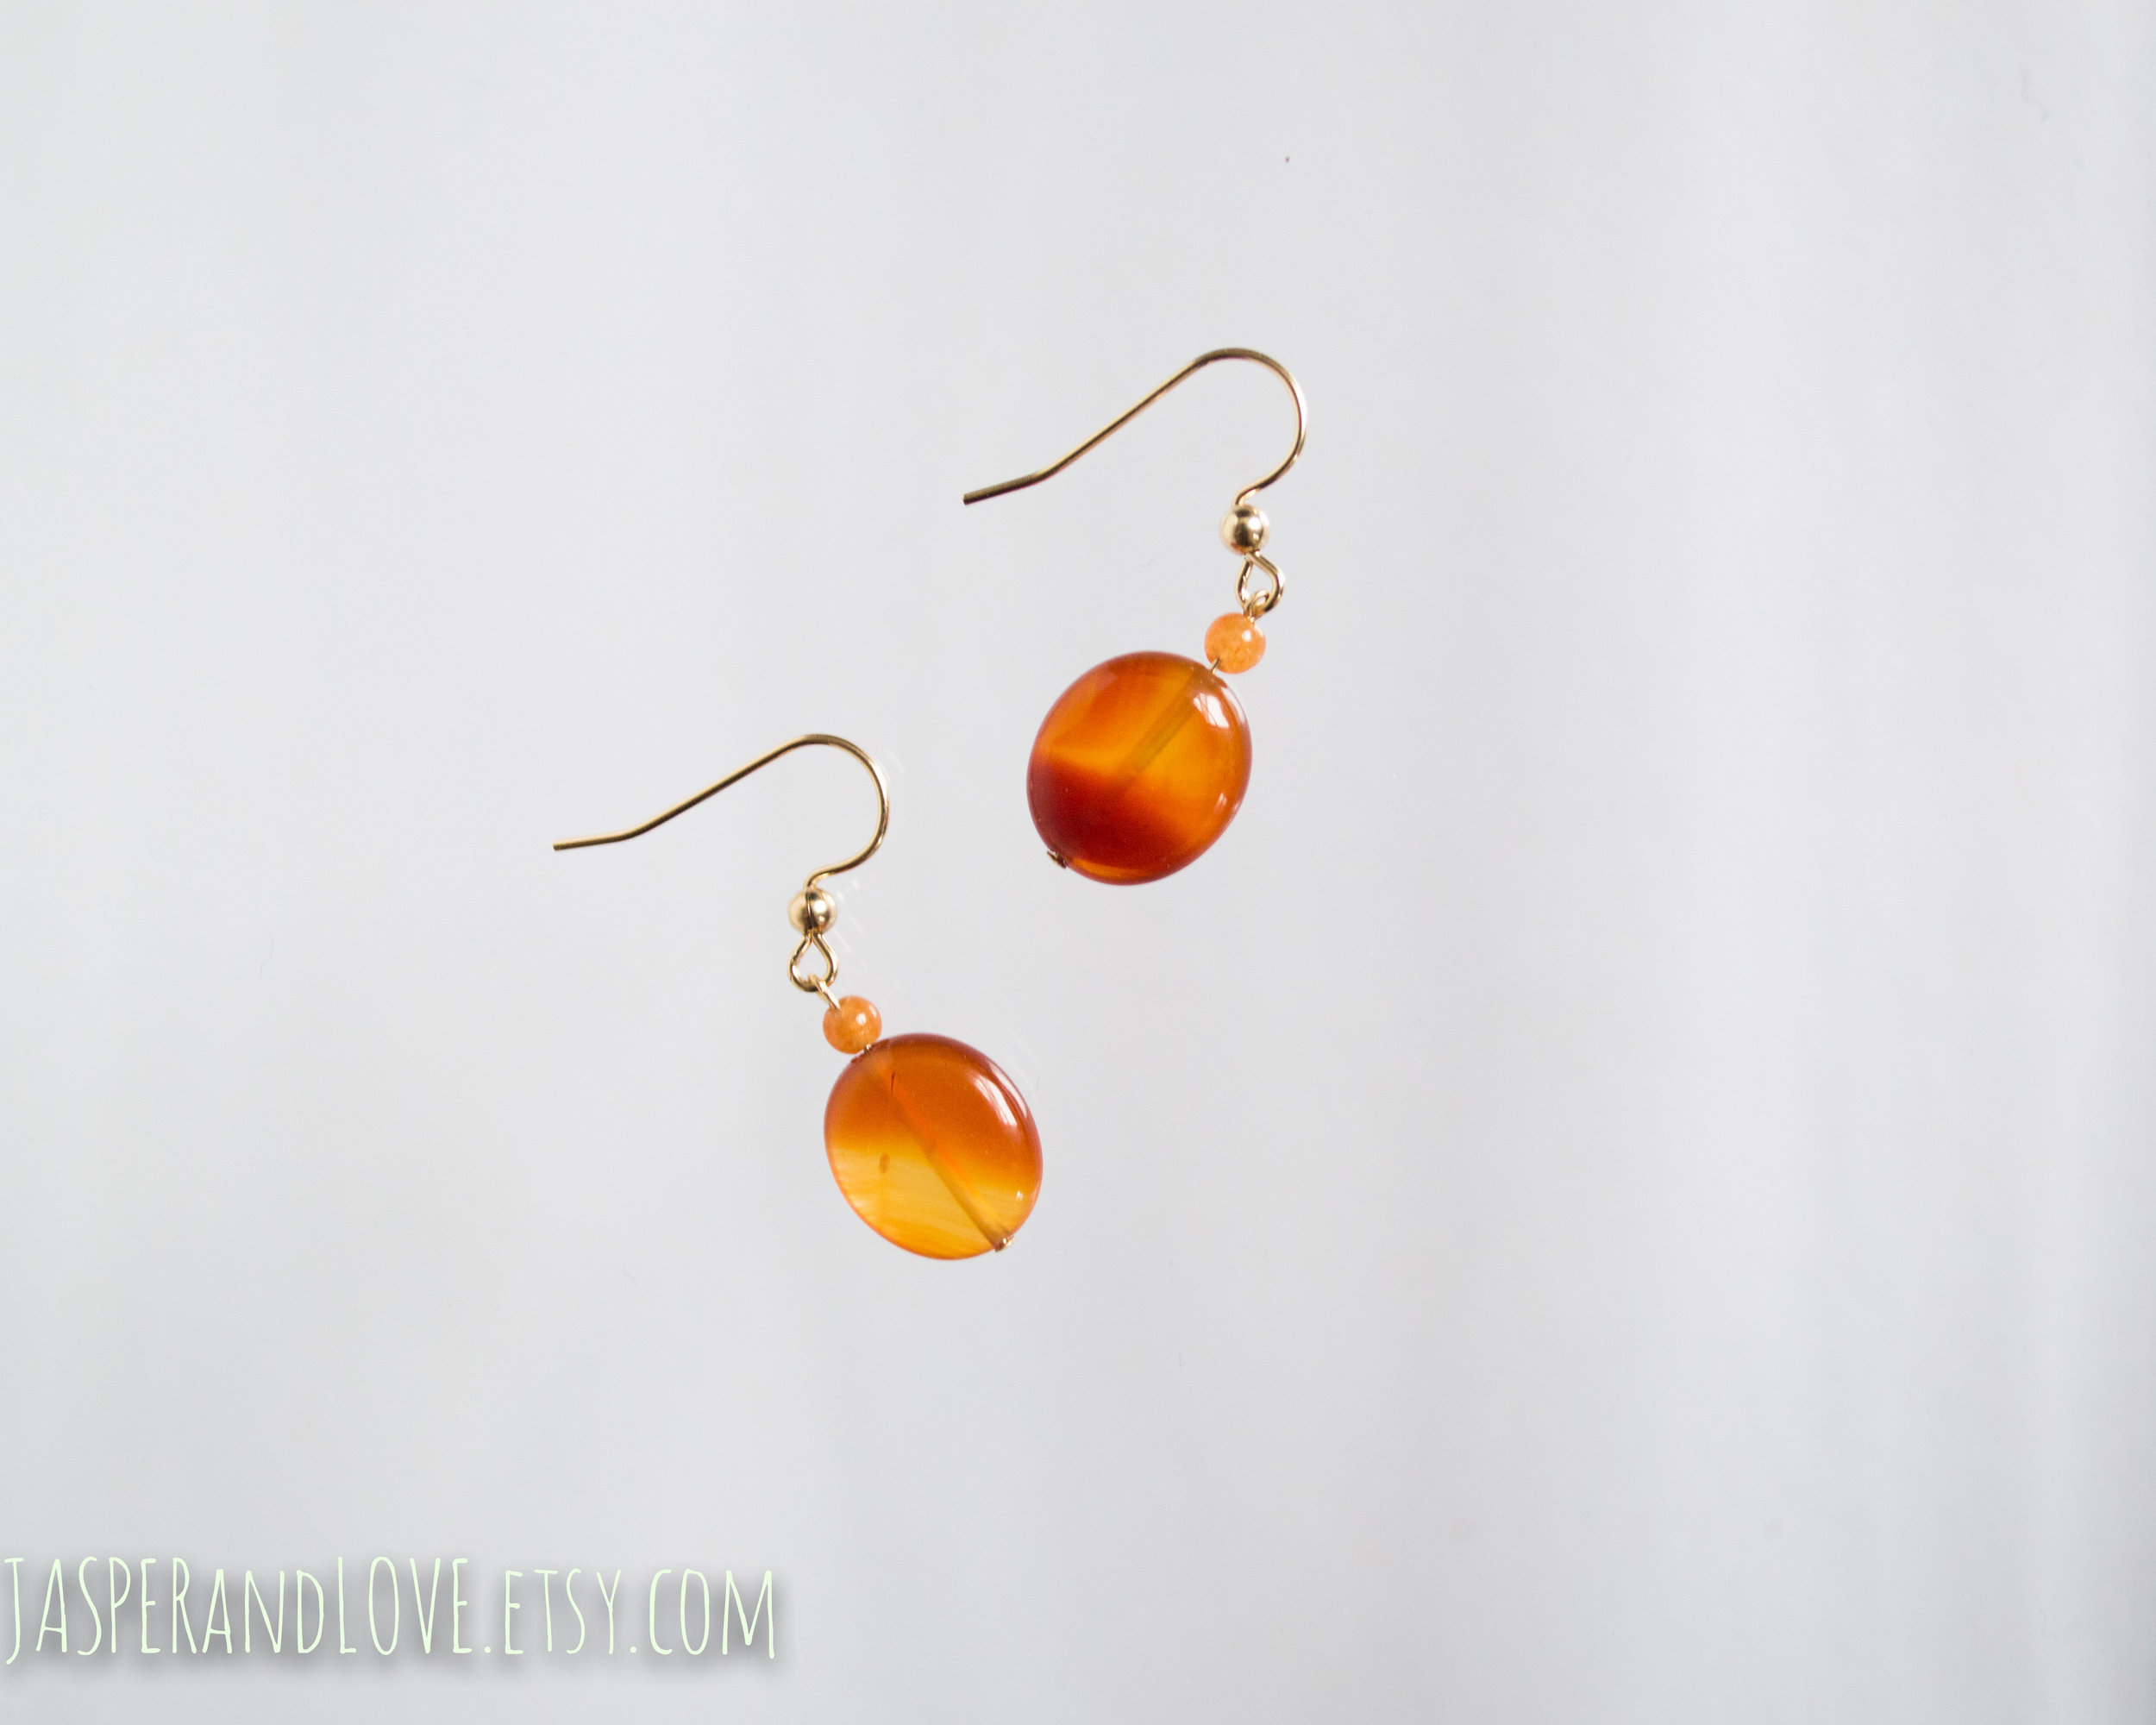
I've been hanging onto these stones for months, so naturally am SO pleased that they found a home in this piece. You'll see the agate is rooted in a tiny moonstone, paired with sterling silver ear wire that fades into the background - a soft tone that doesn't distract from the central stone. Allie
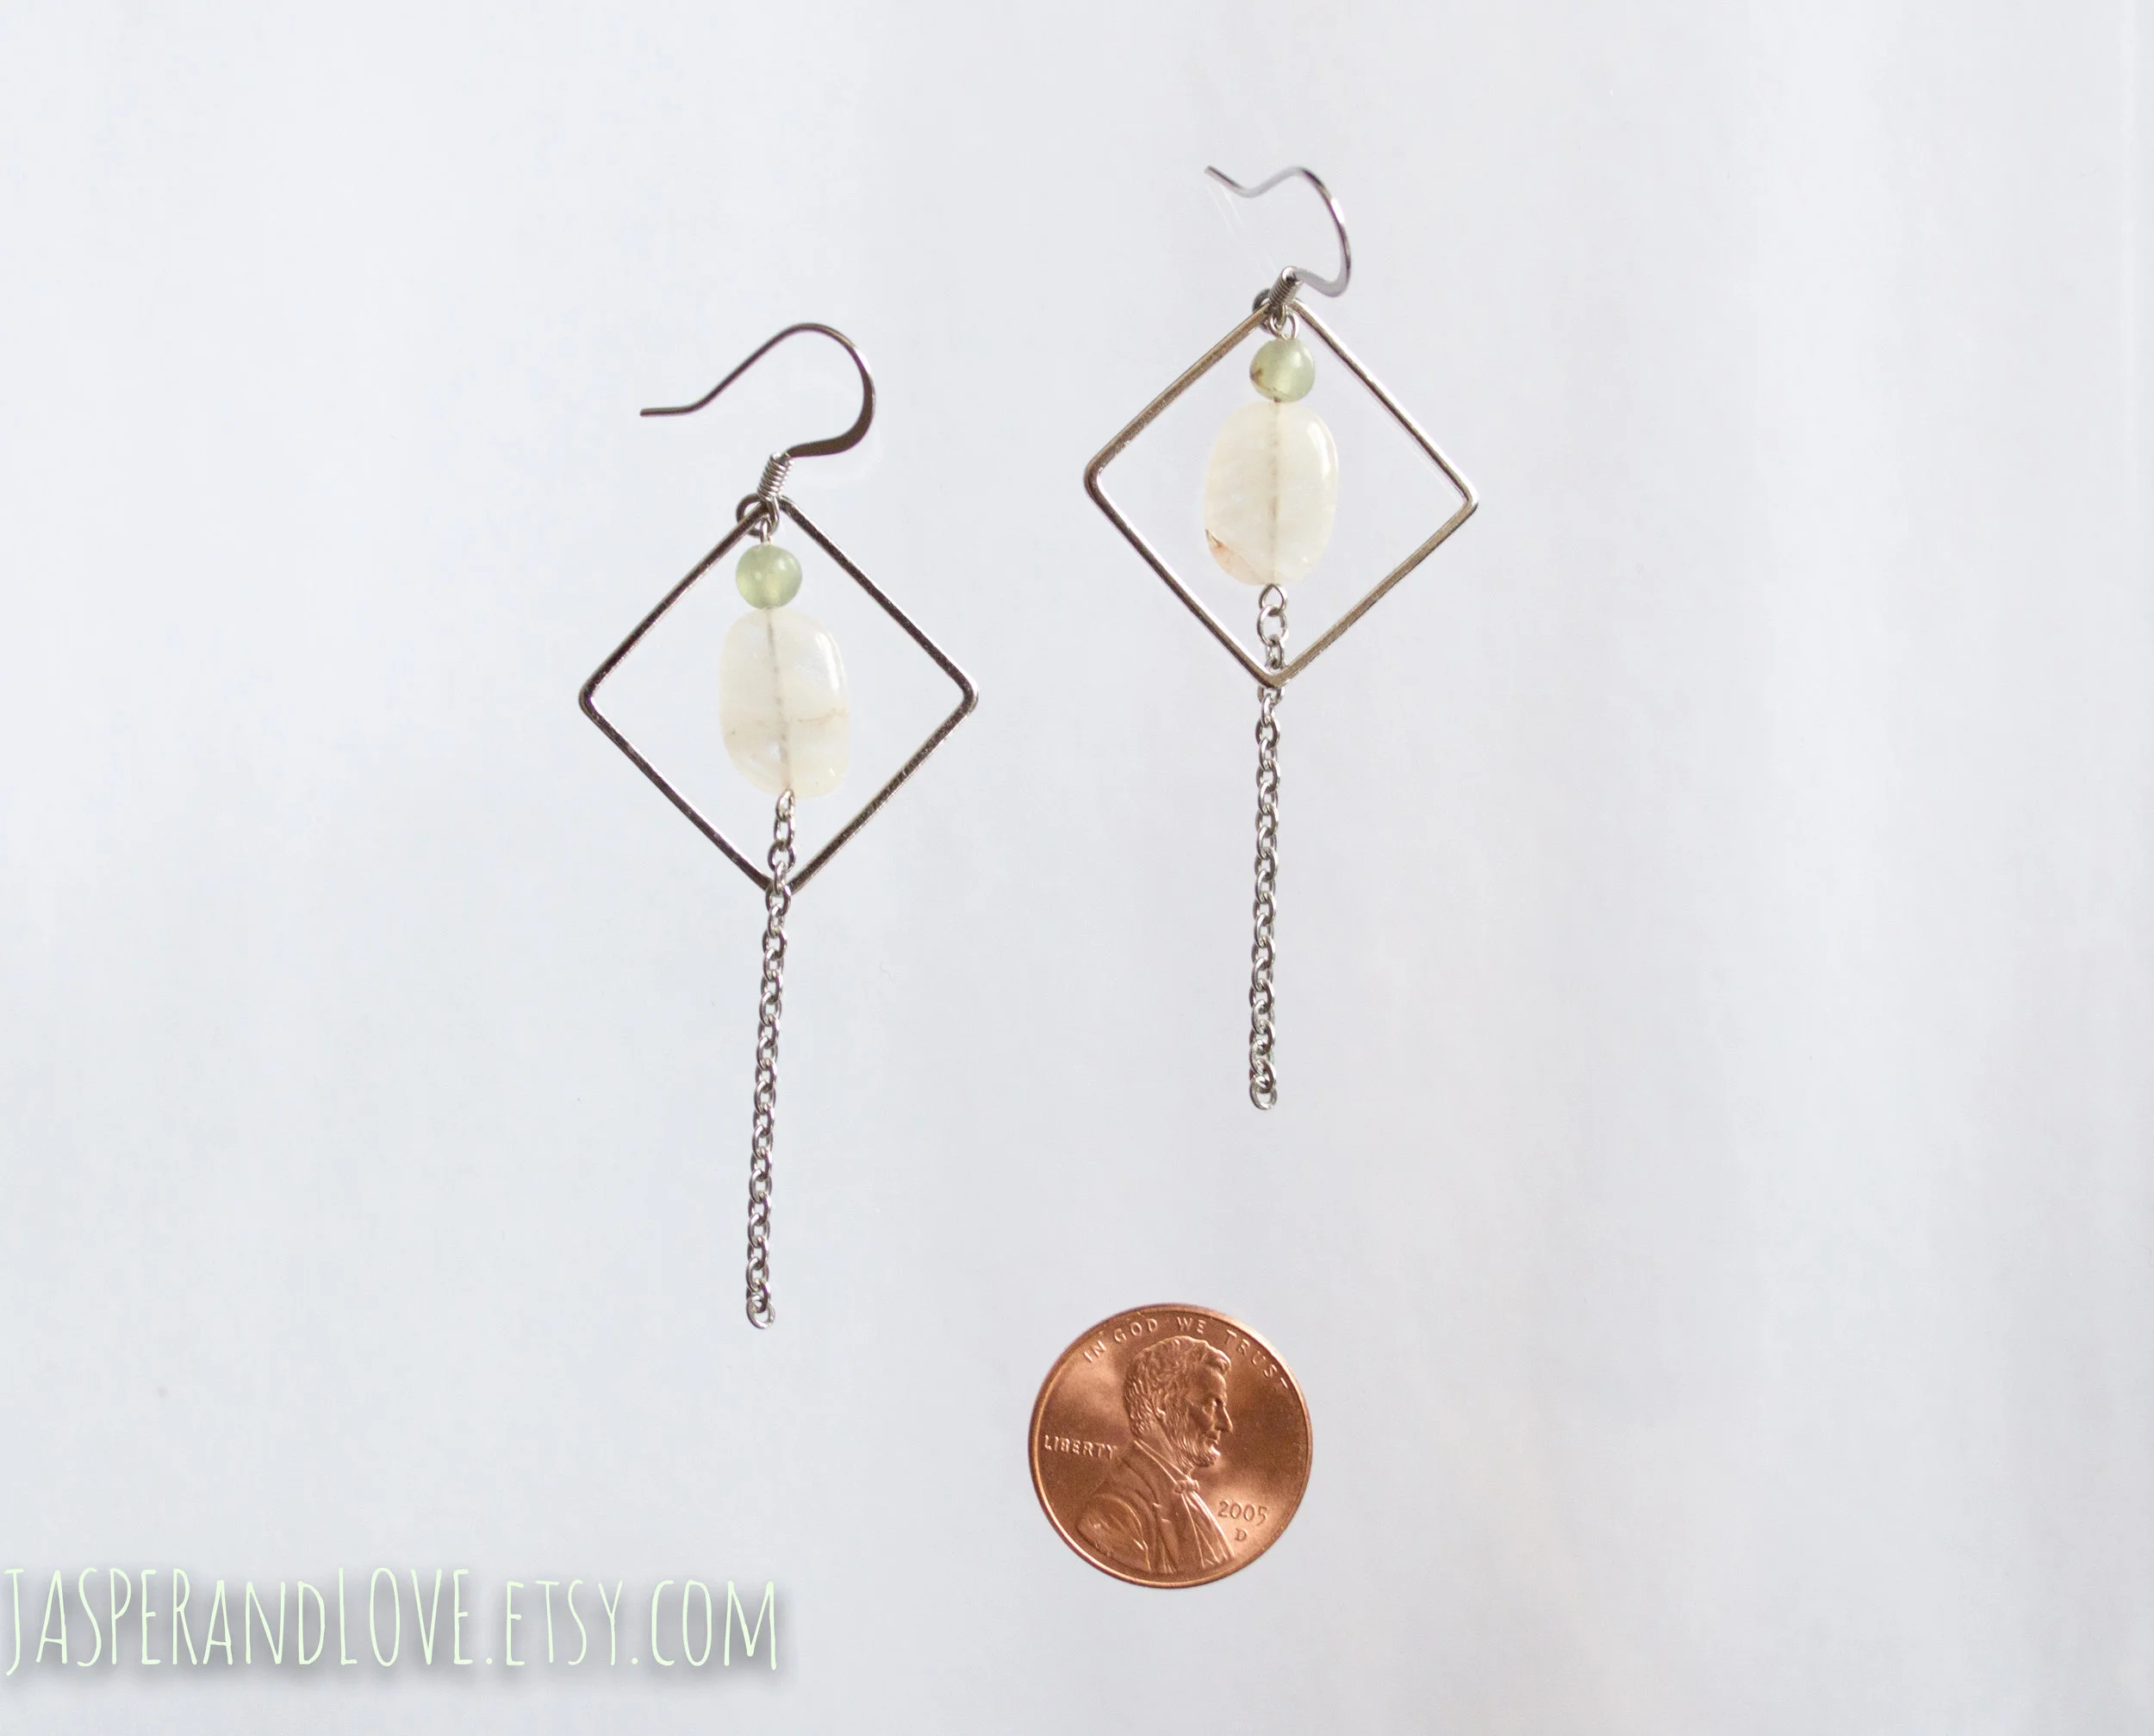
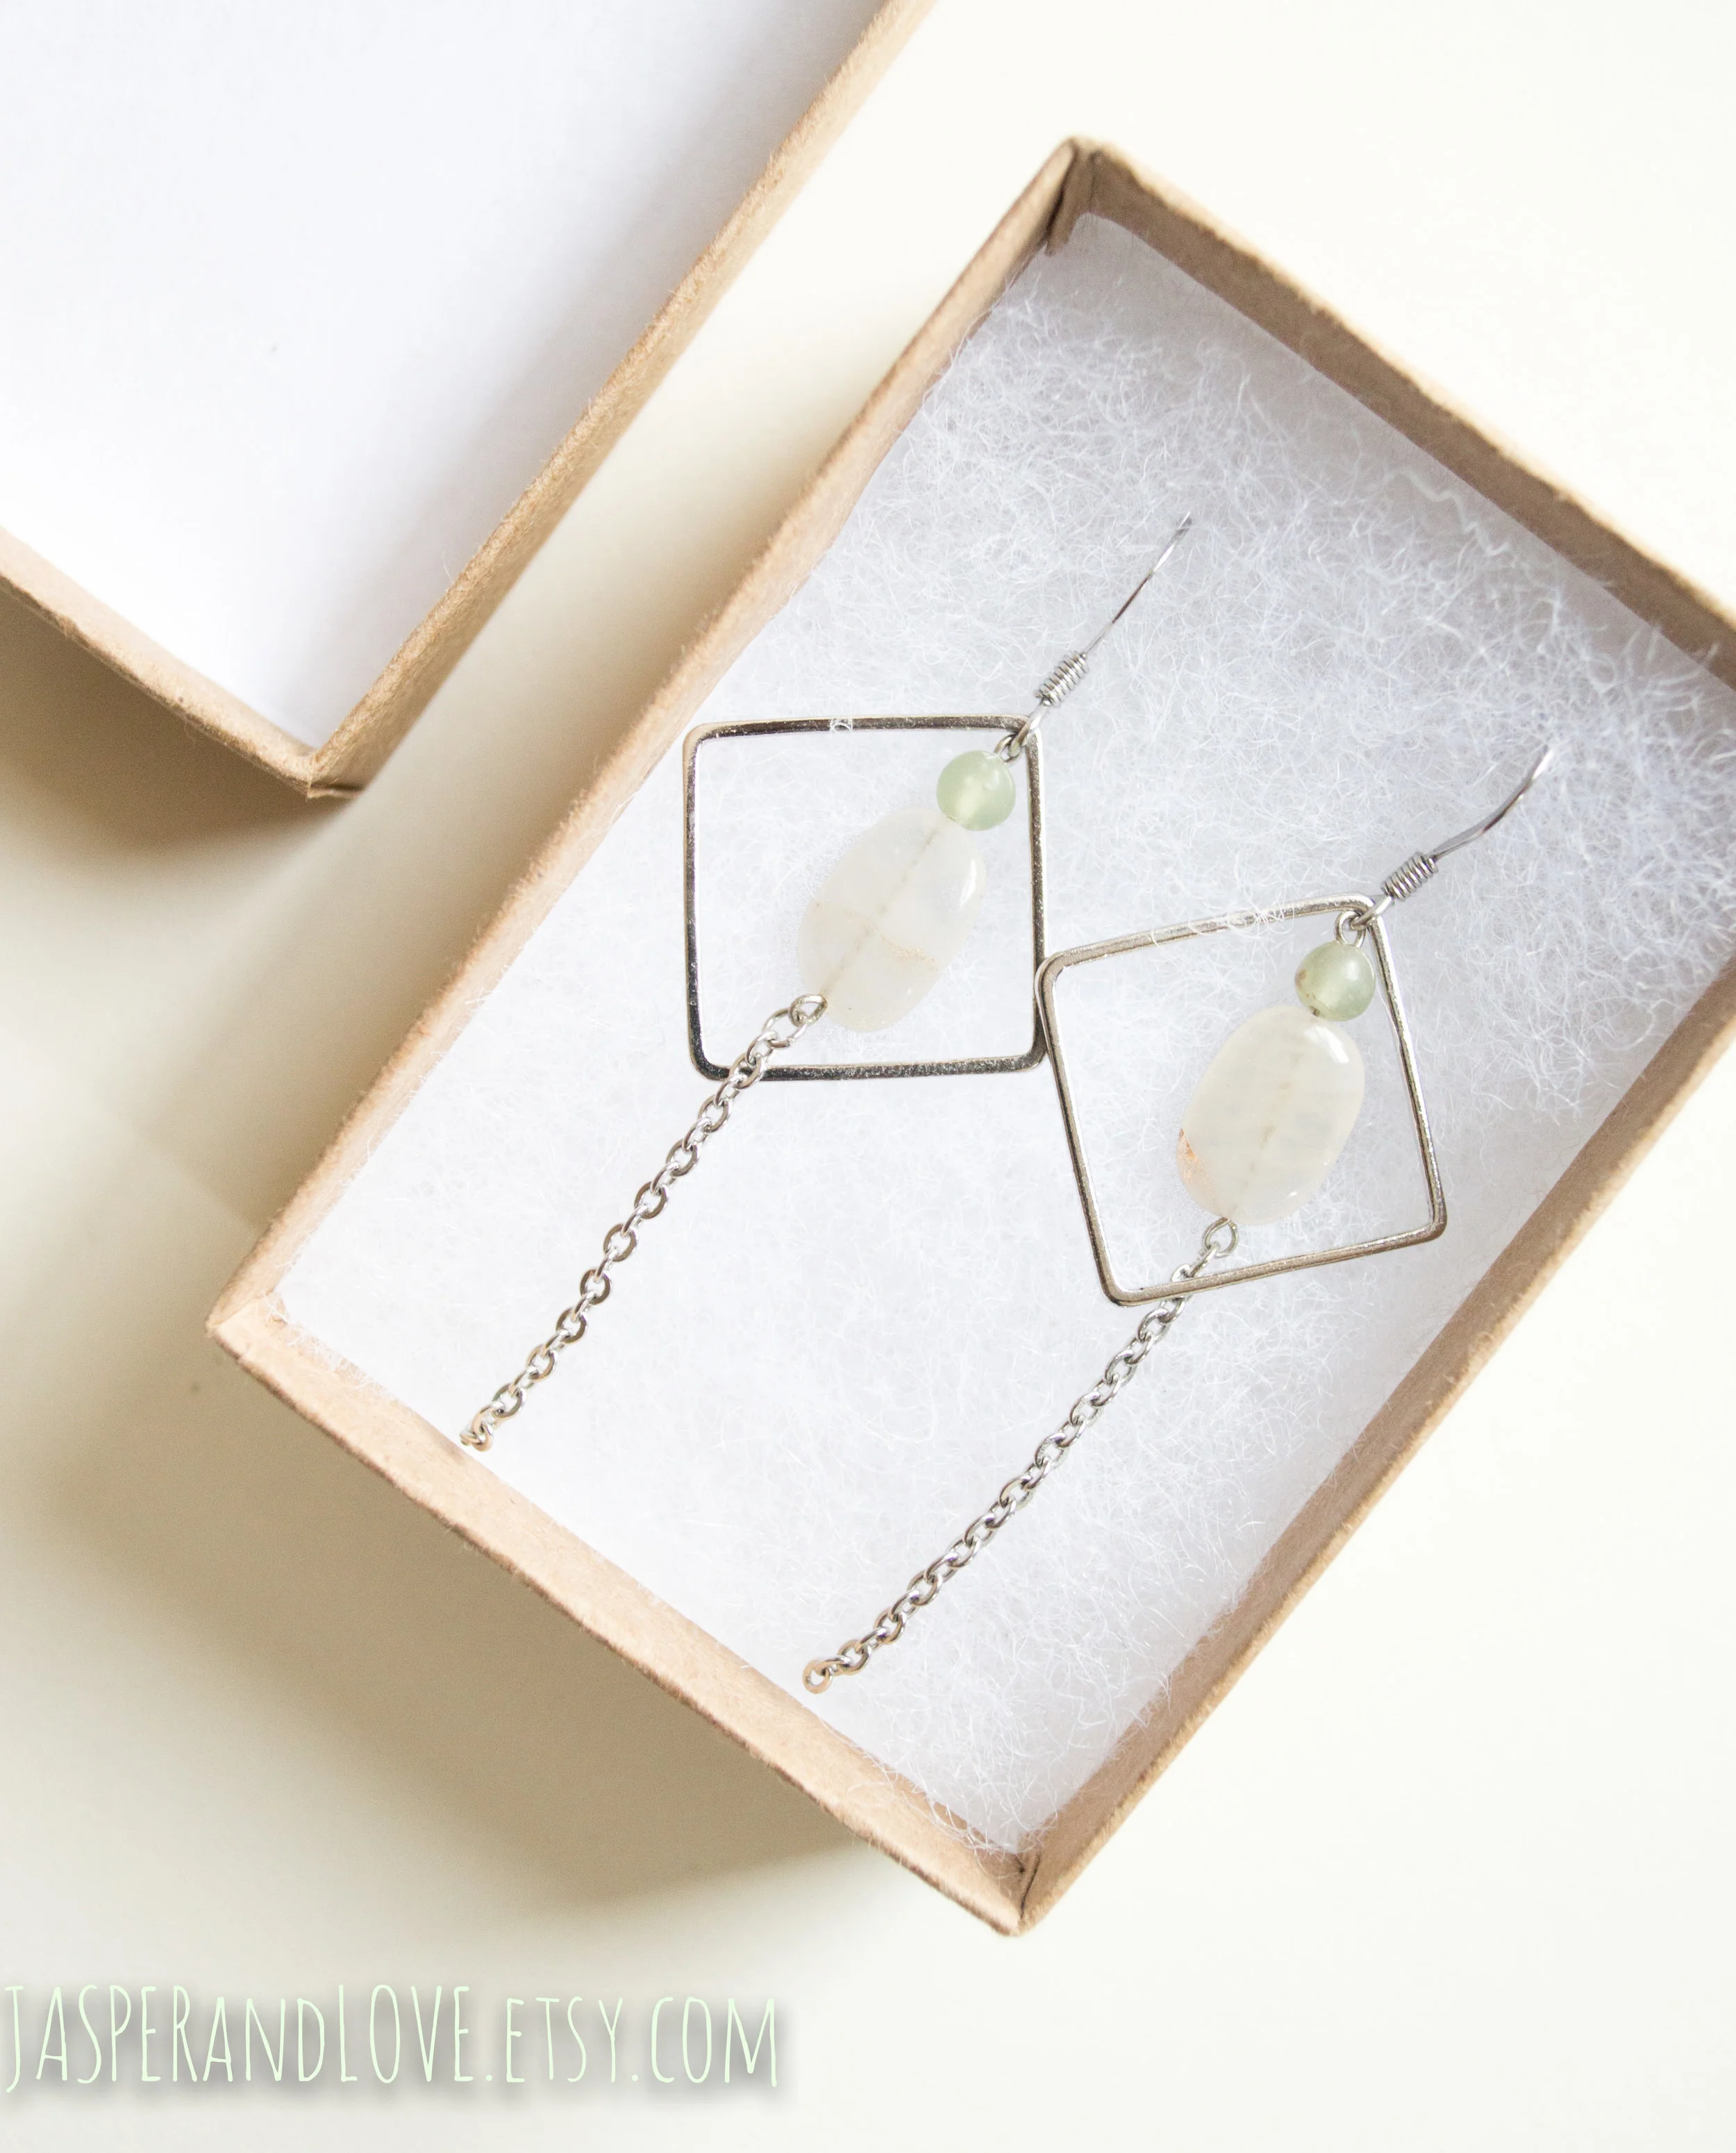
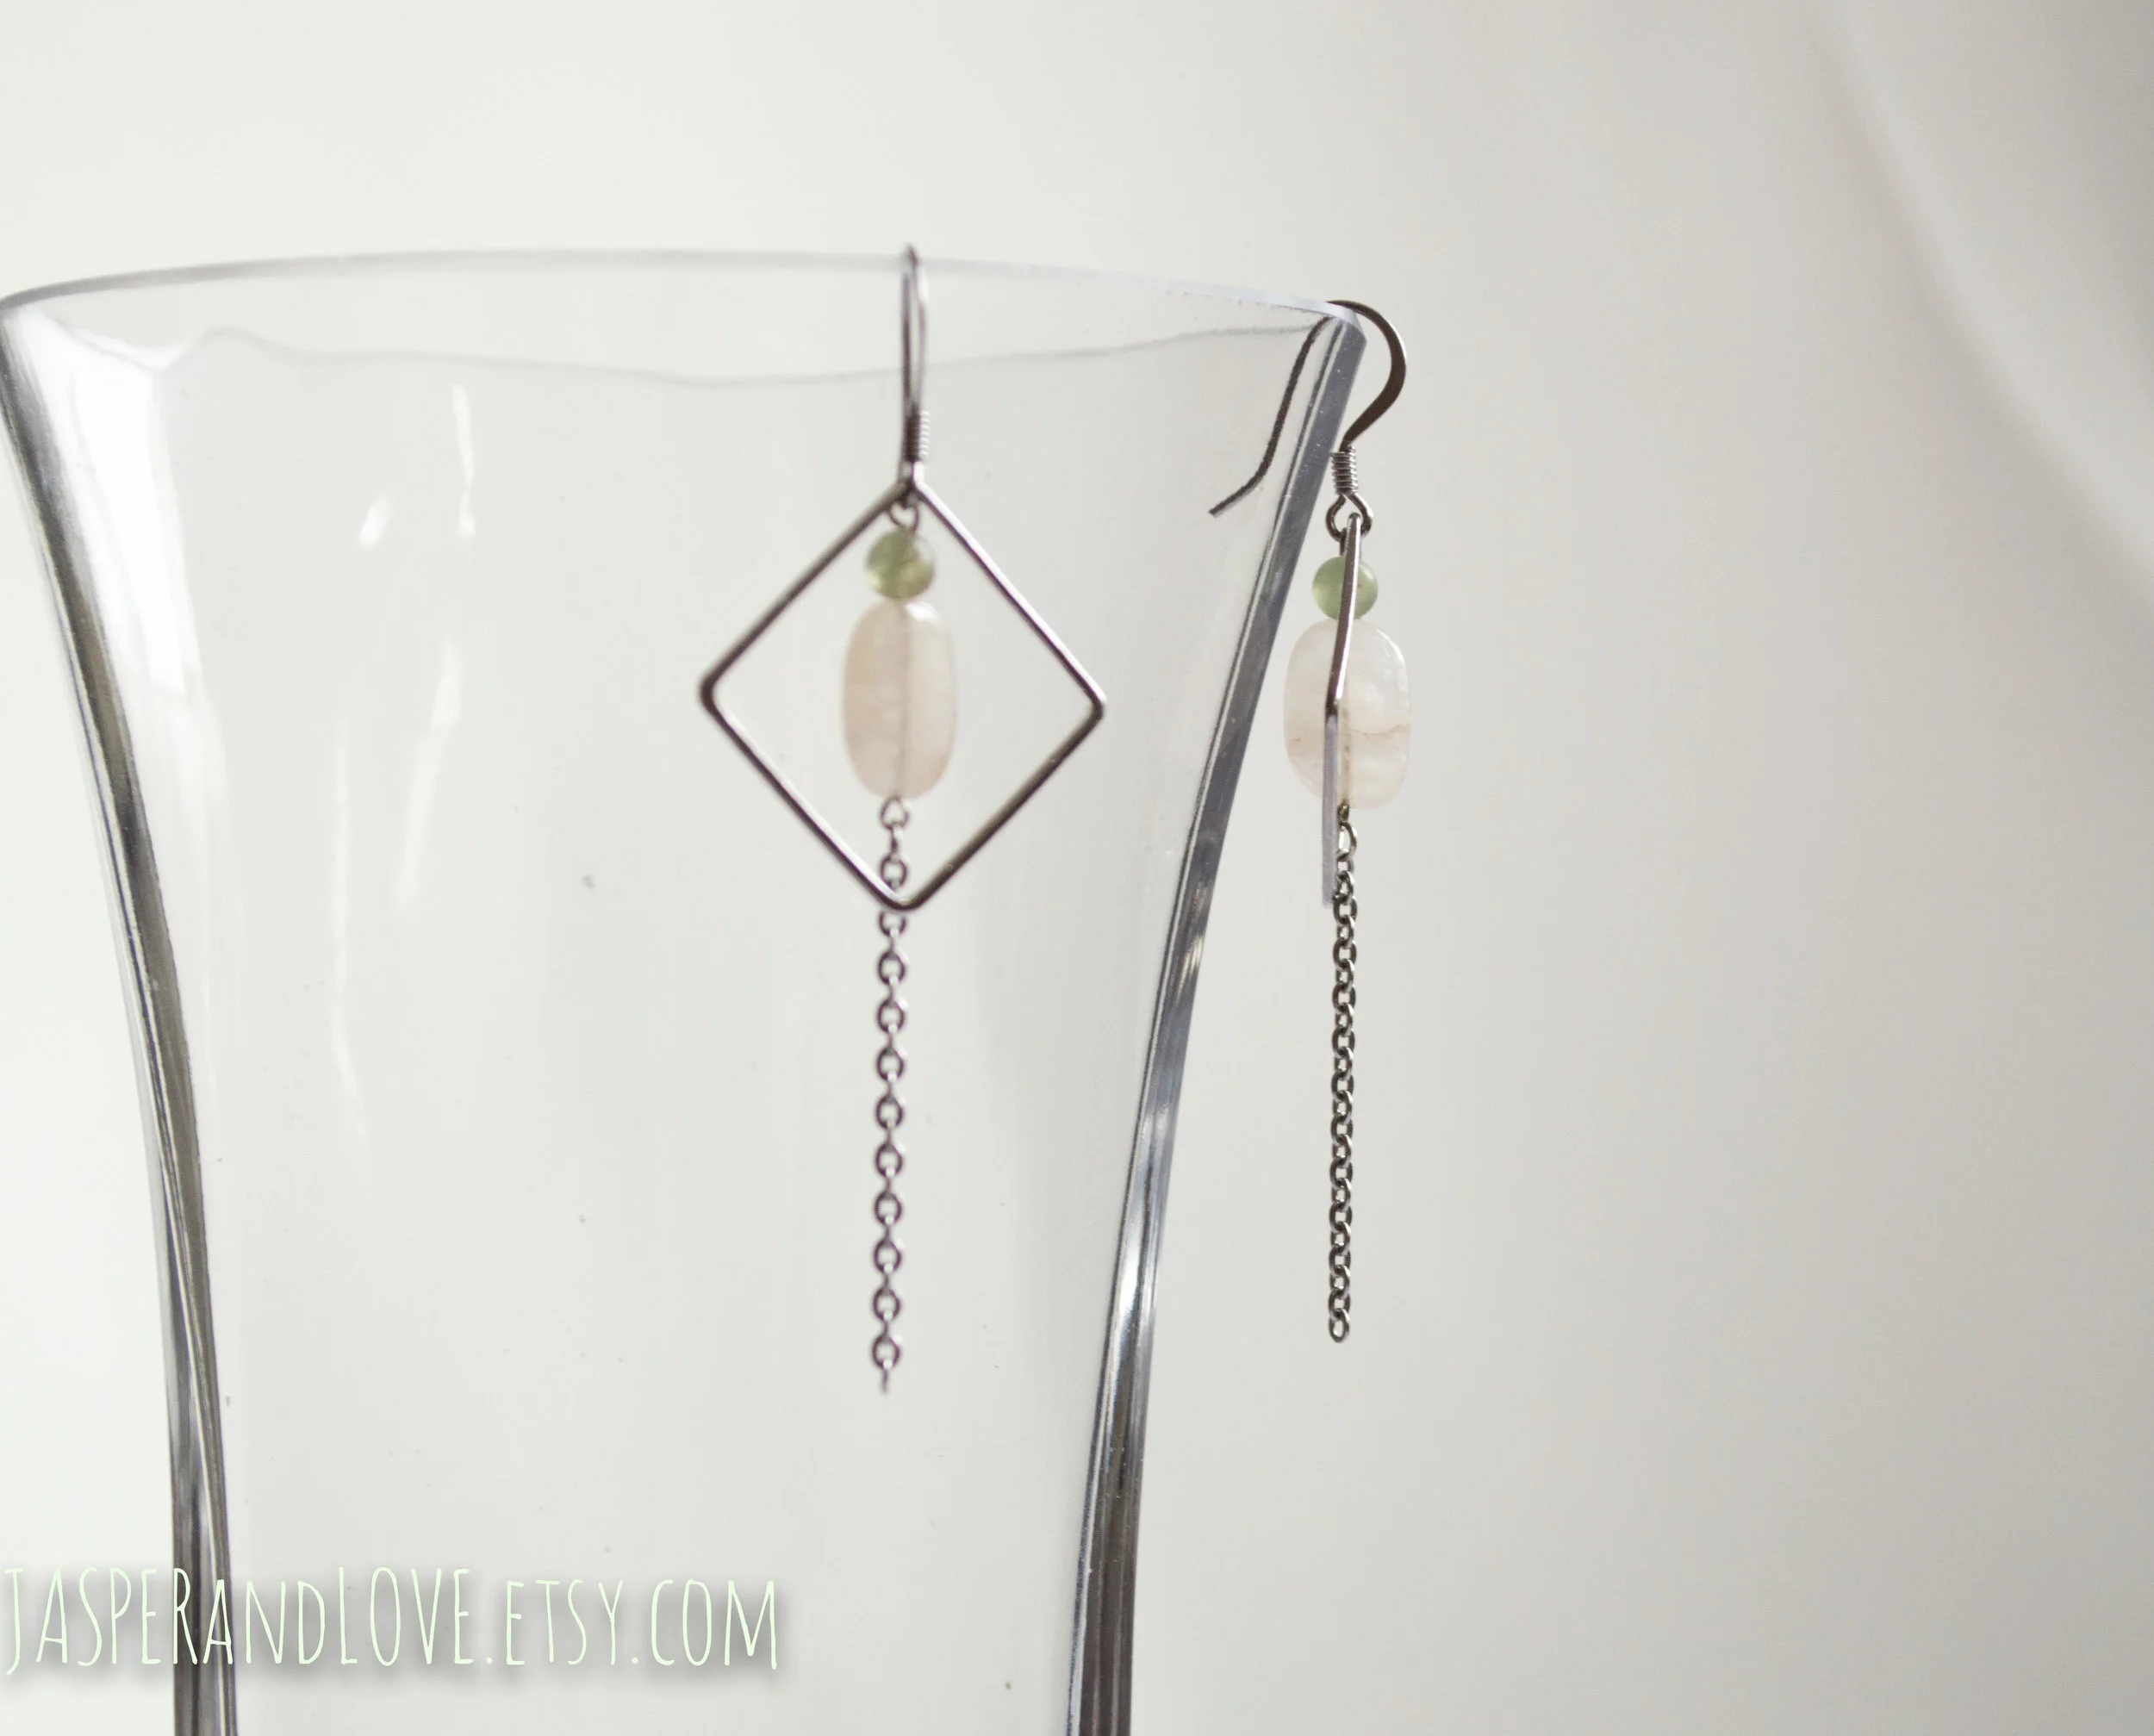
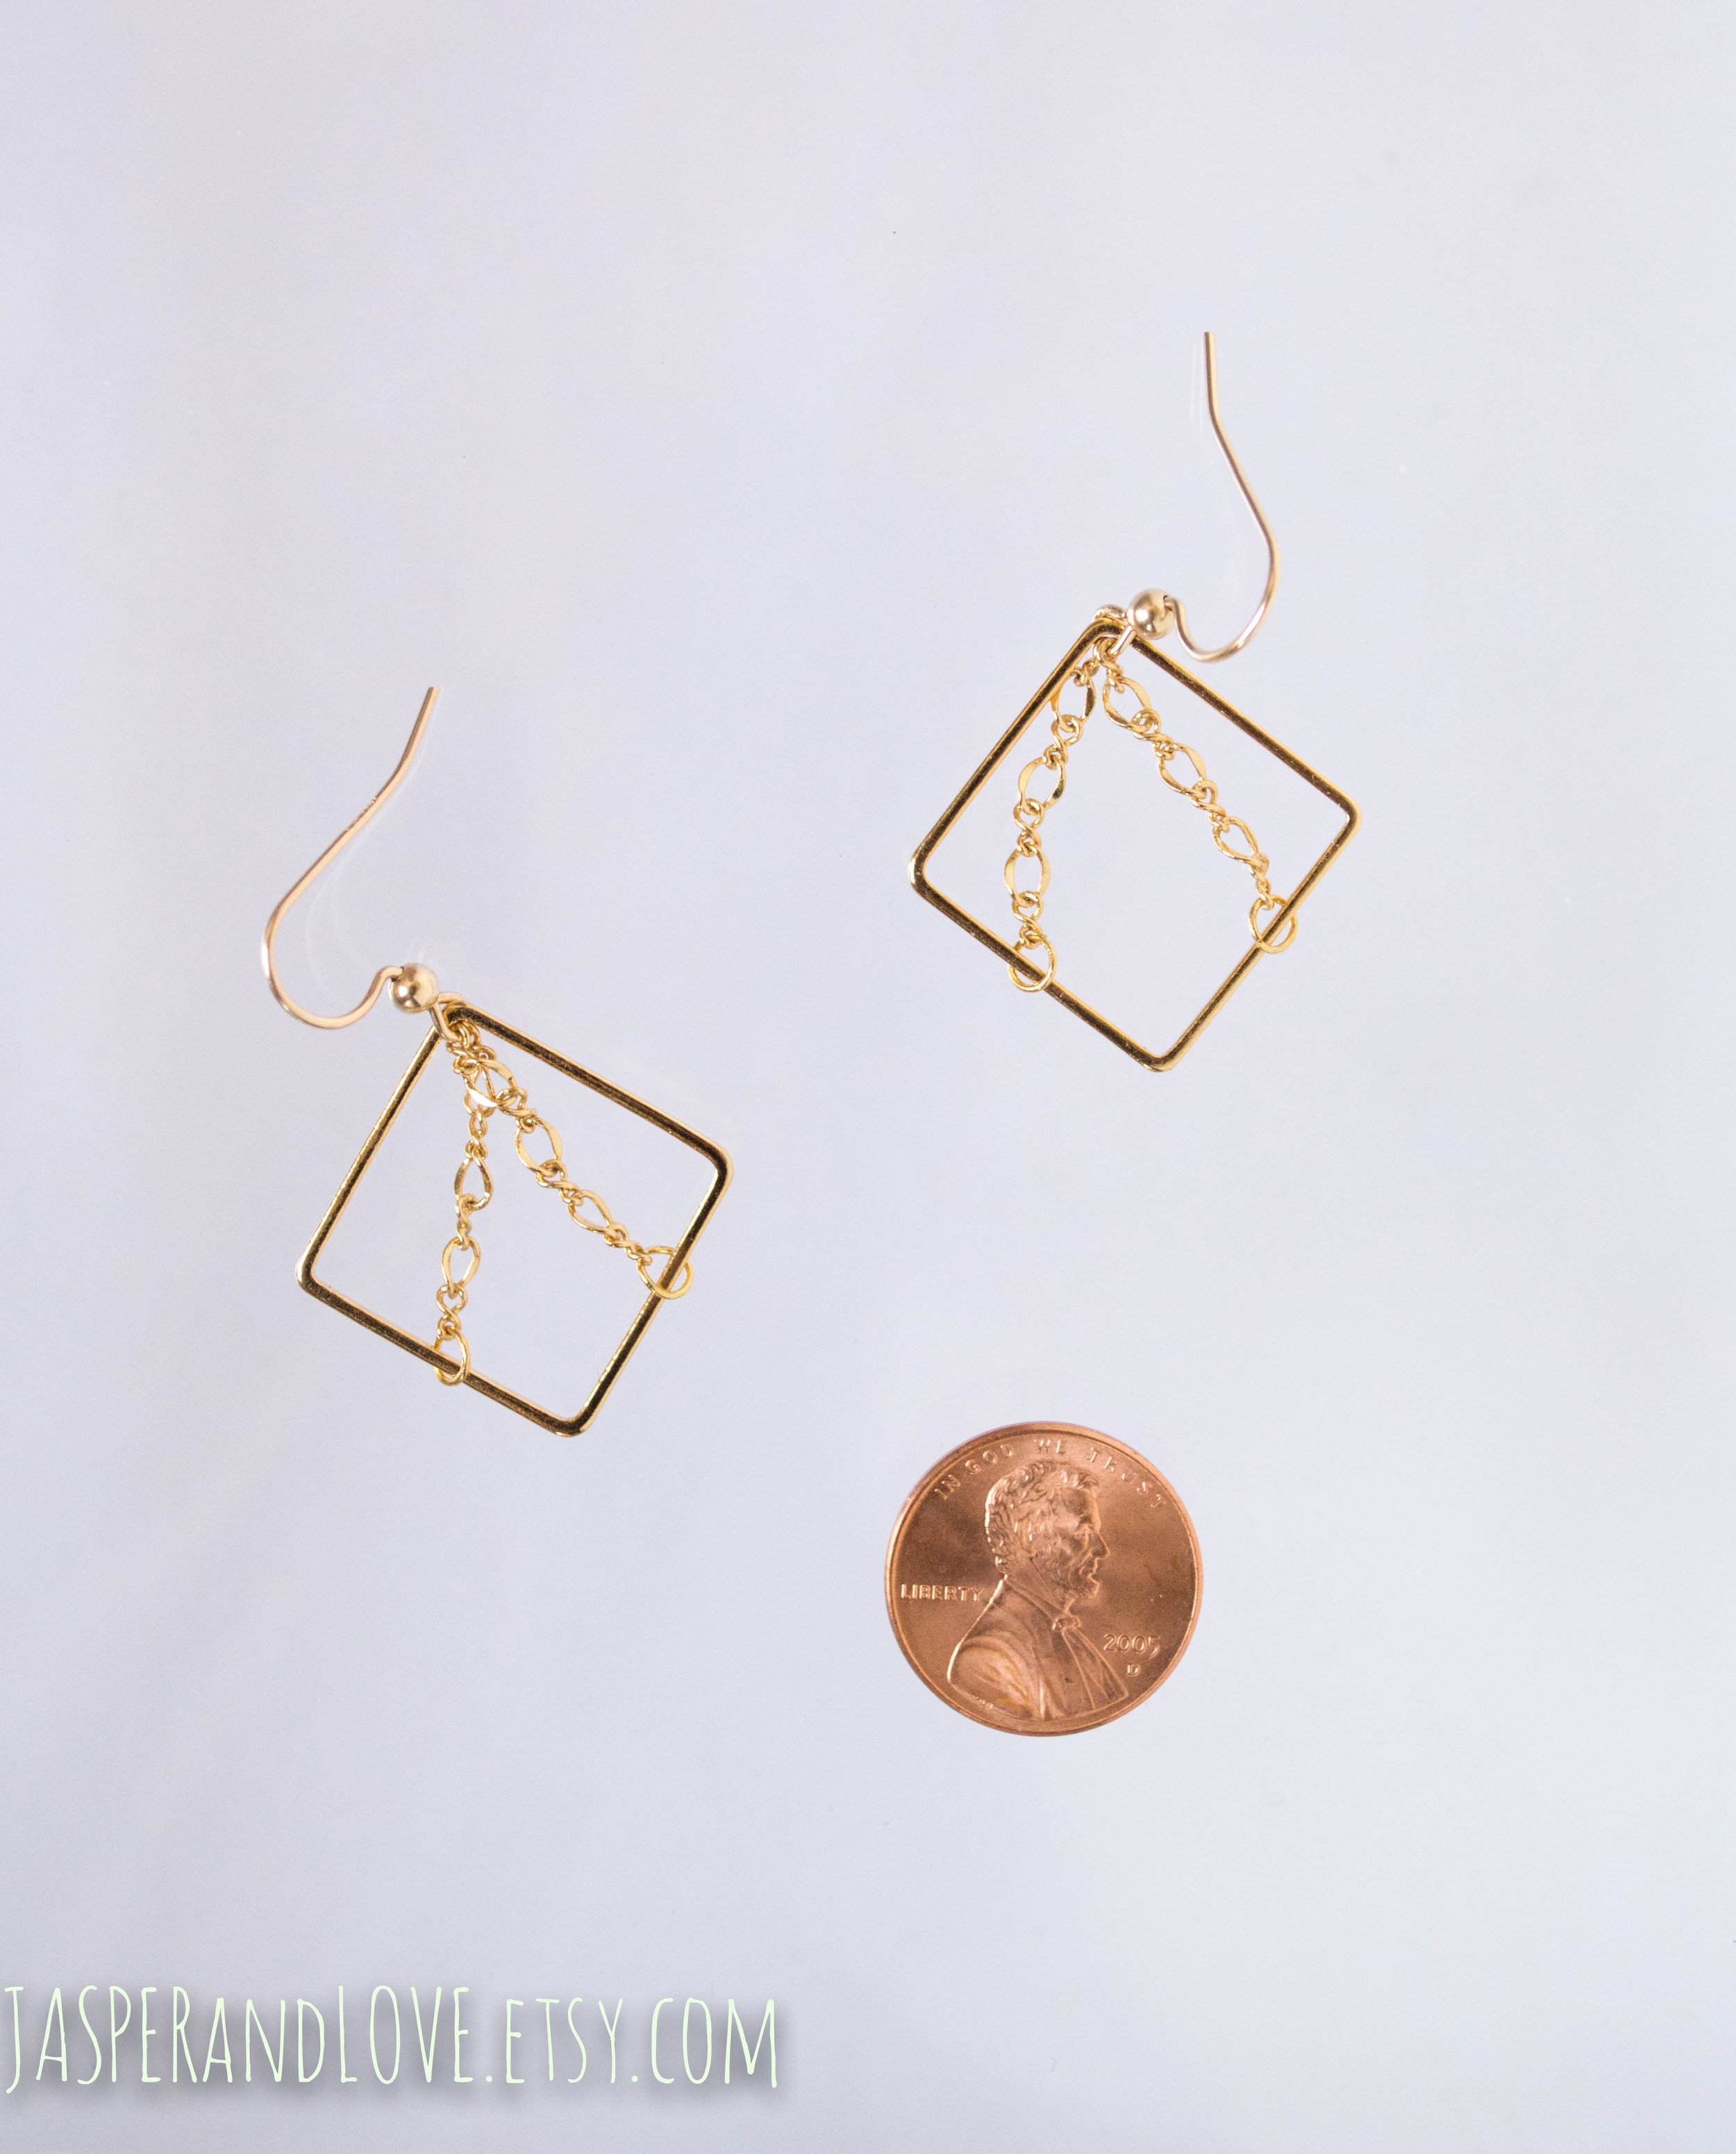
You should have seen my face when I found the display of geometric metal shapes at one of my local vendors. Toddler at Christmas - overwhelmed, delighted, unsure what to pick first. Of course these squares... but also the gold tone squares, right? and the larger kind? and do I get the rectangles too? The cream quartz and aqua terra "jasper" (trade name for soft onyx marble, for your trivia stash) were born for each other. The larger cream quartz in a soft pale peach, and the jasper also translucent, near transparent, but in a slightly sturdier sage green. I'll come play with these colors again later... :) Charlotte
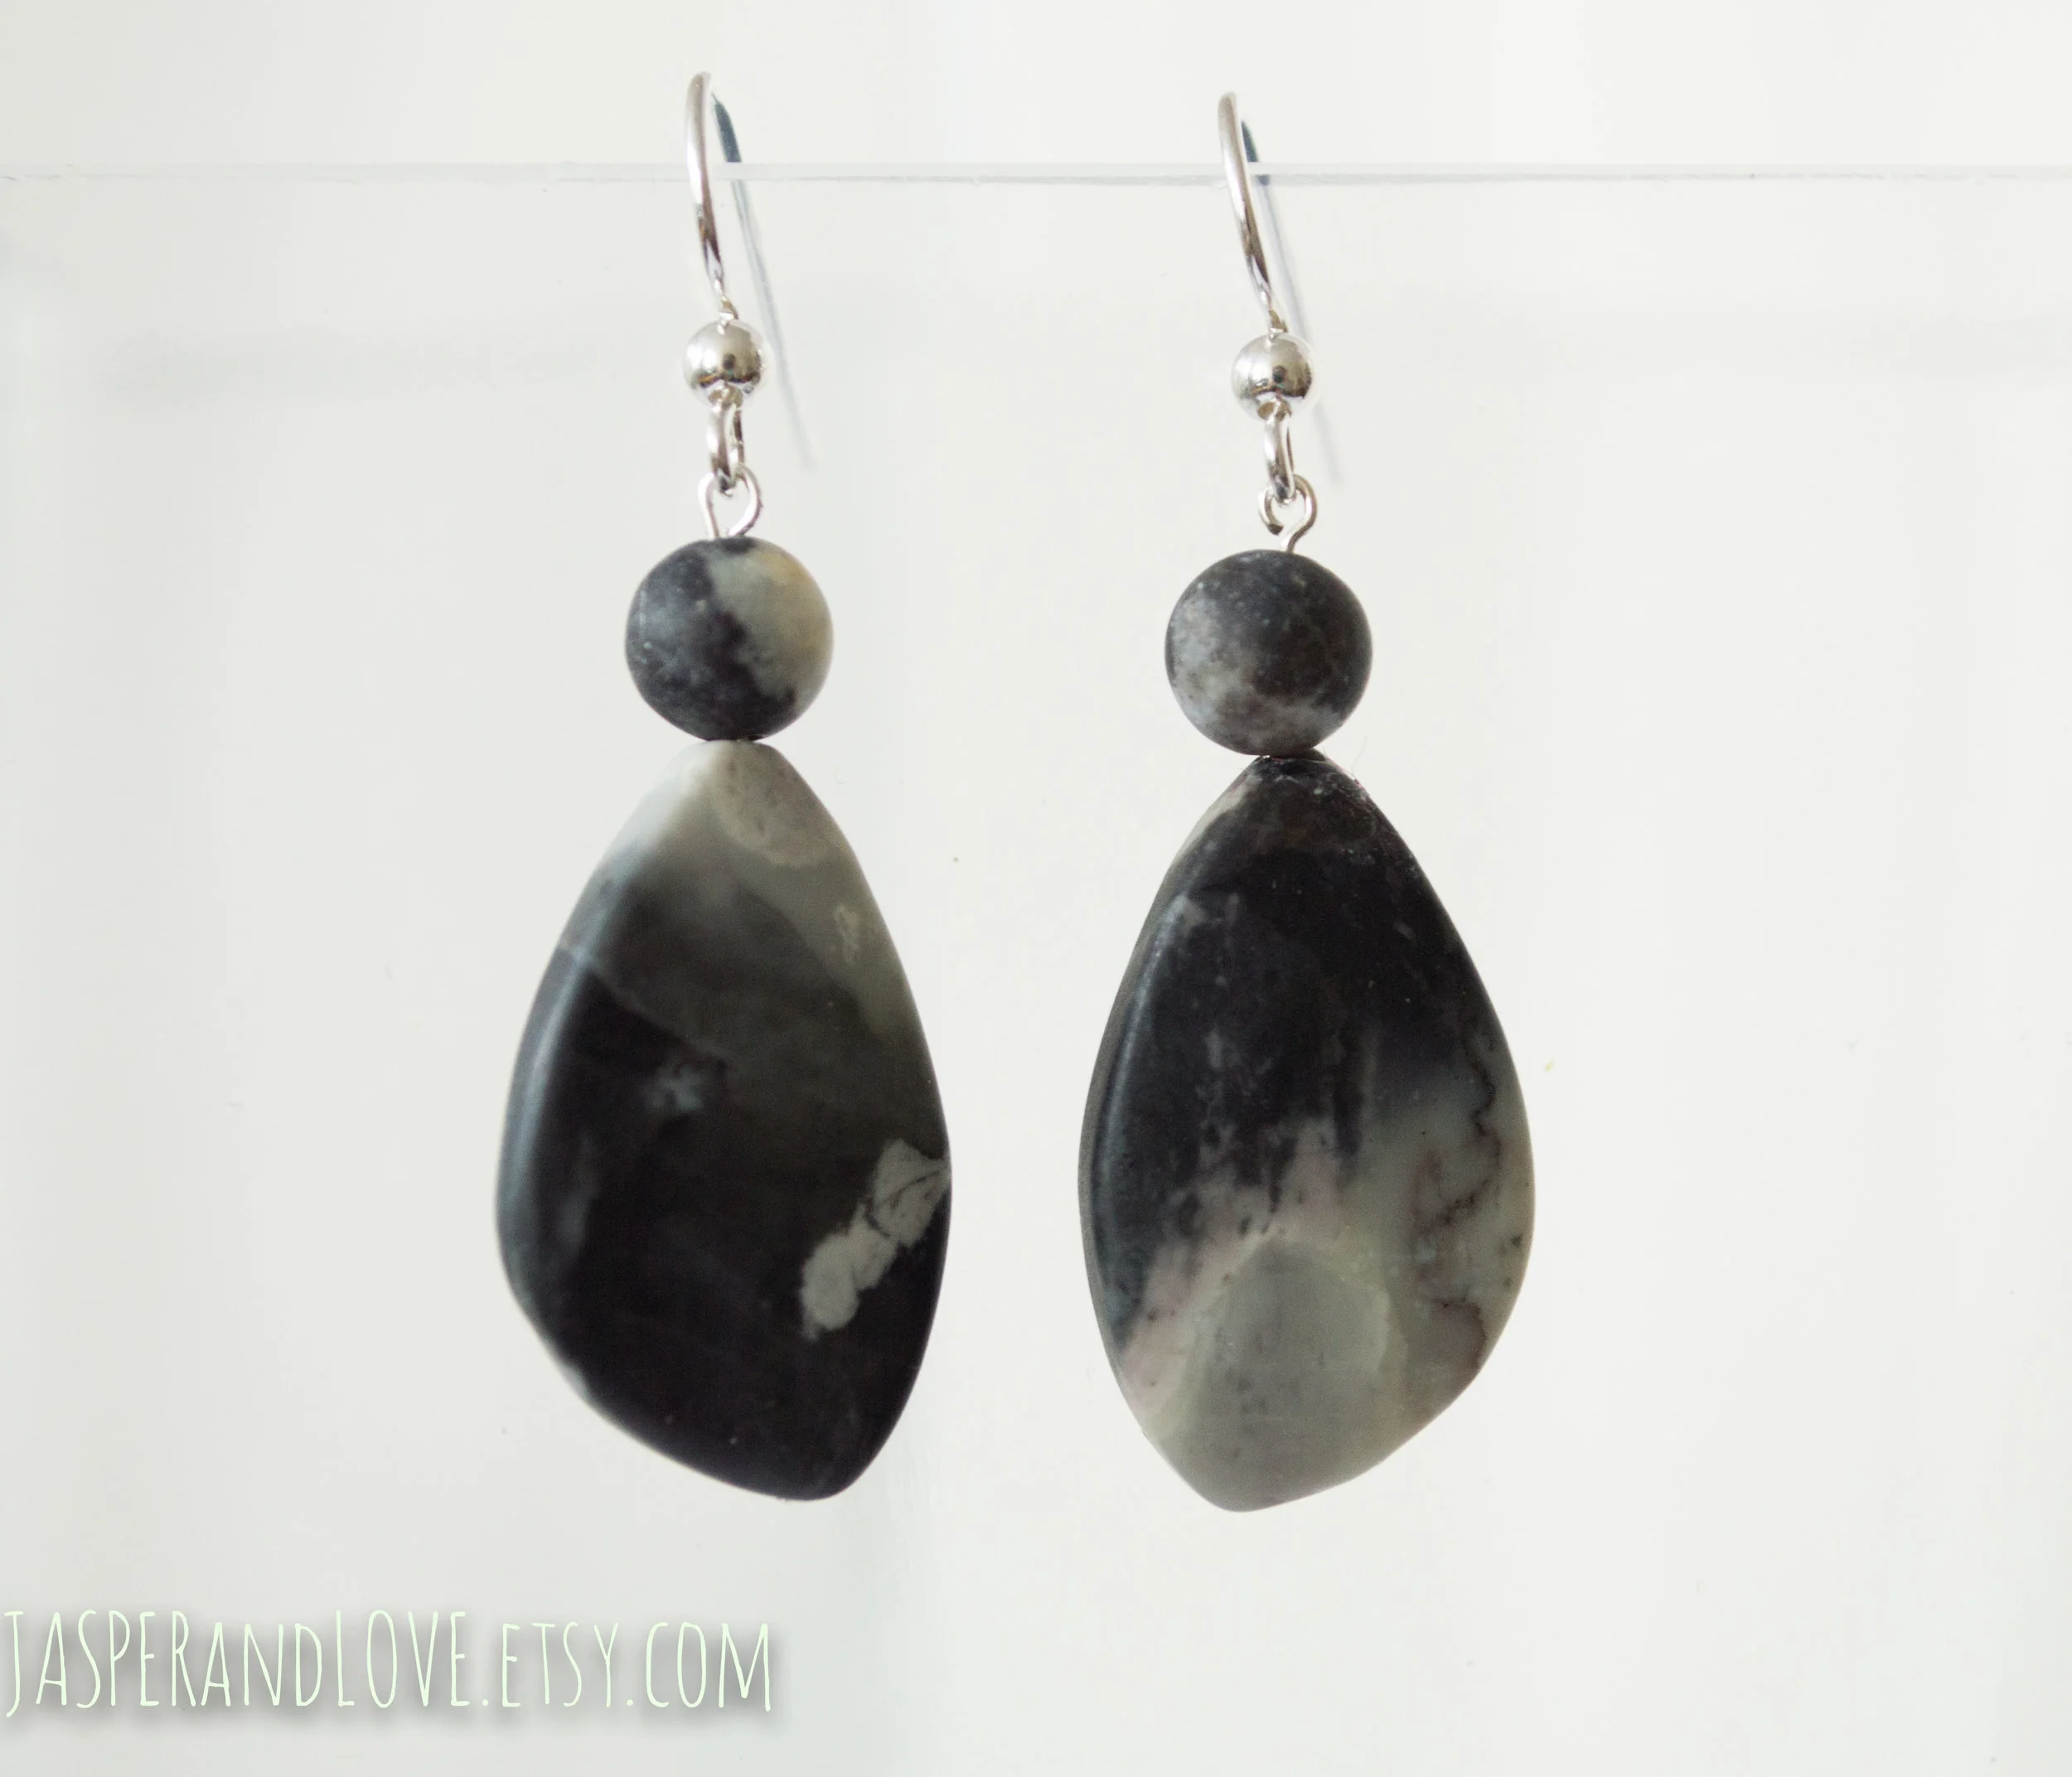
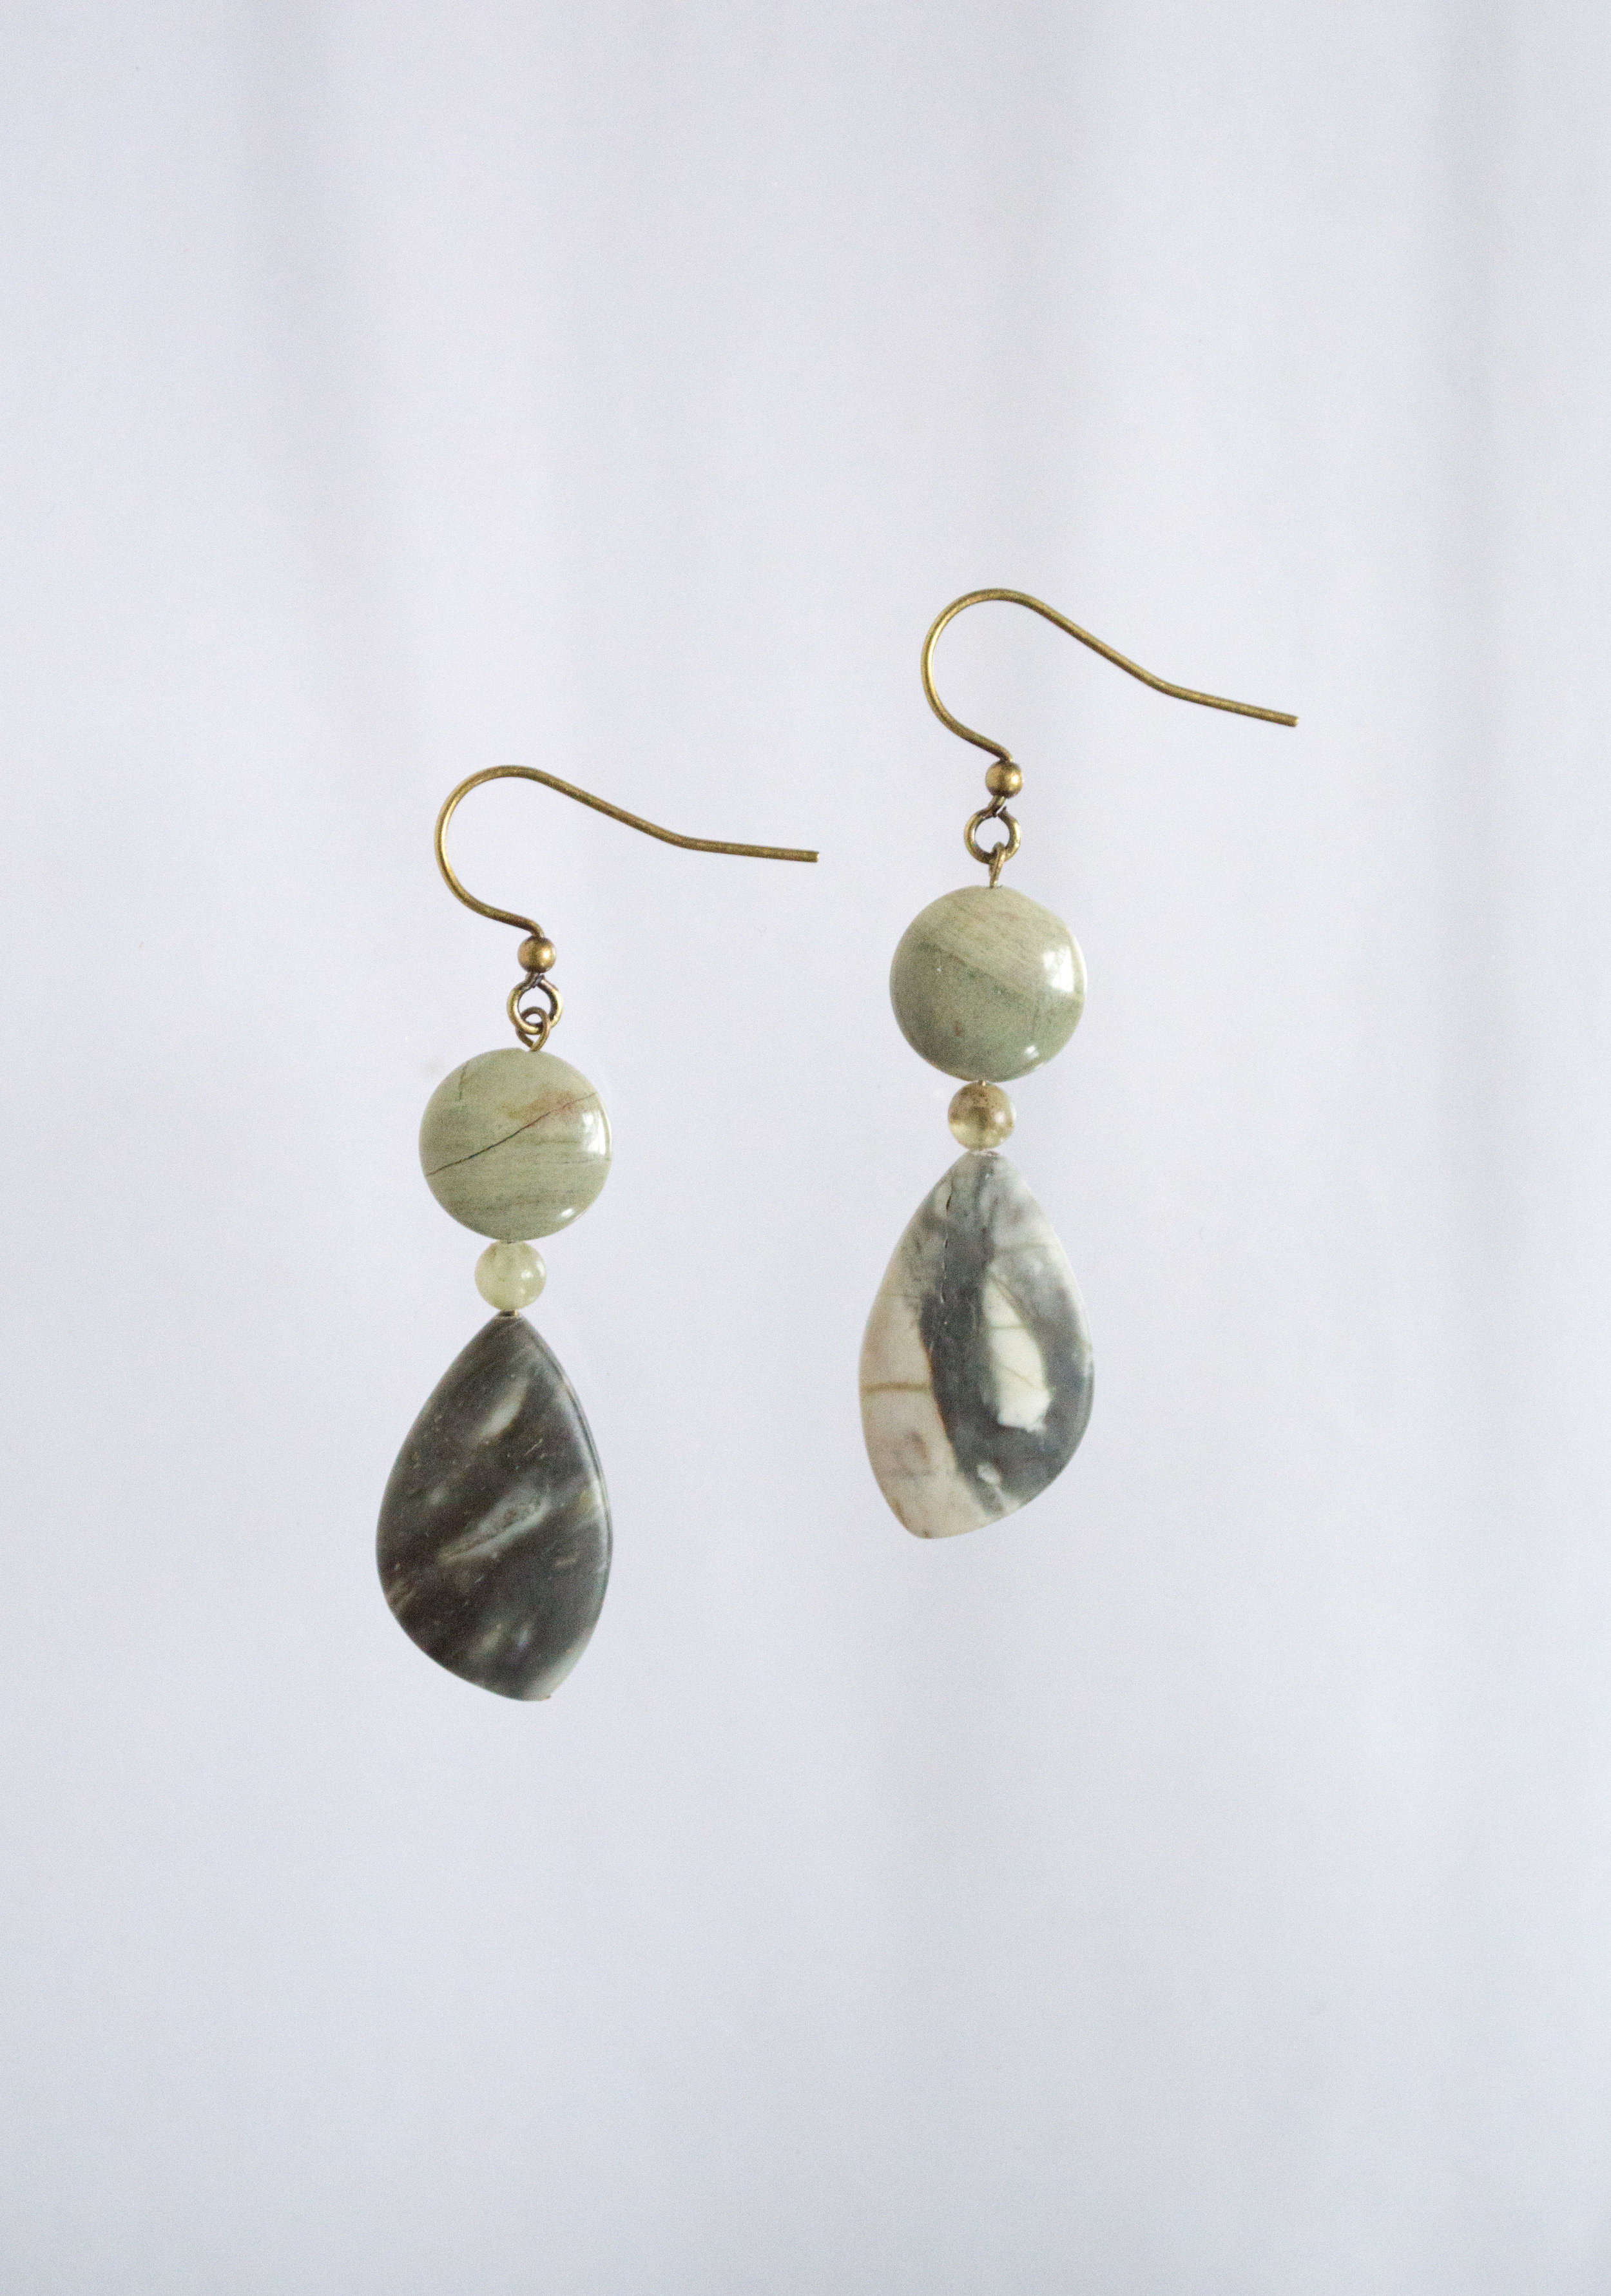
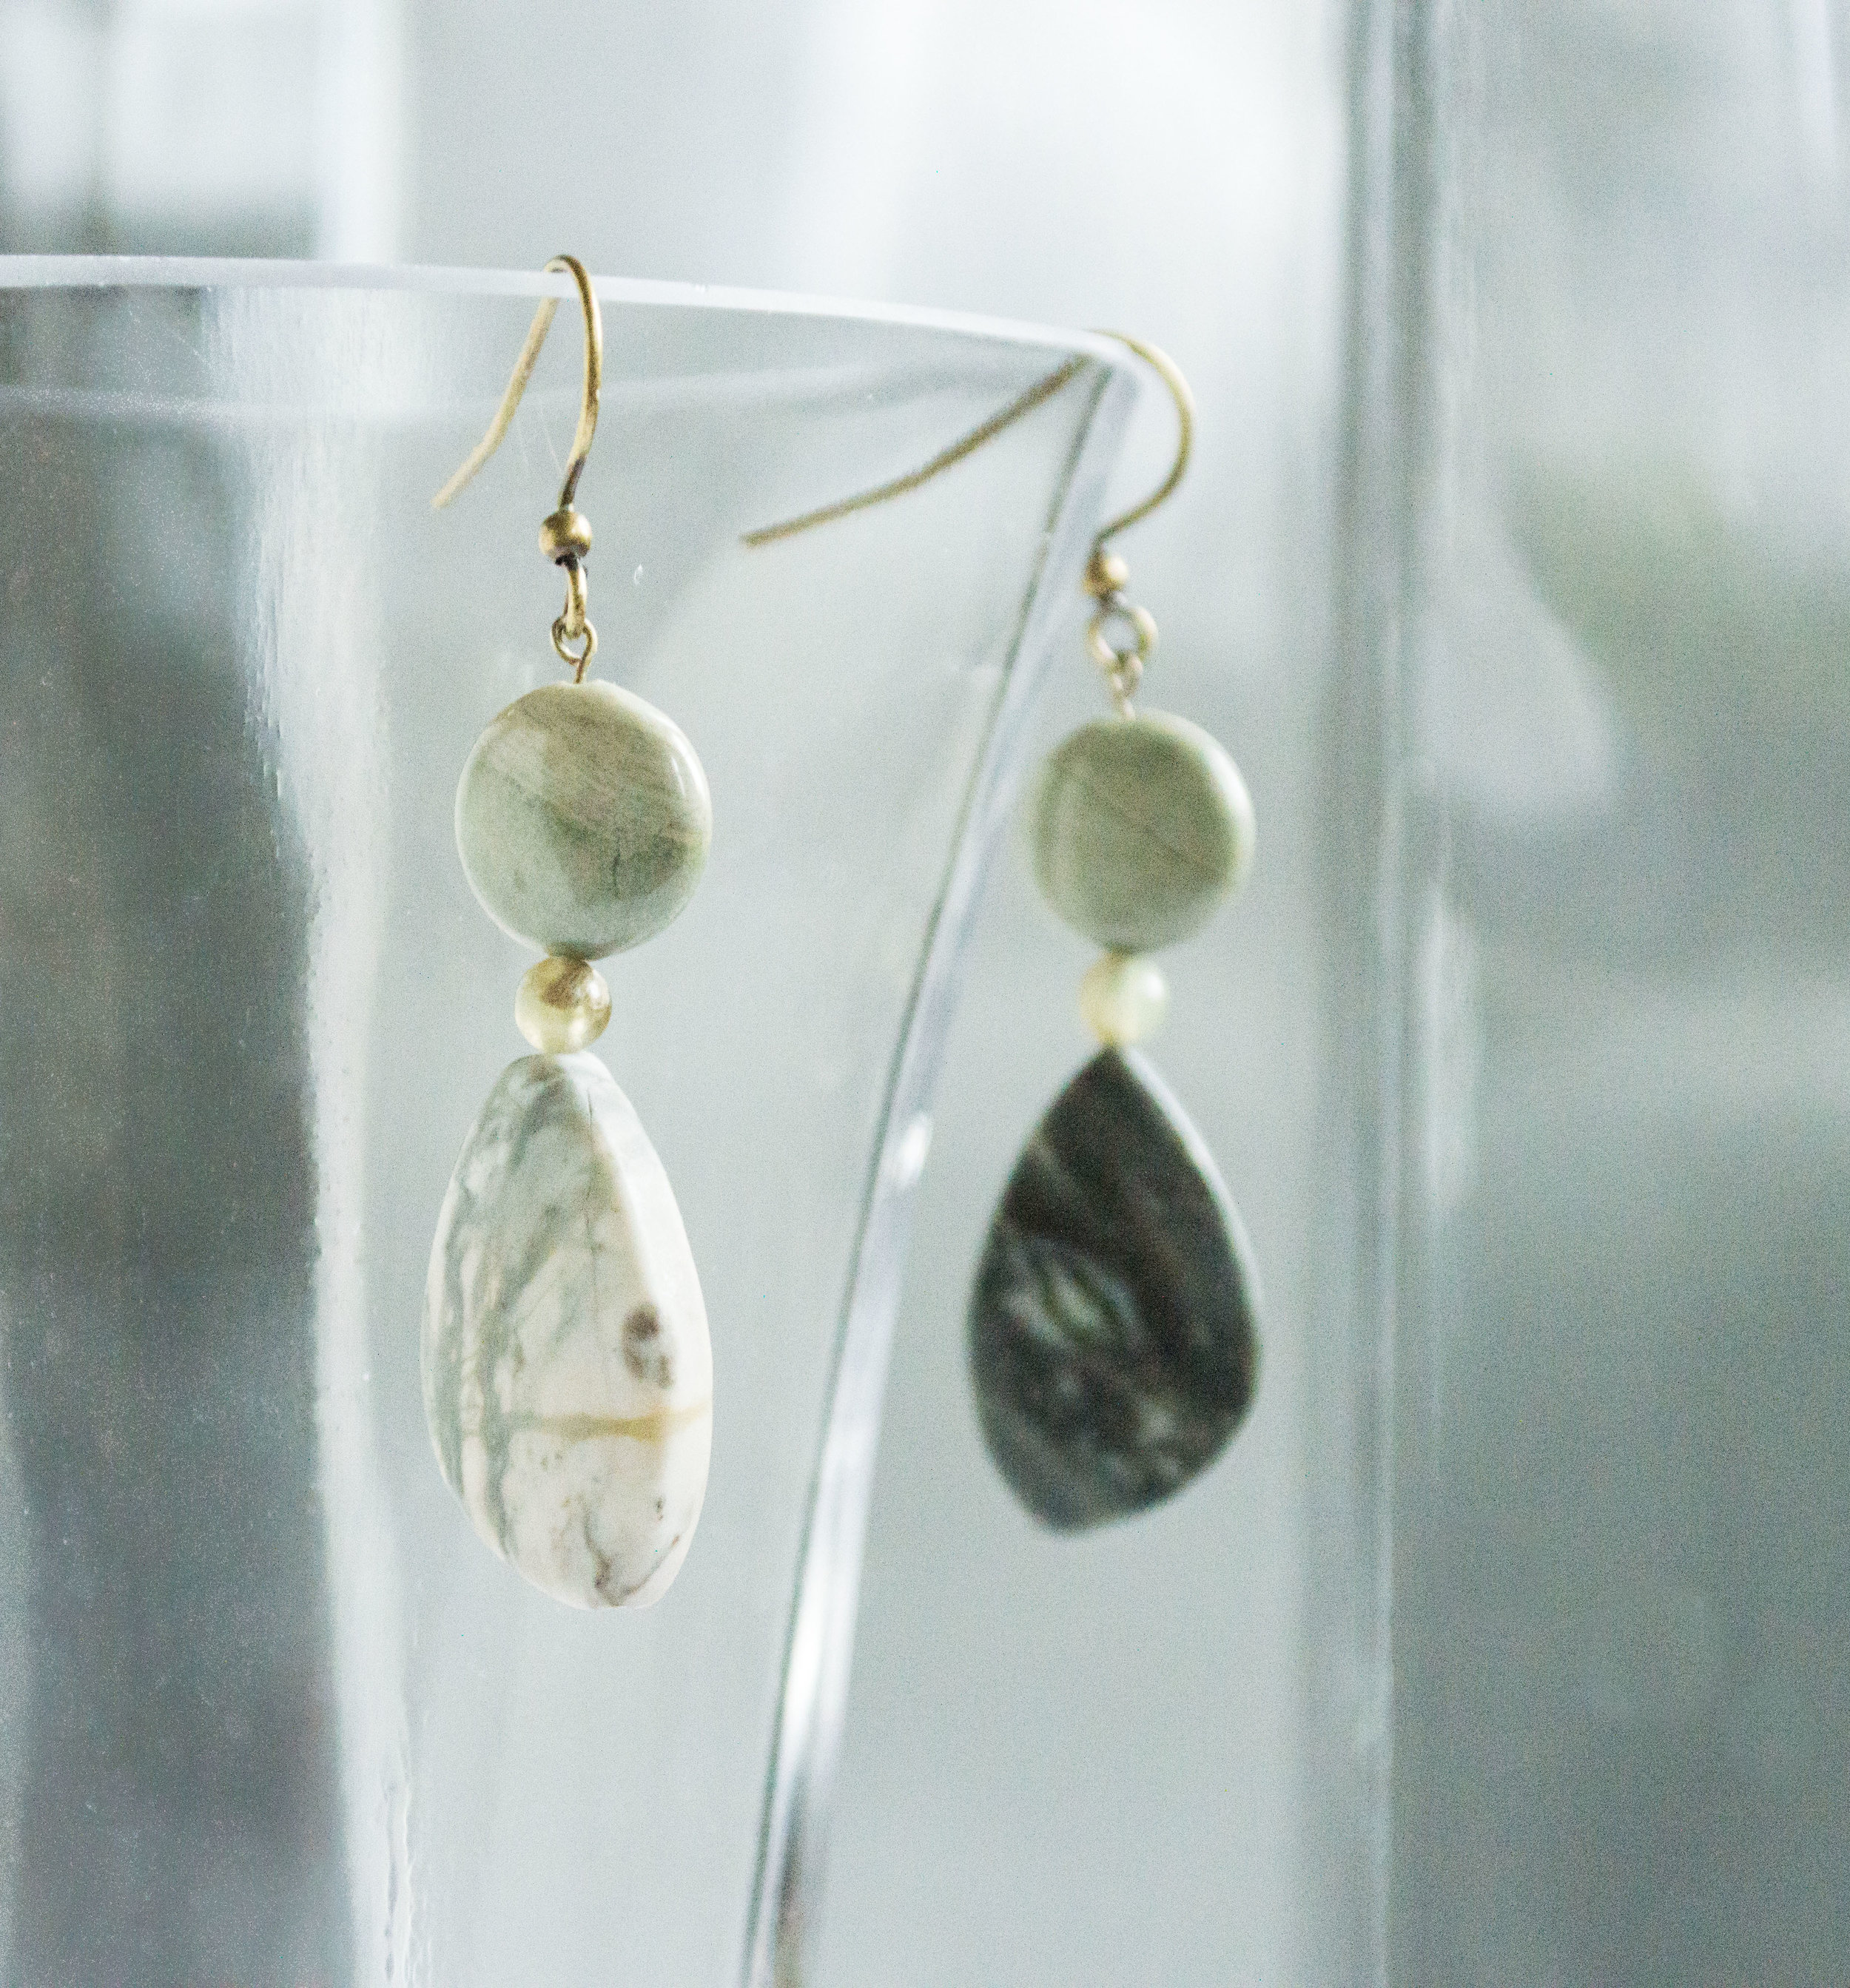
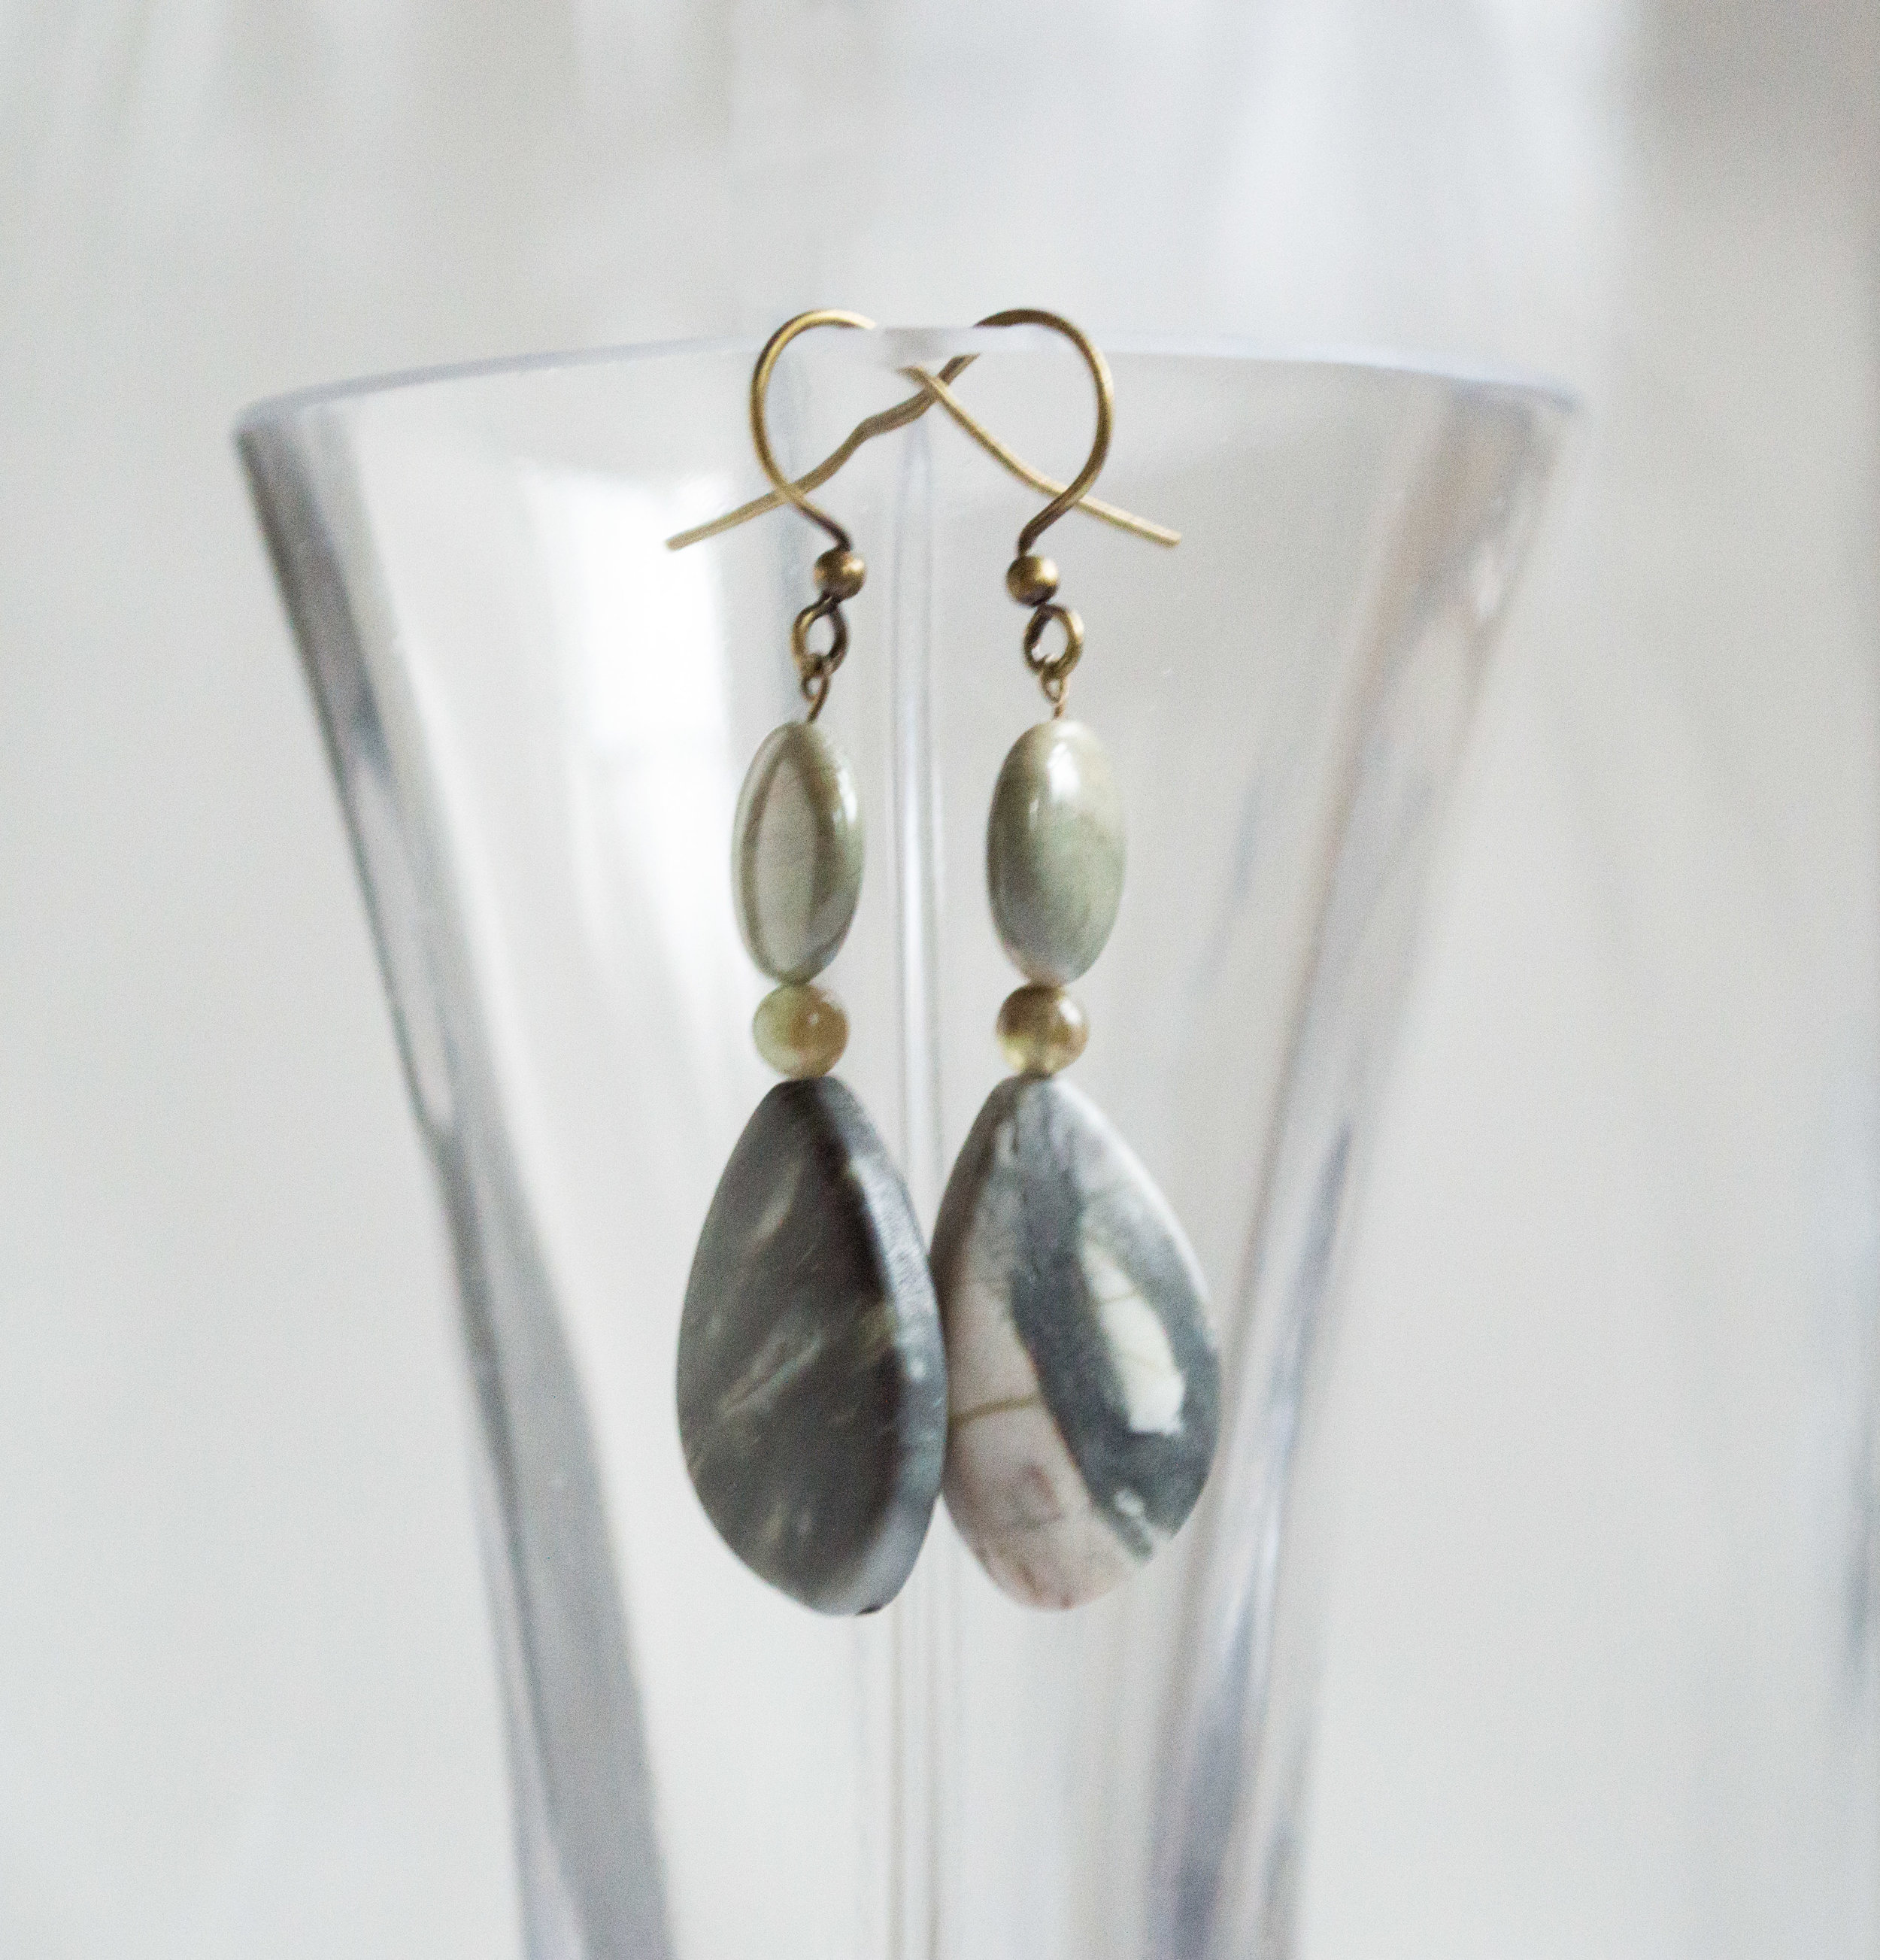
You've heard me rave about these stones before, I'm sure. The best purchase I've ever made, stone-wise? Let's see... top five for sure. I adore the asymmetrical cut, the smooth flow of the line, the painterly patterns that vary SO MUCH (see Sara below)... And of course they're jasper, my shop's namesake. Make them black and white I just melt into a puddle of be-still-my-heart. Maisie
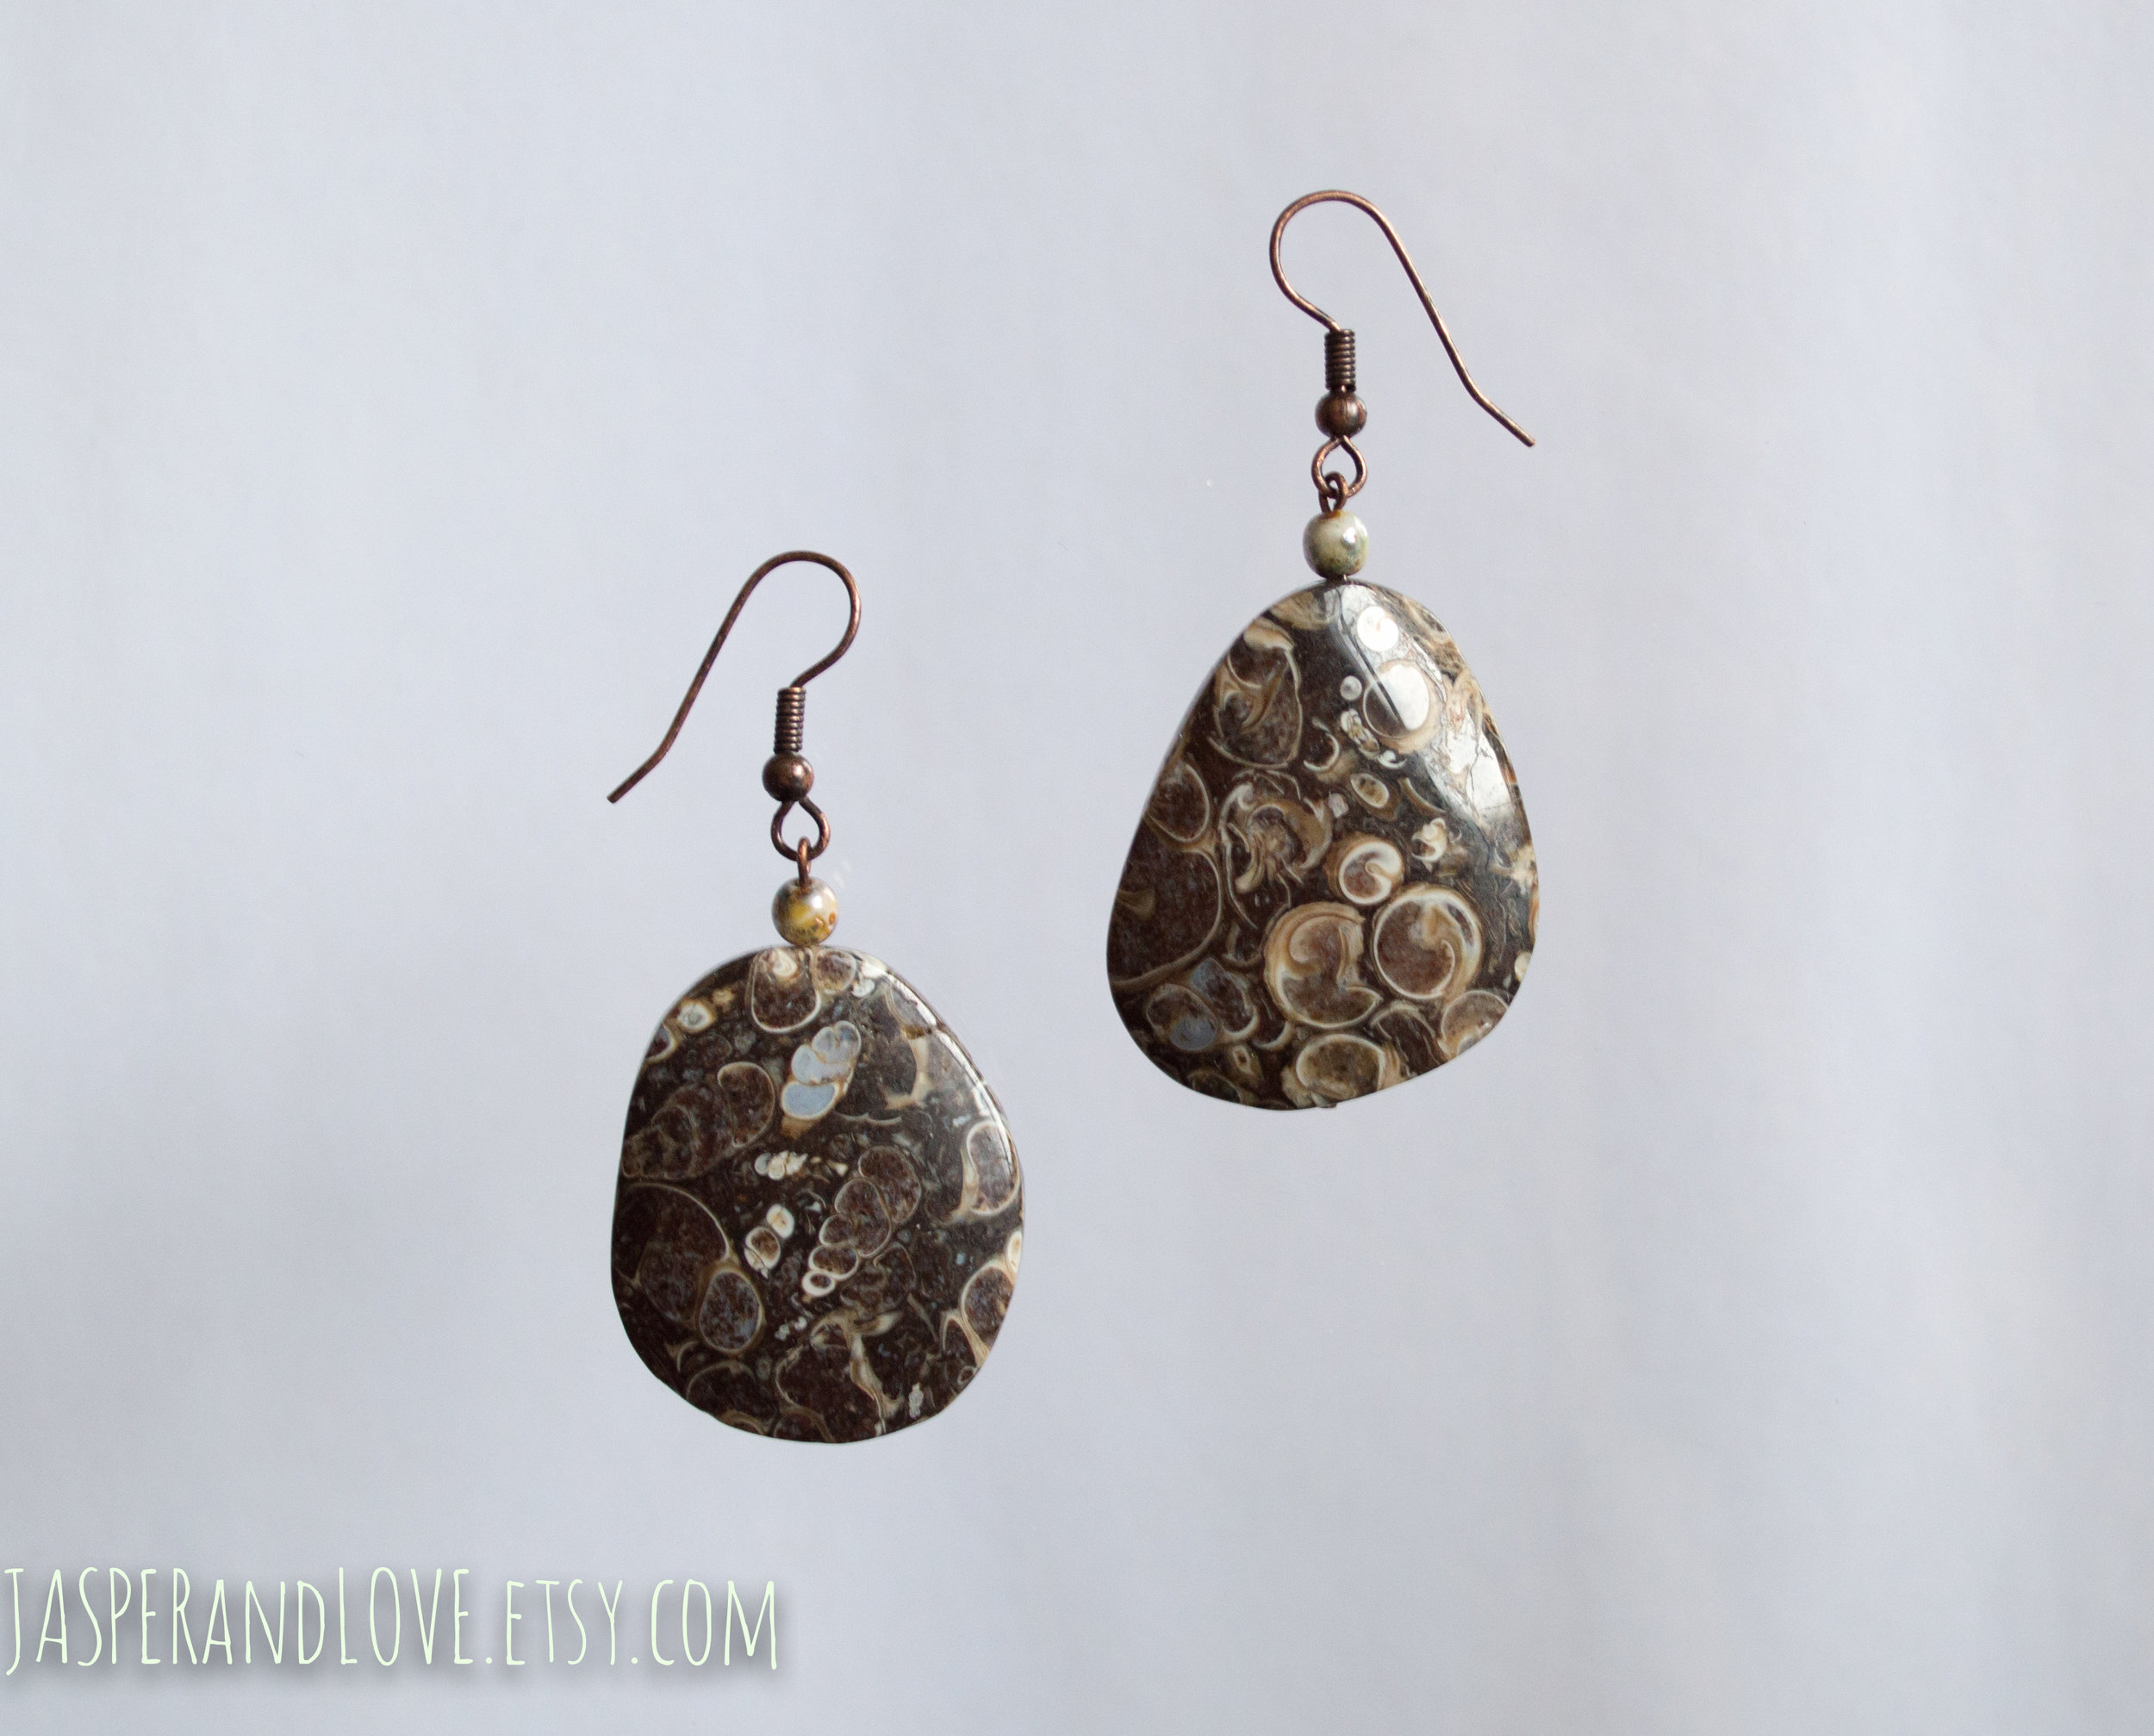
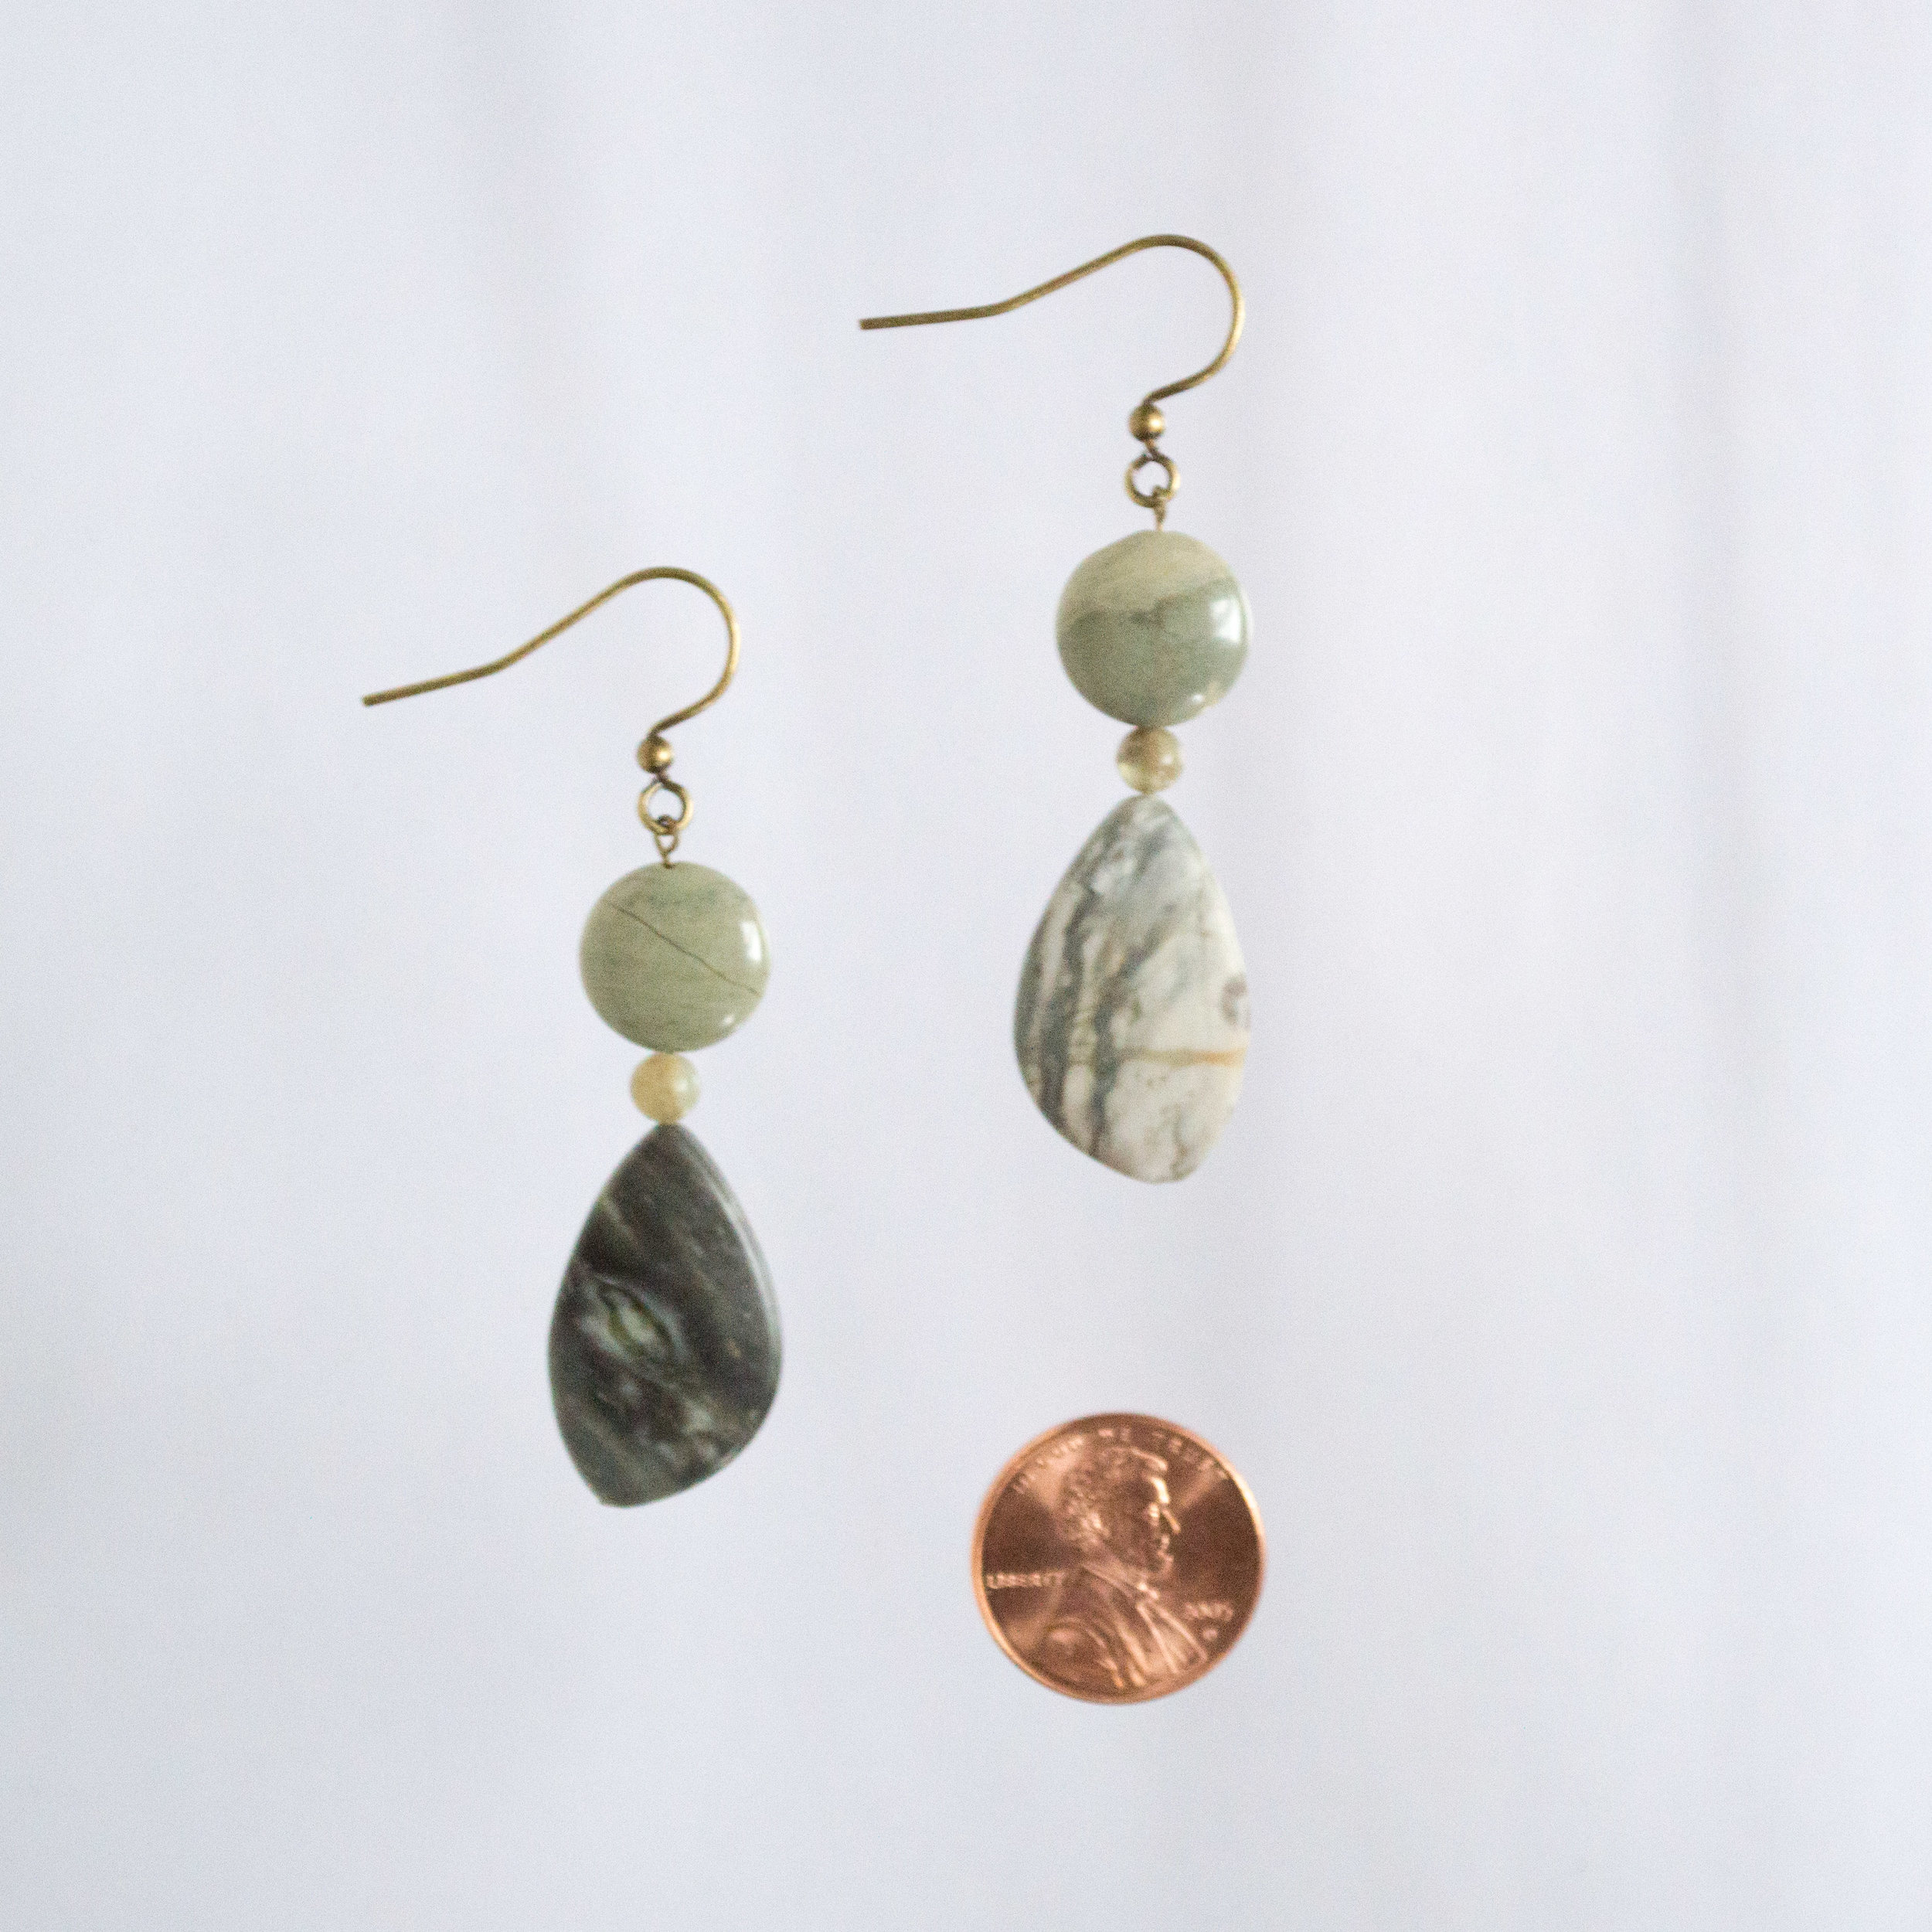
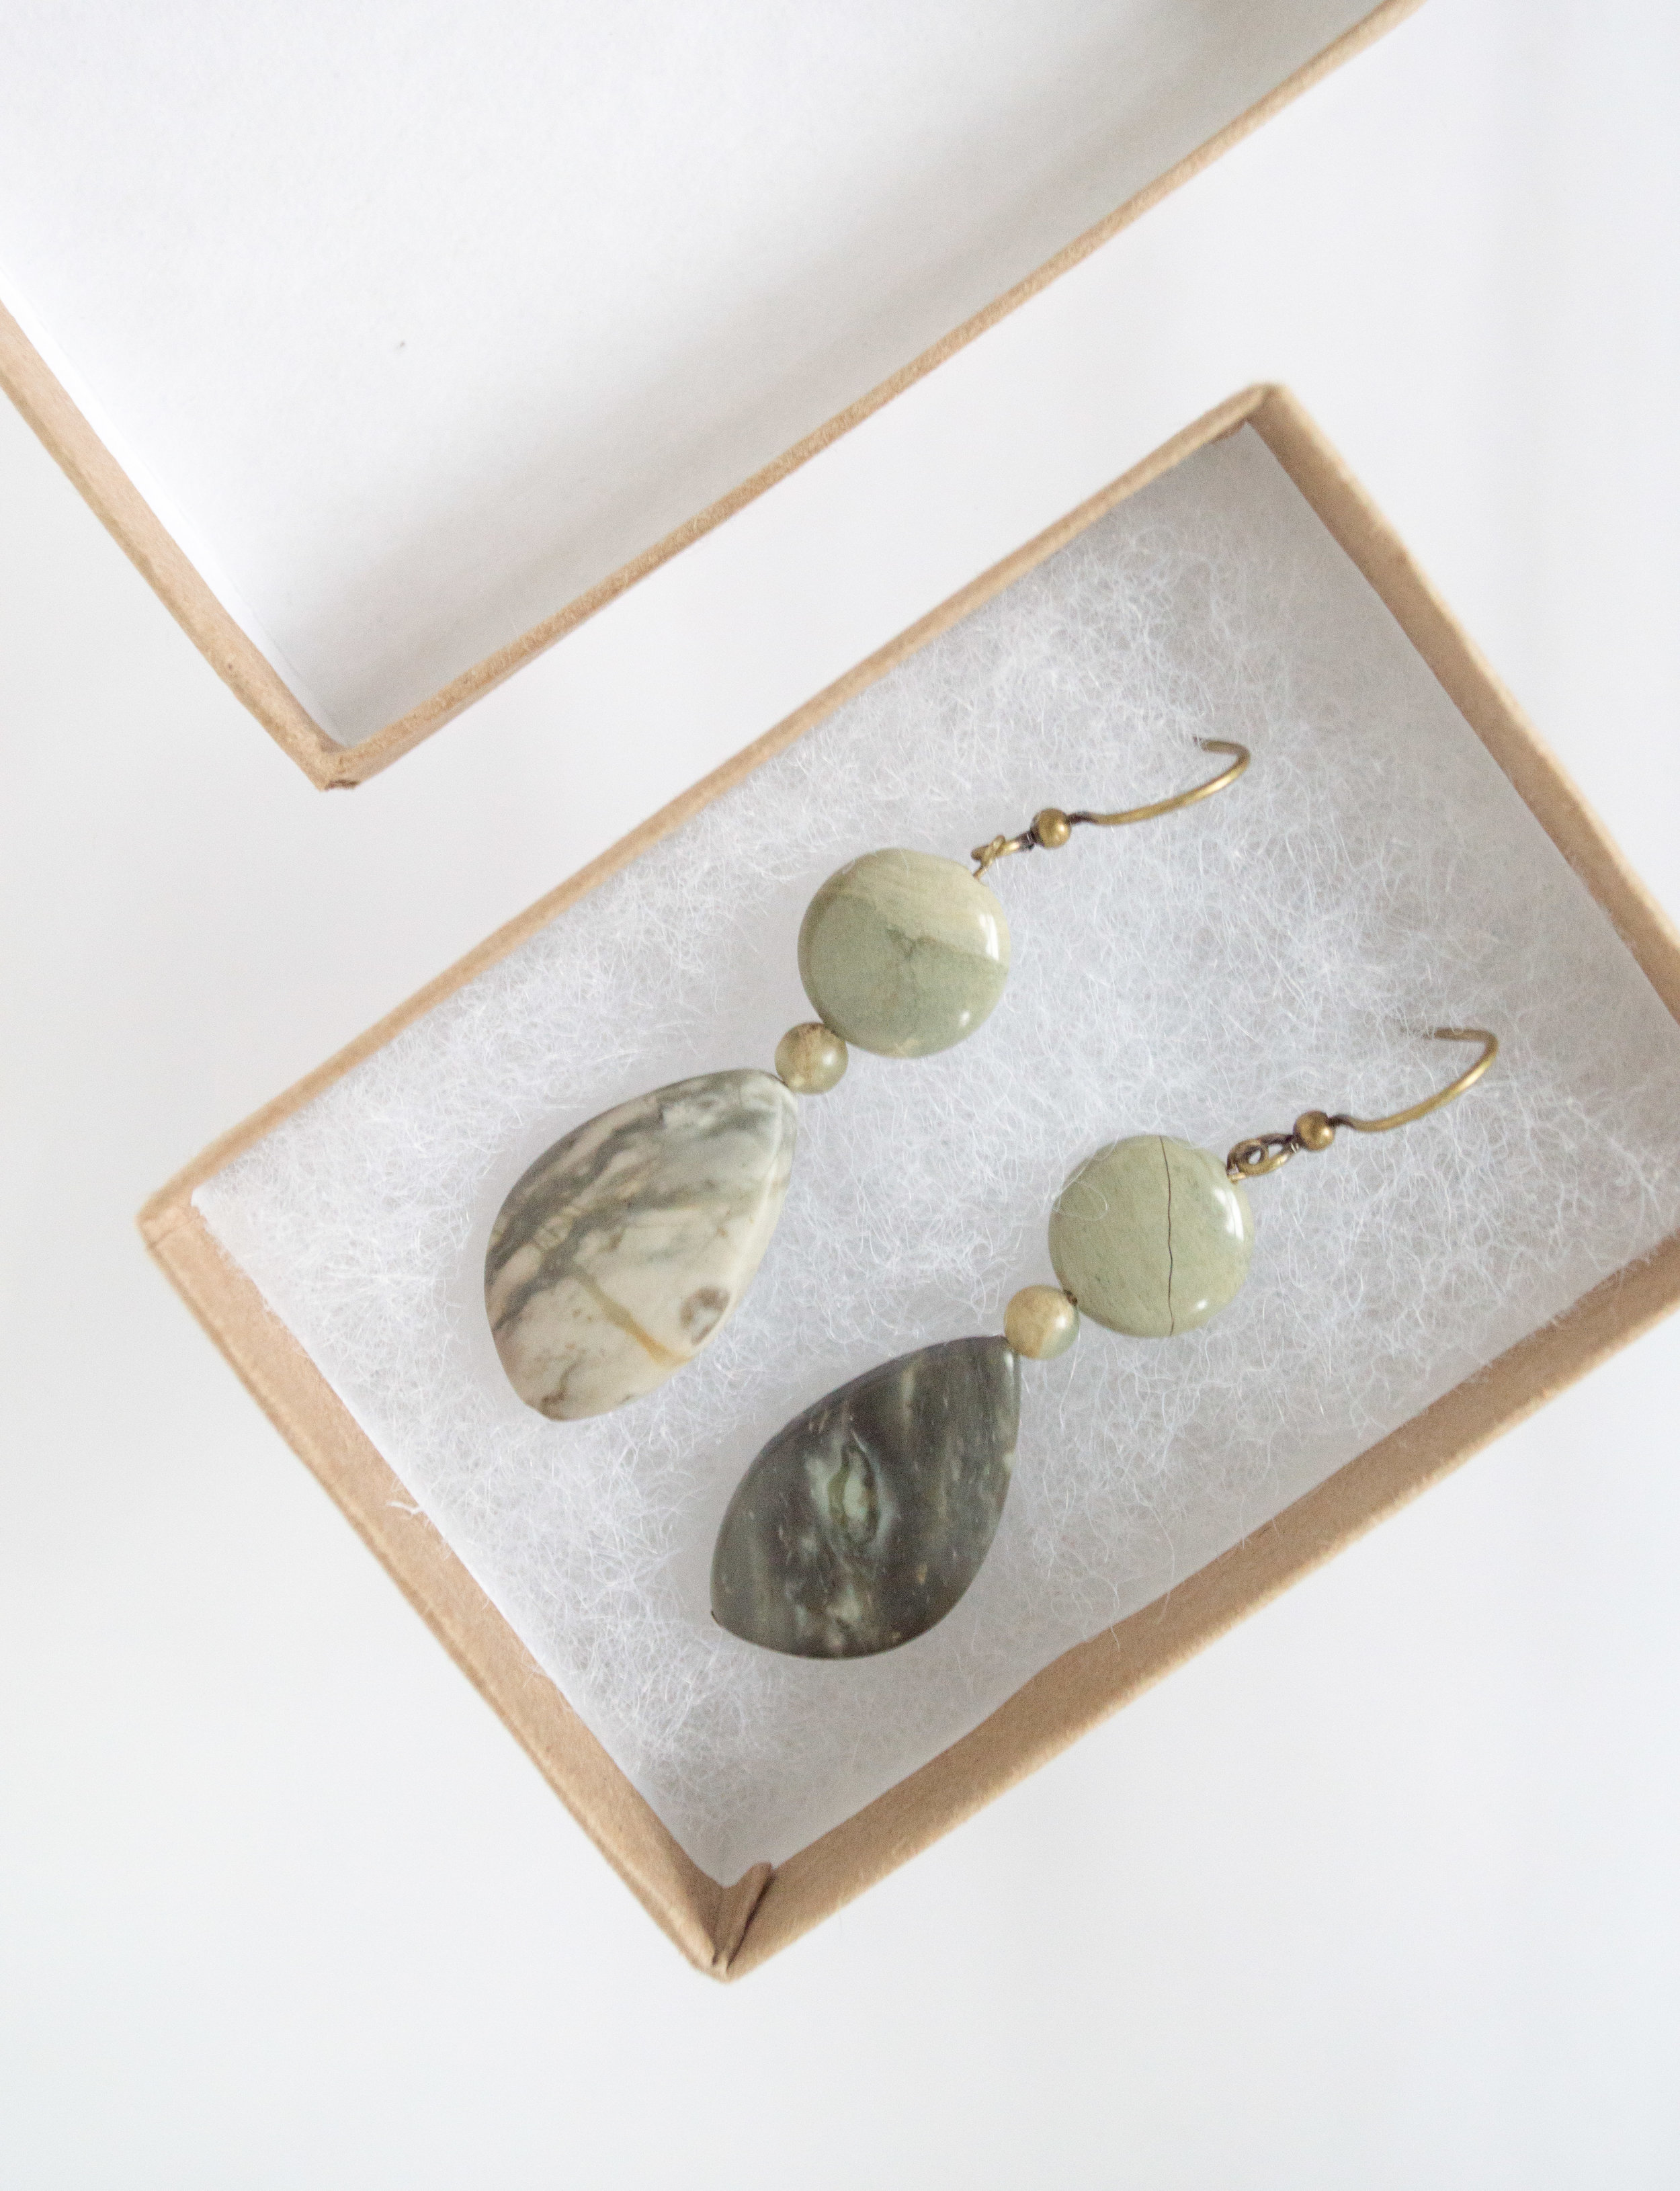
Sara! The soft neutrality of these remind me of the book title Sarah Plain and Tall, which probably inspired the naming of these earrings. Subtle, yet not lacking in detail. Notice the striations as if illustrated with graphite. Notice the way the moonstones - tiny orange and larger grey - bring out the best in these larger jasper stones. I could go on and on about the elegance of shapes here, but I'll save that for another post about composition. Love these.
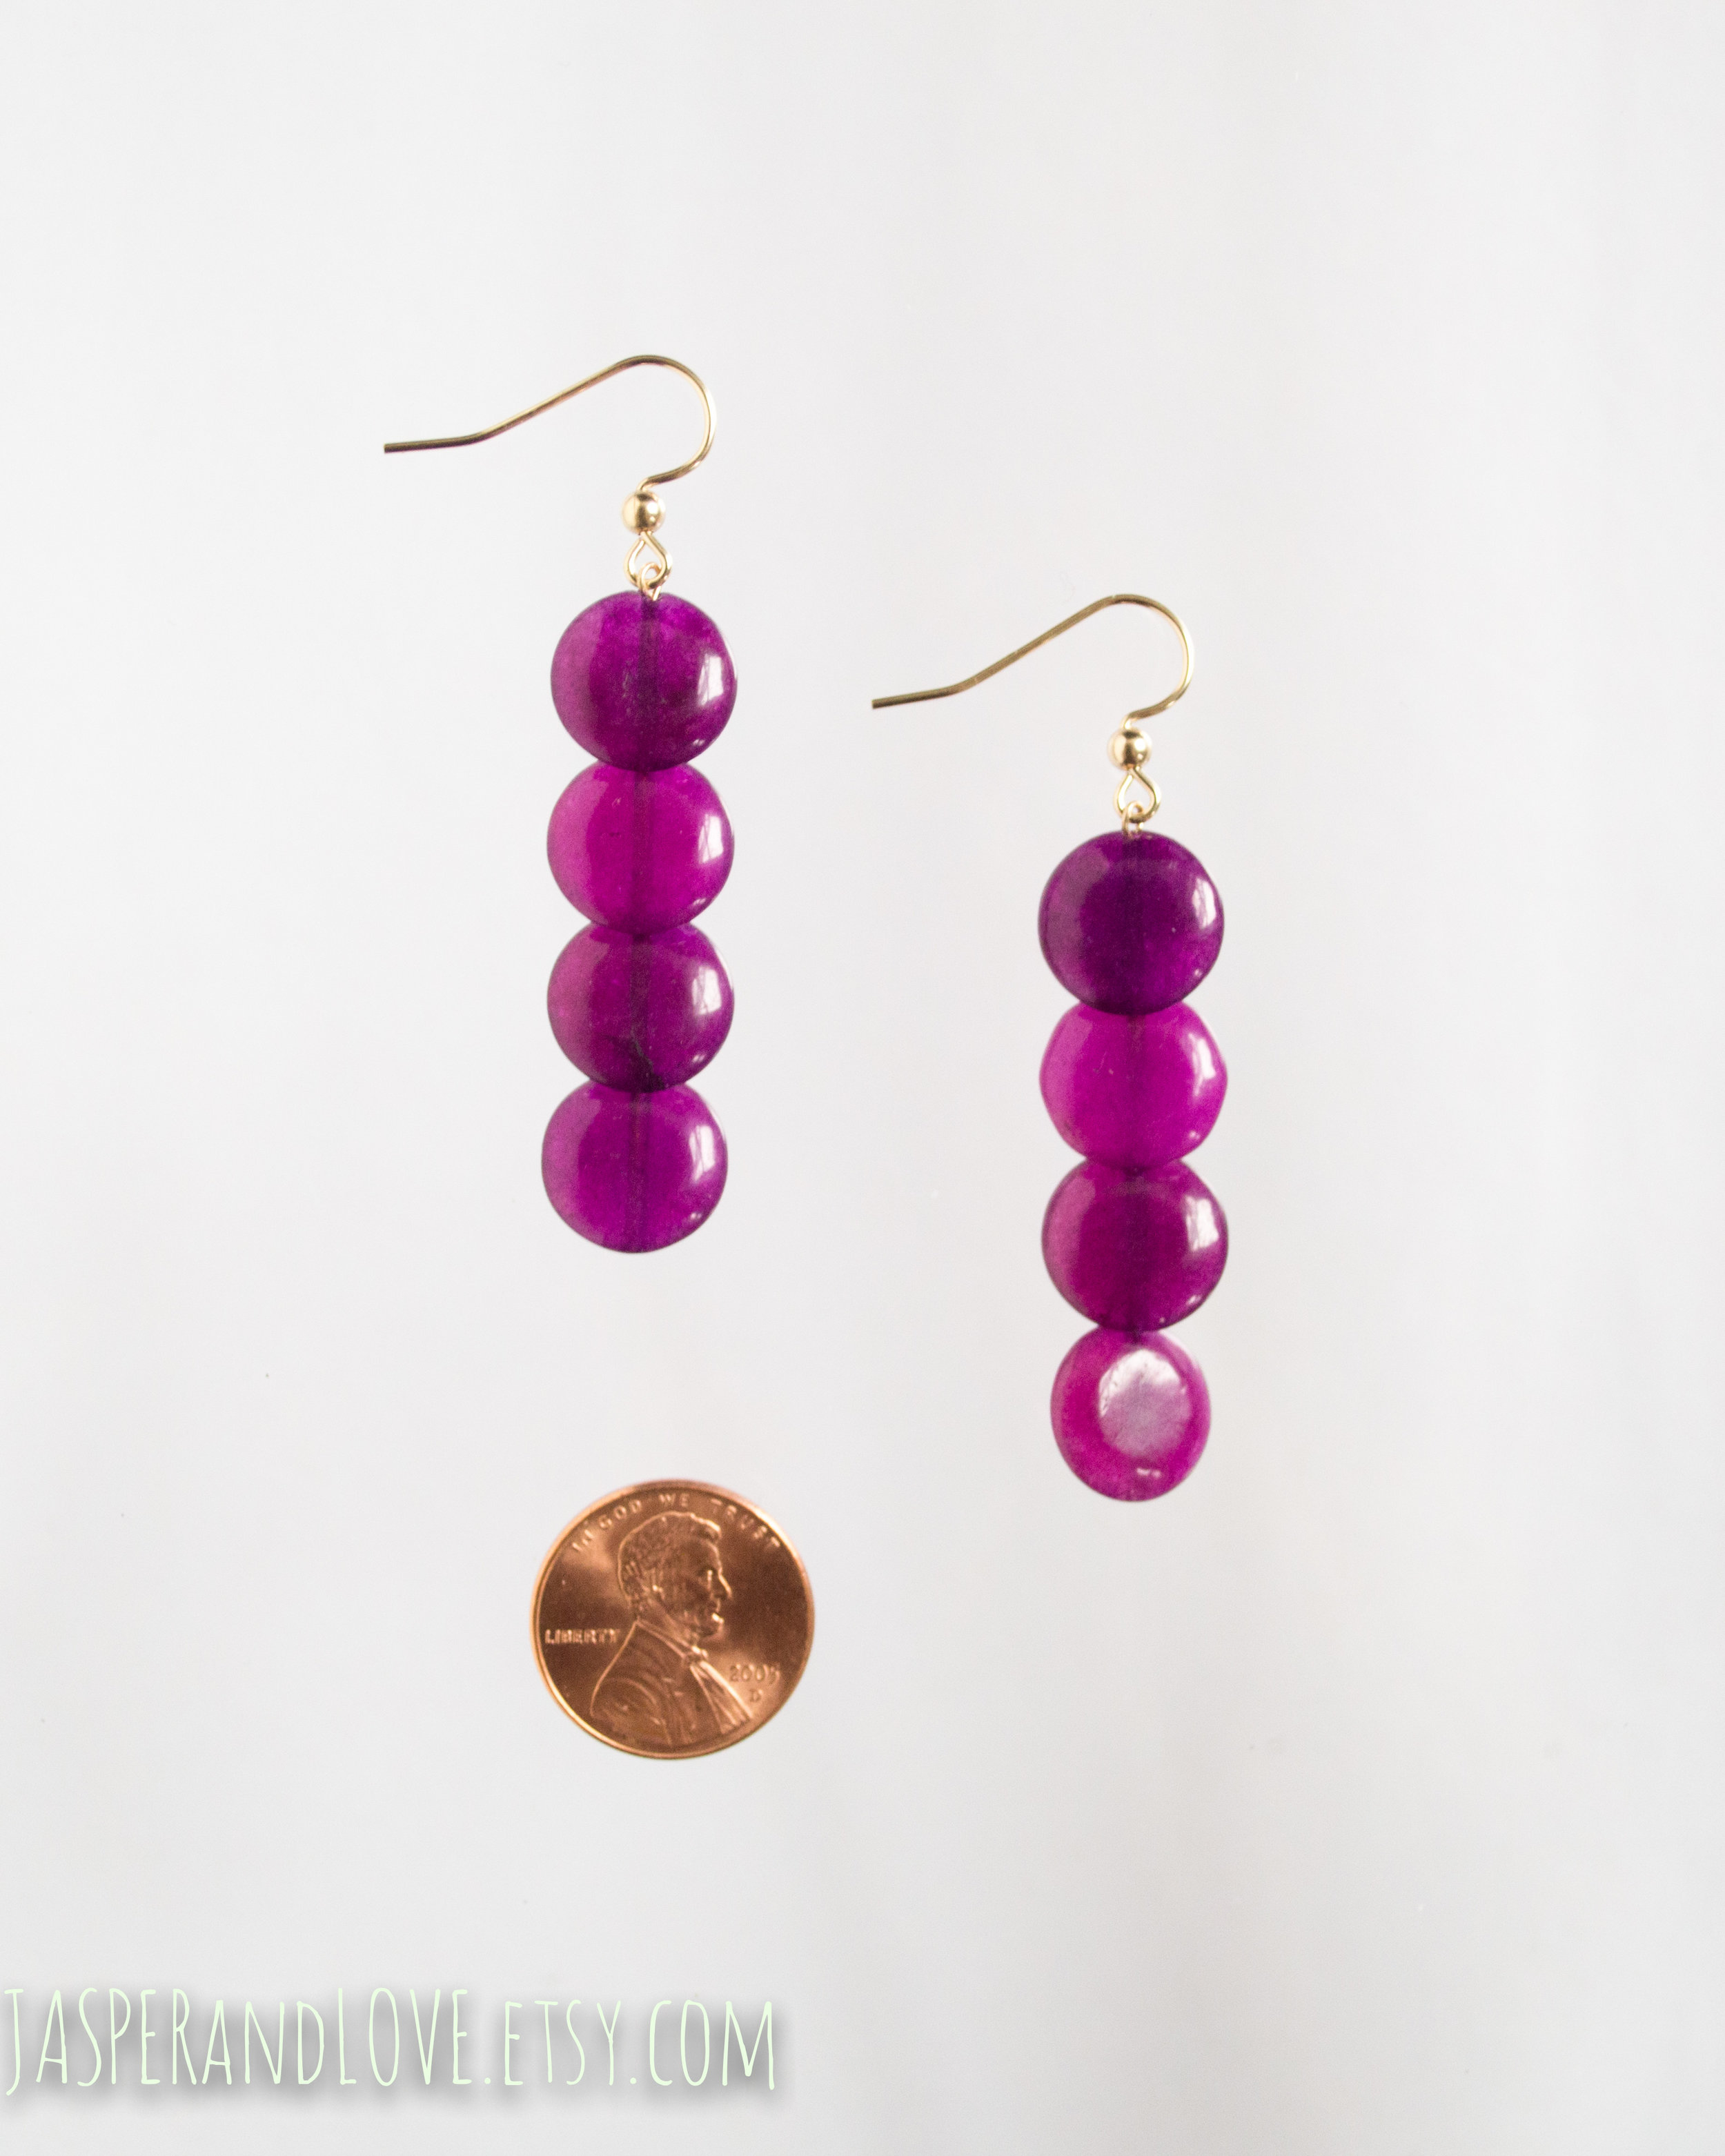
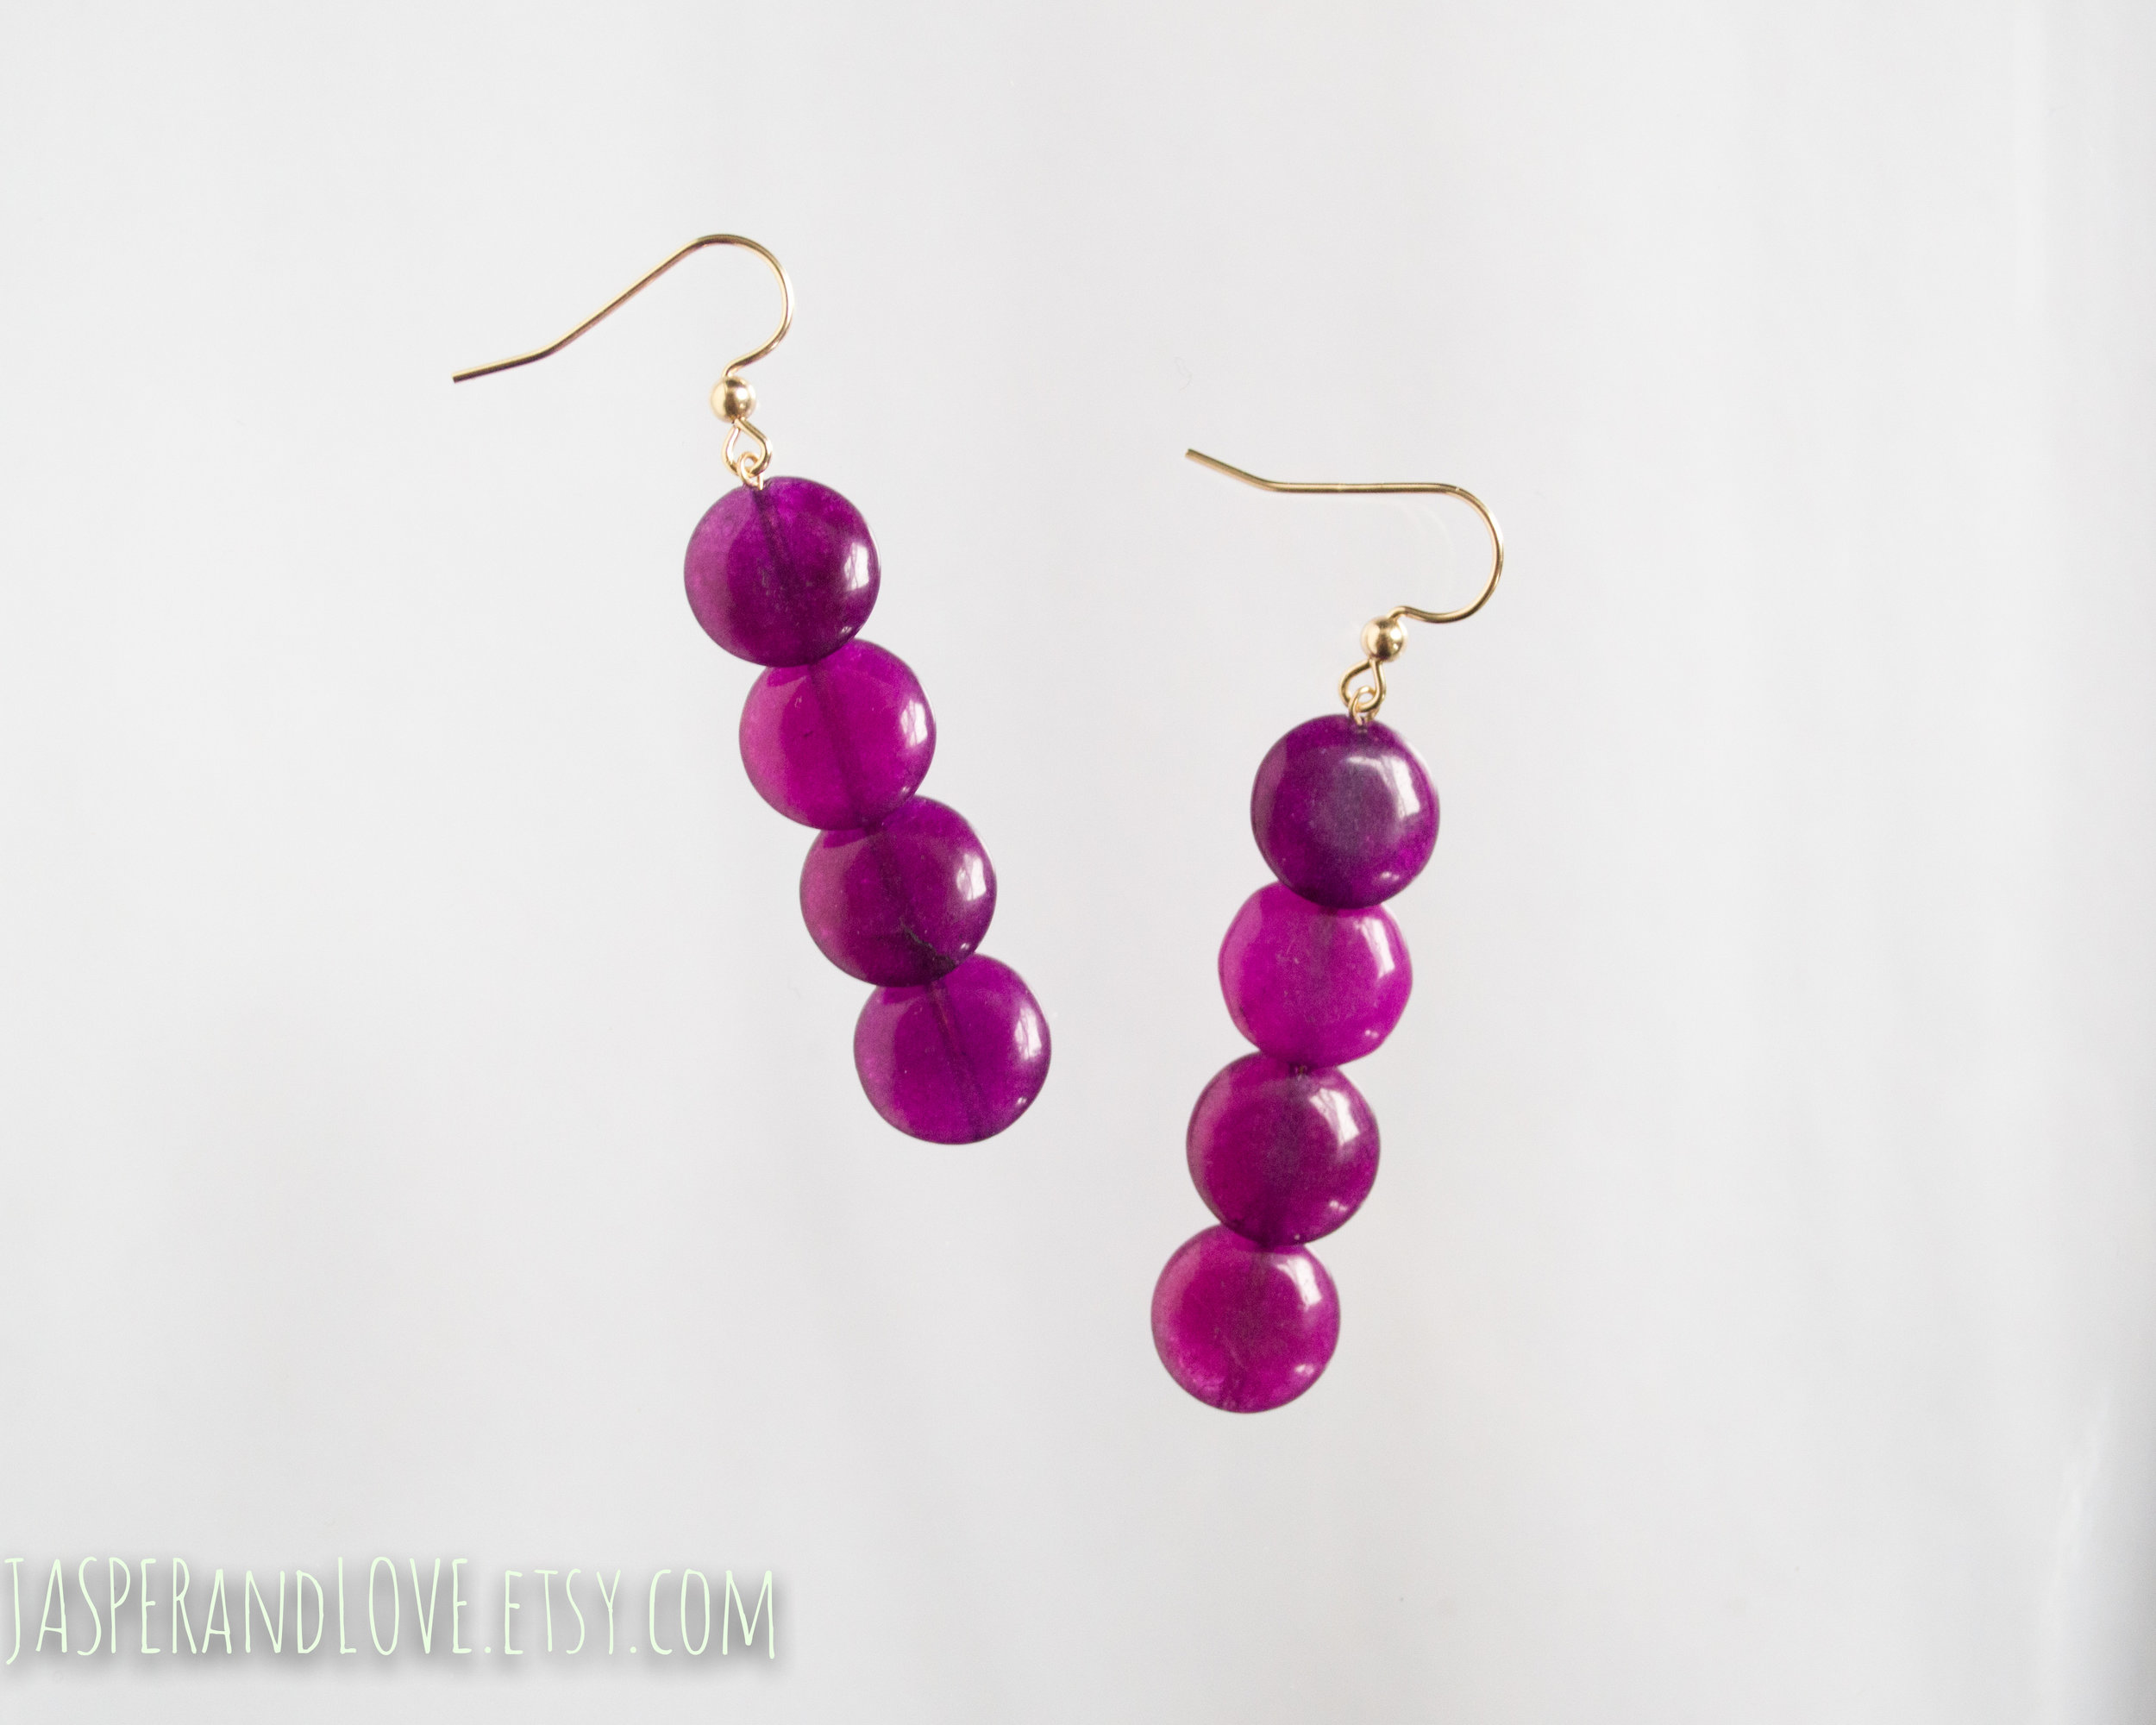
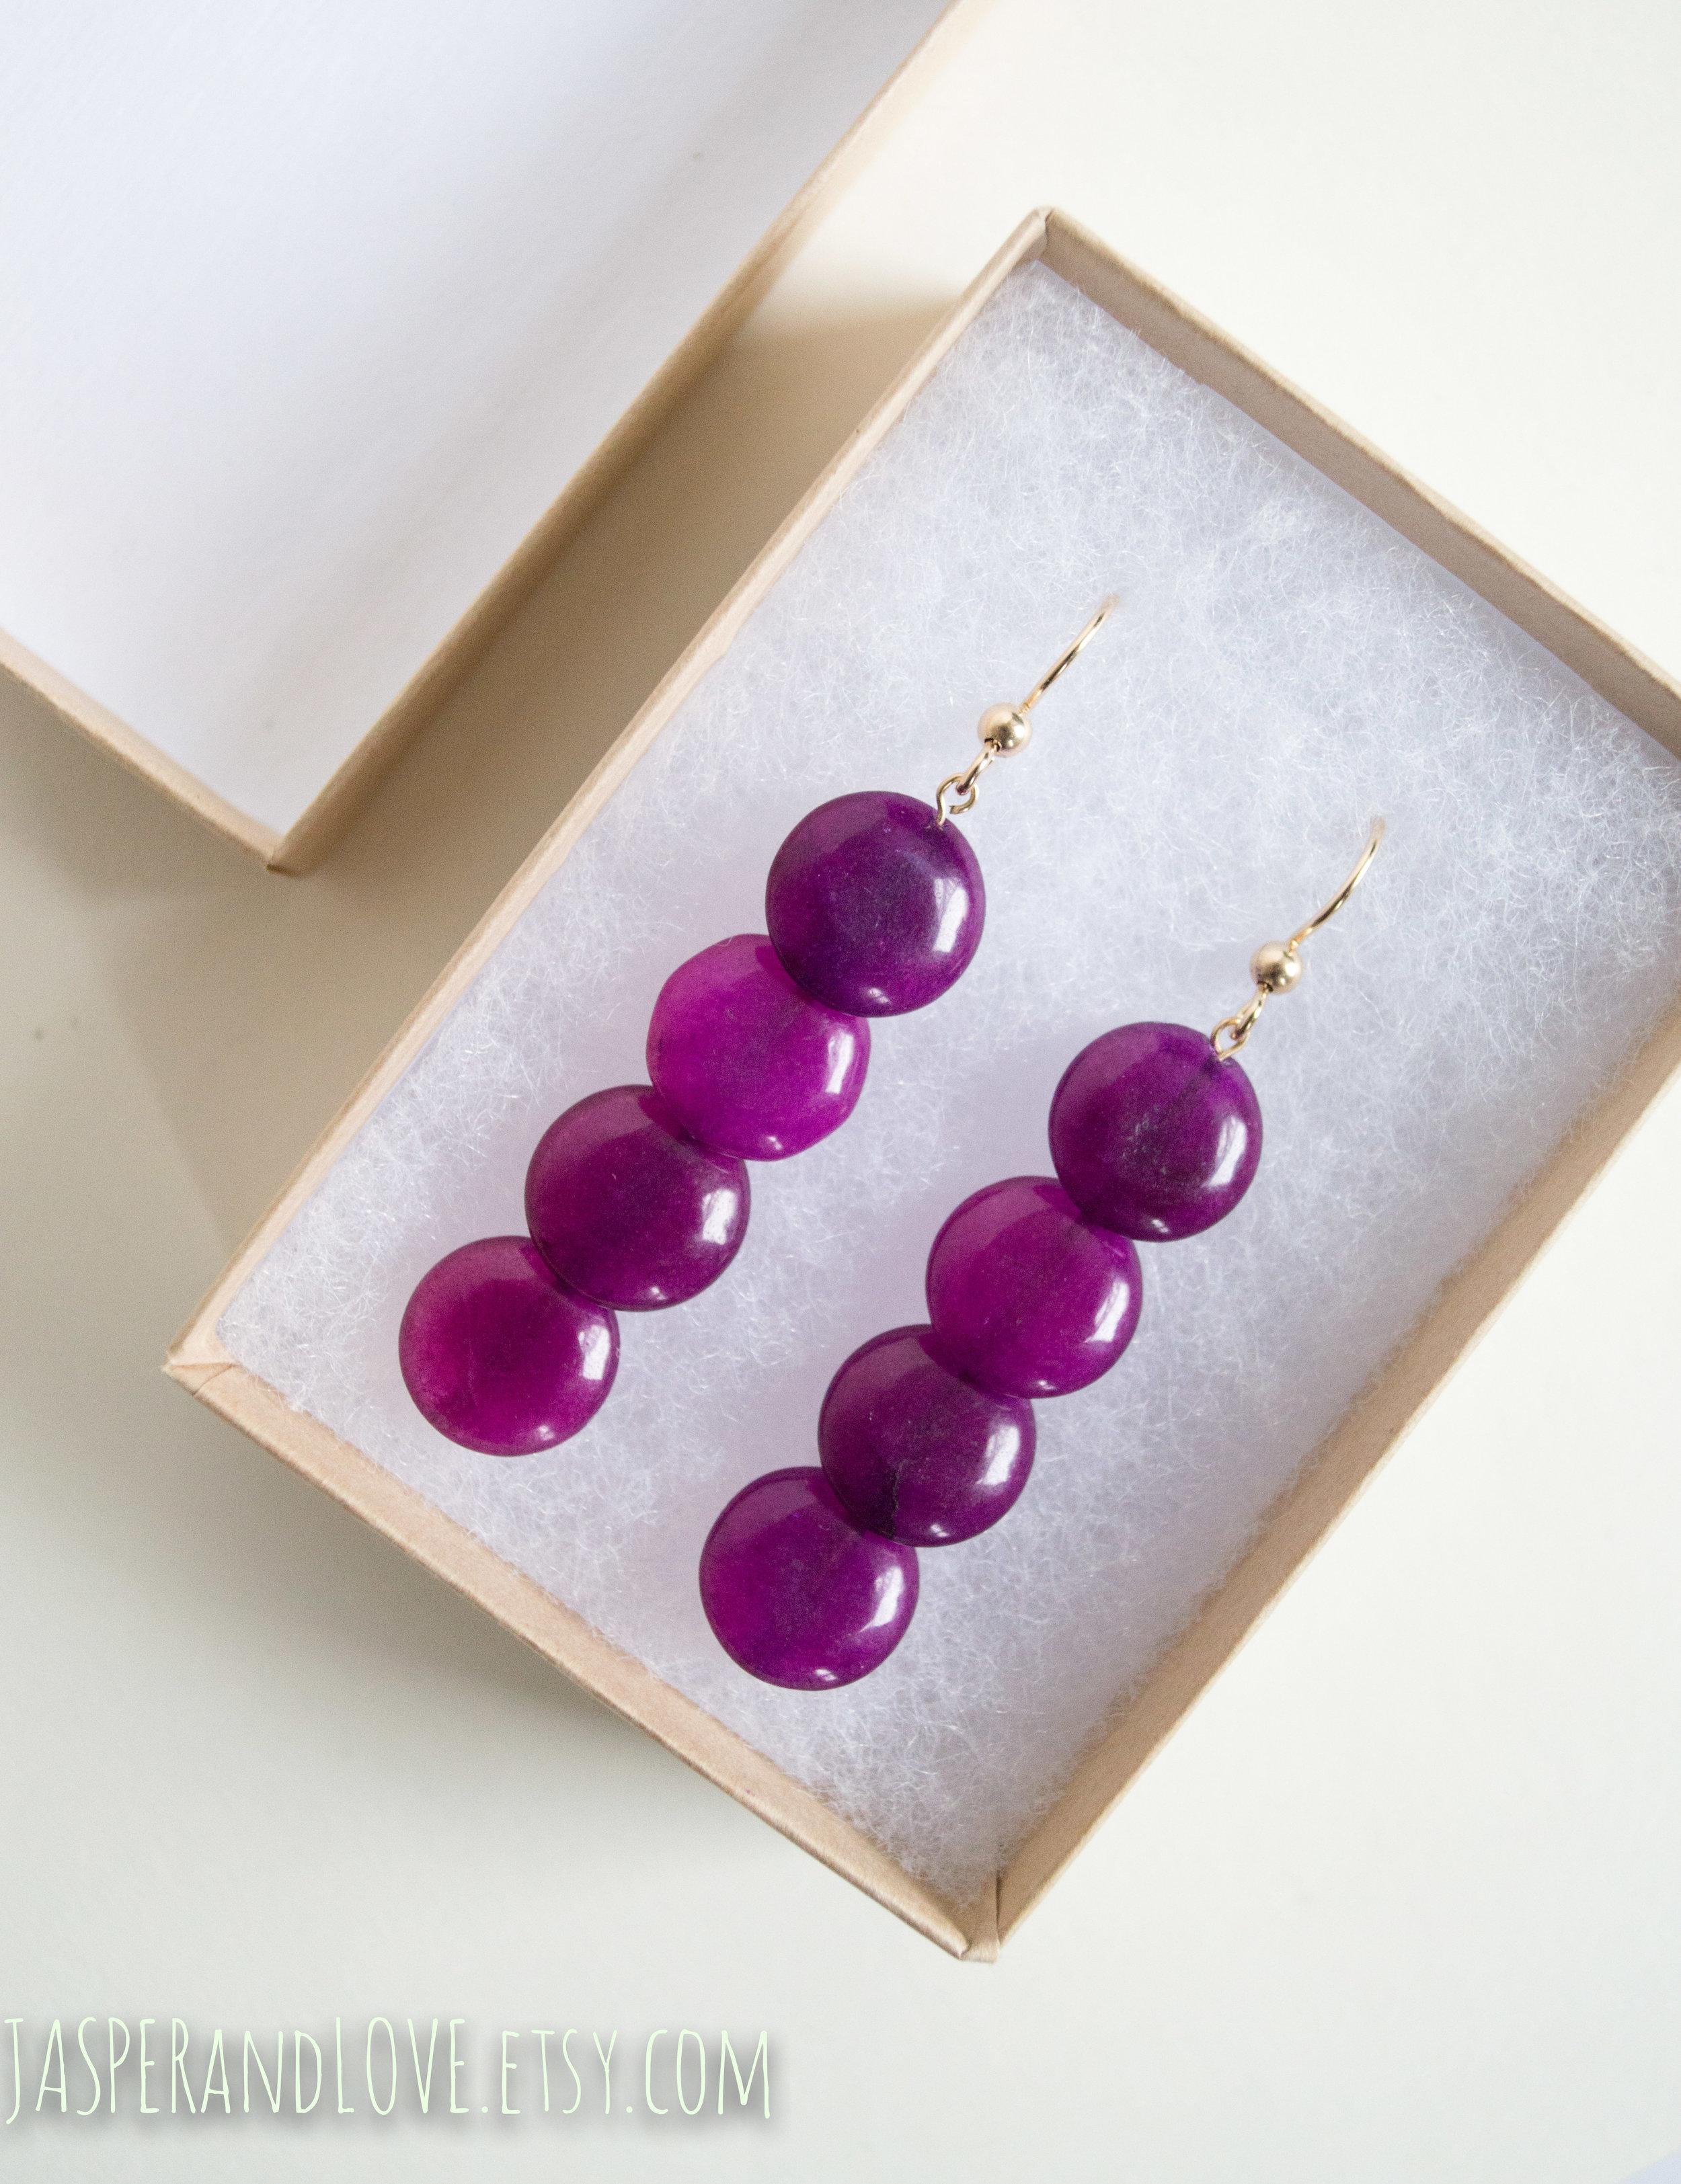
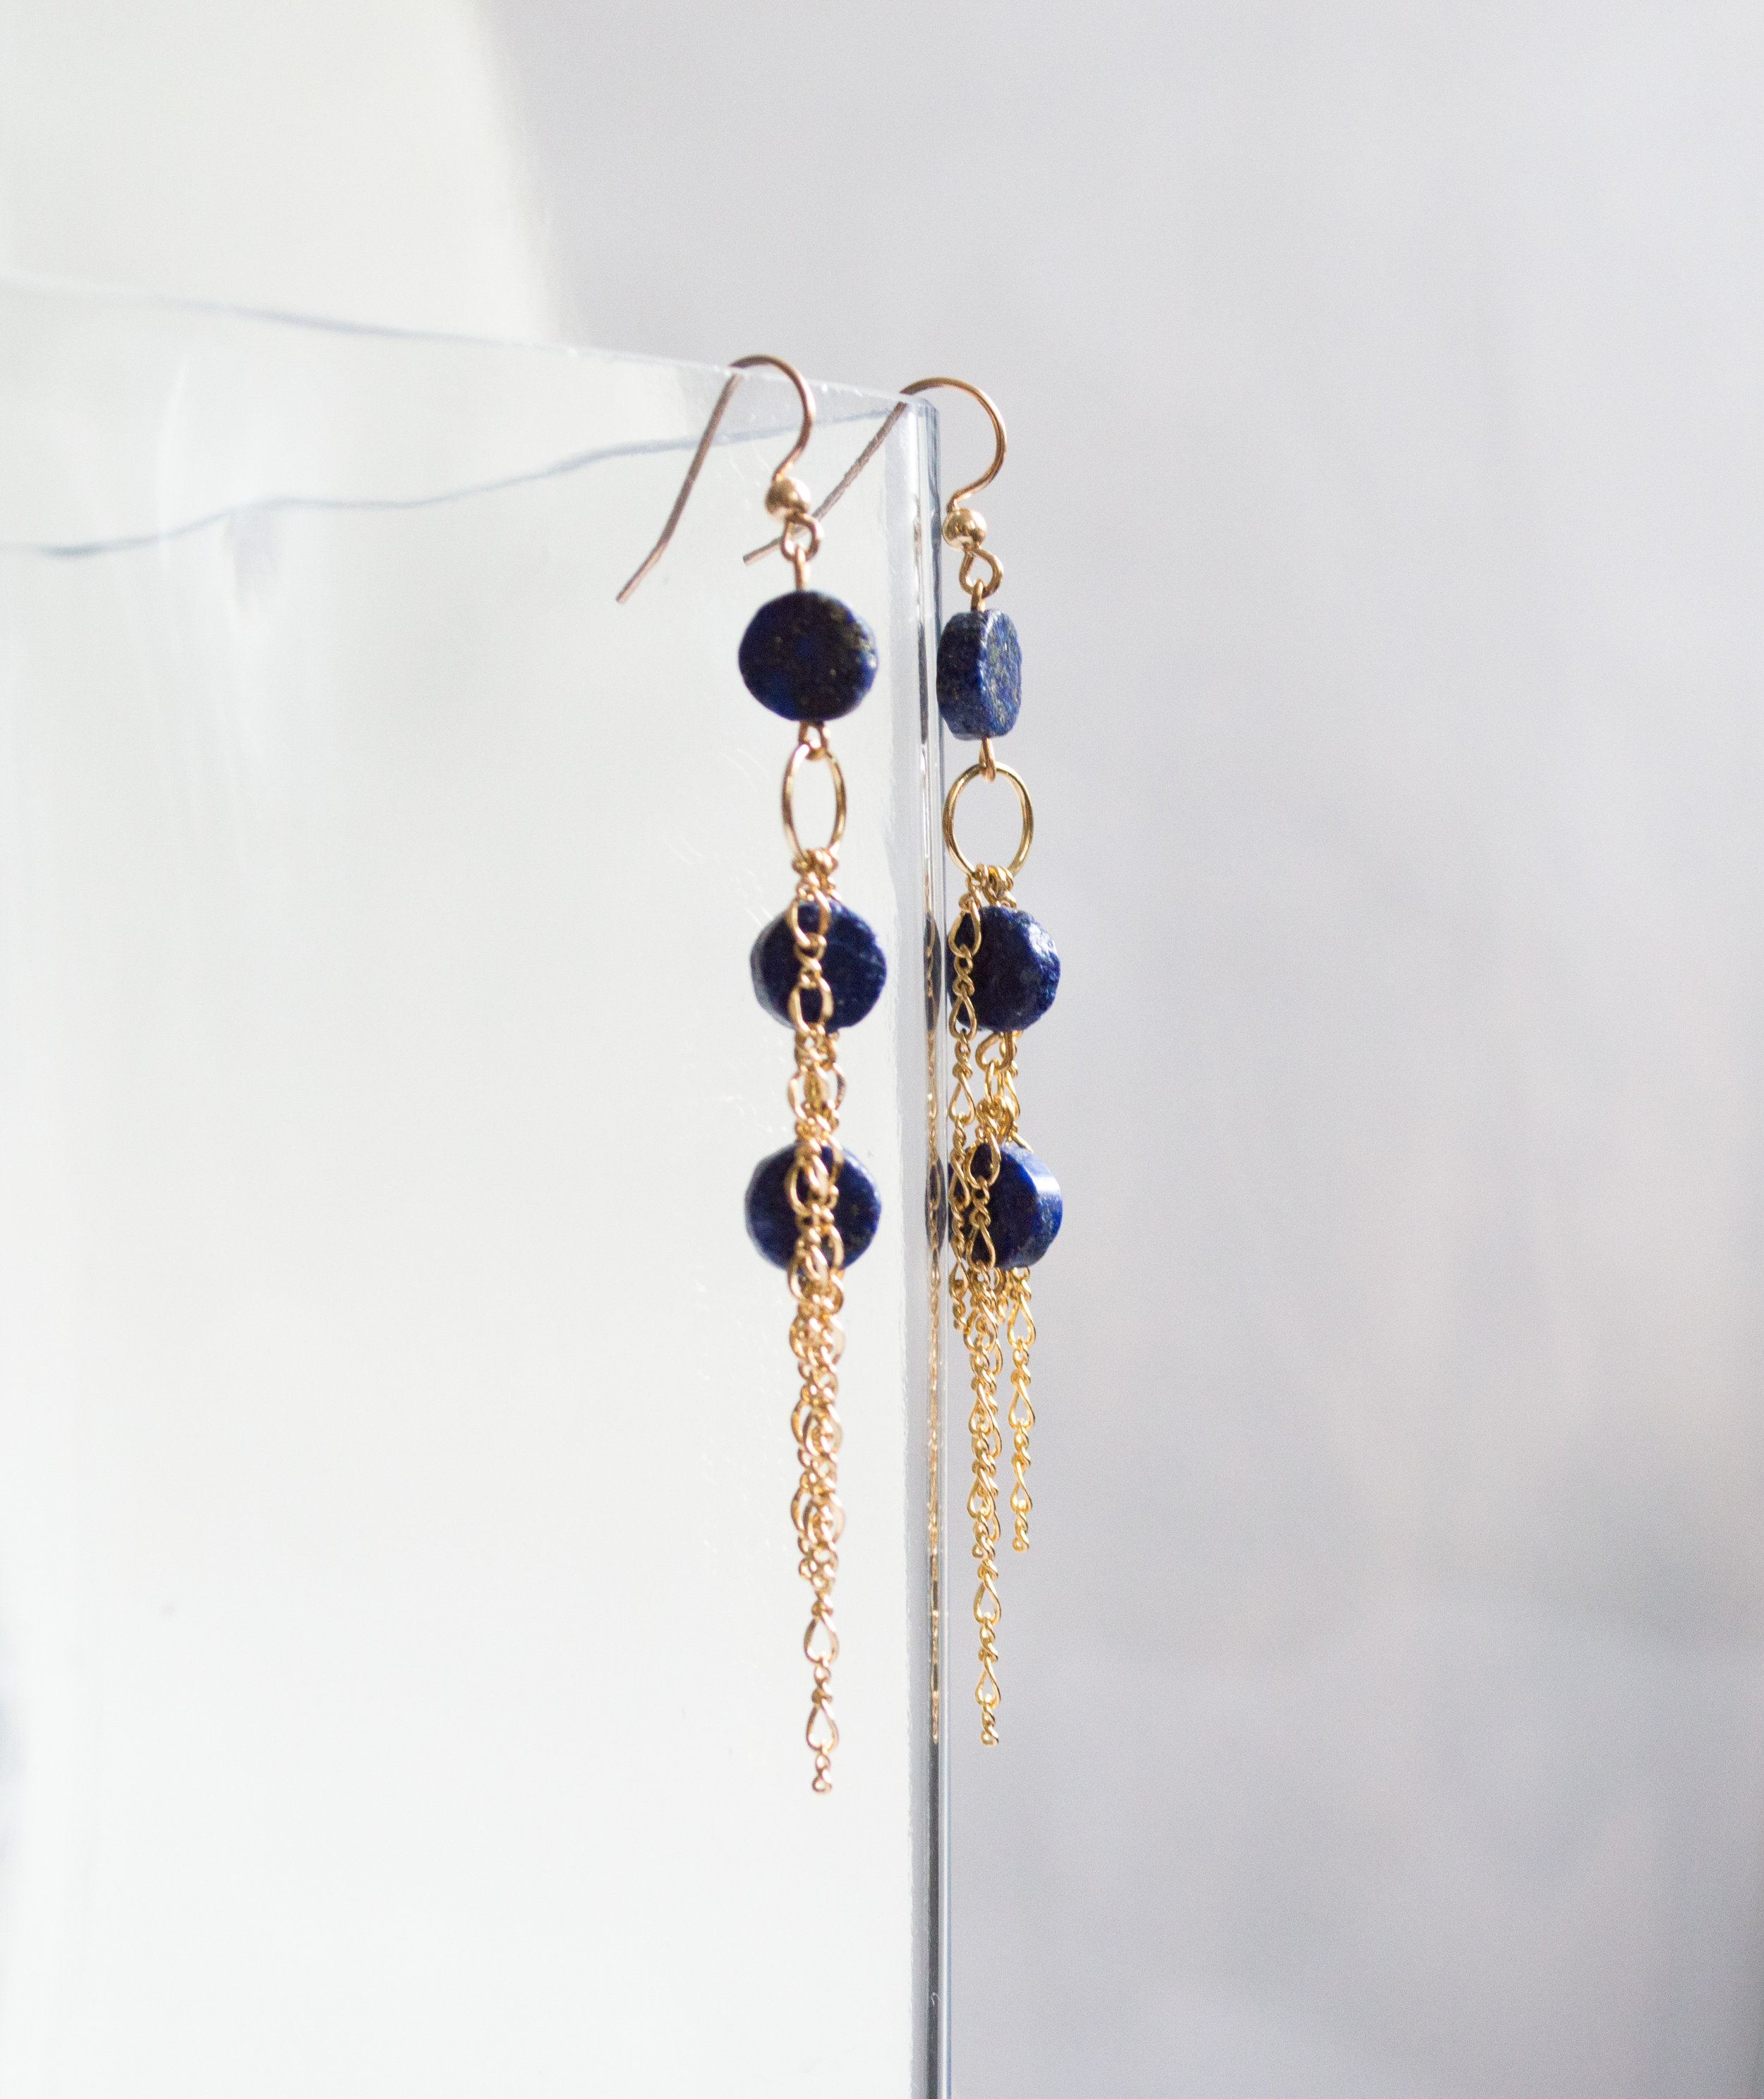
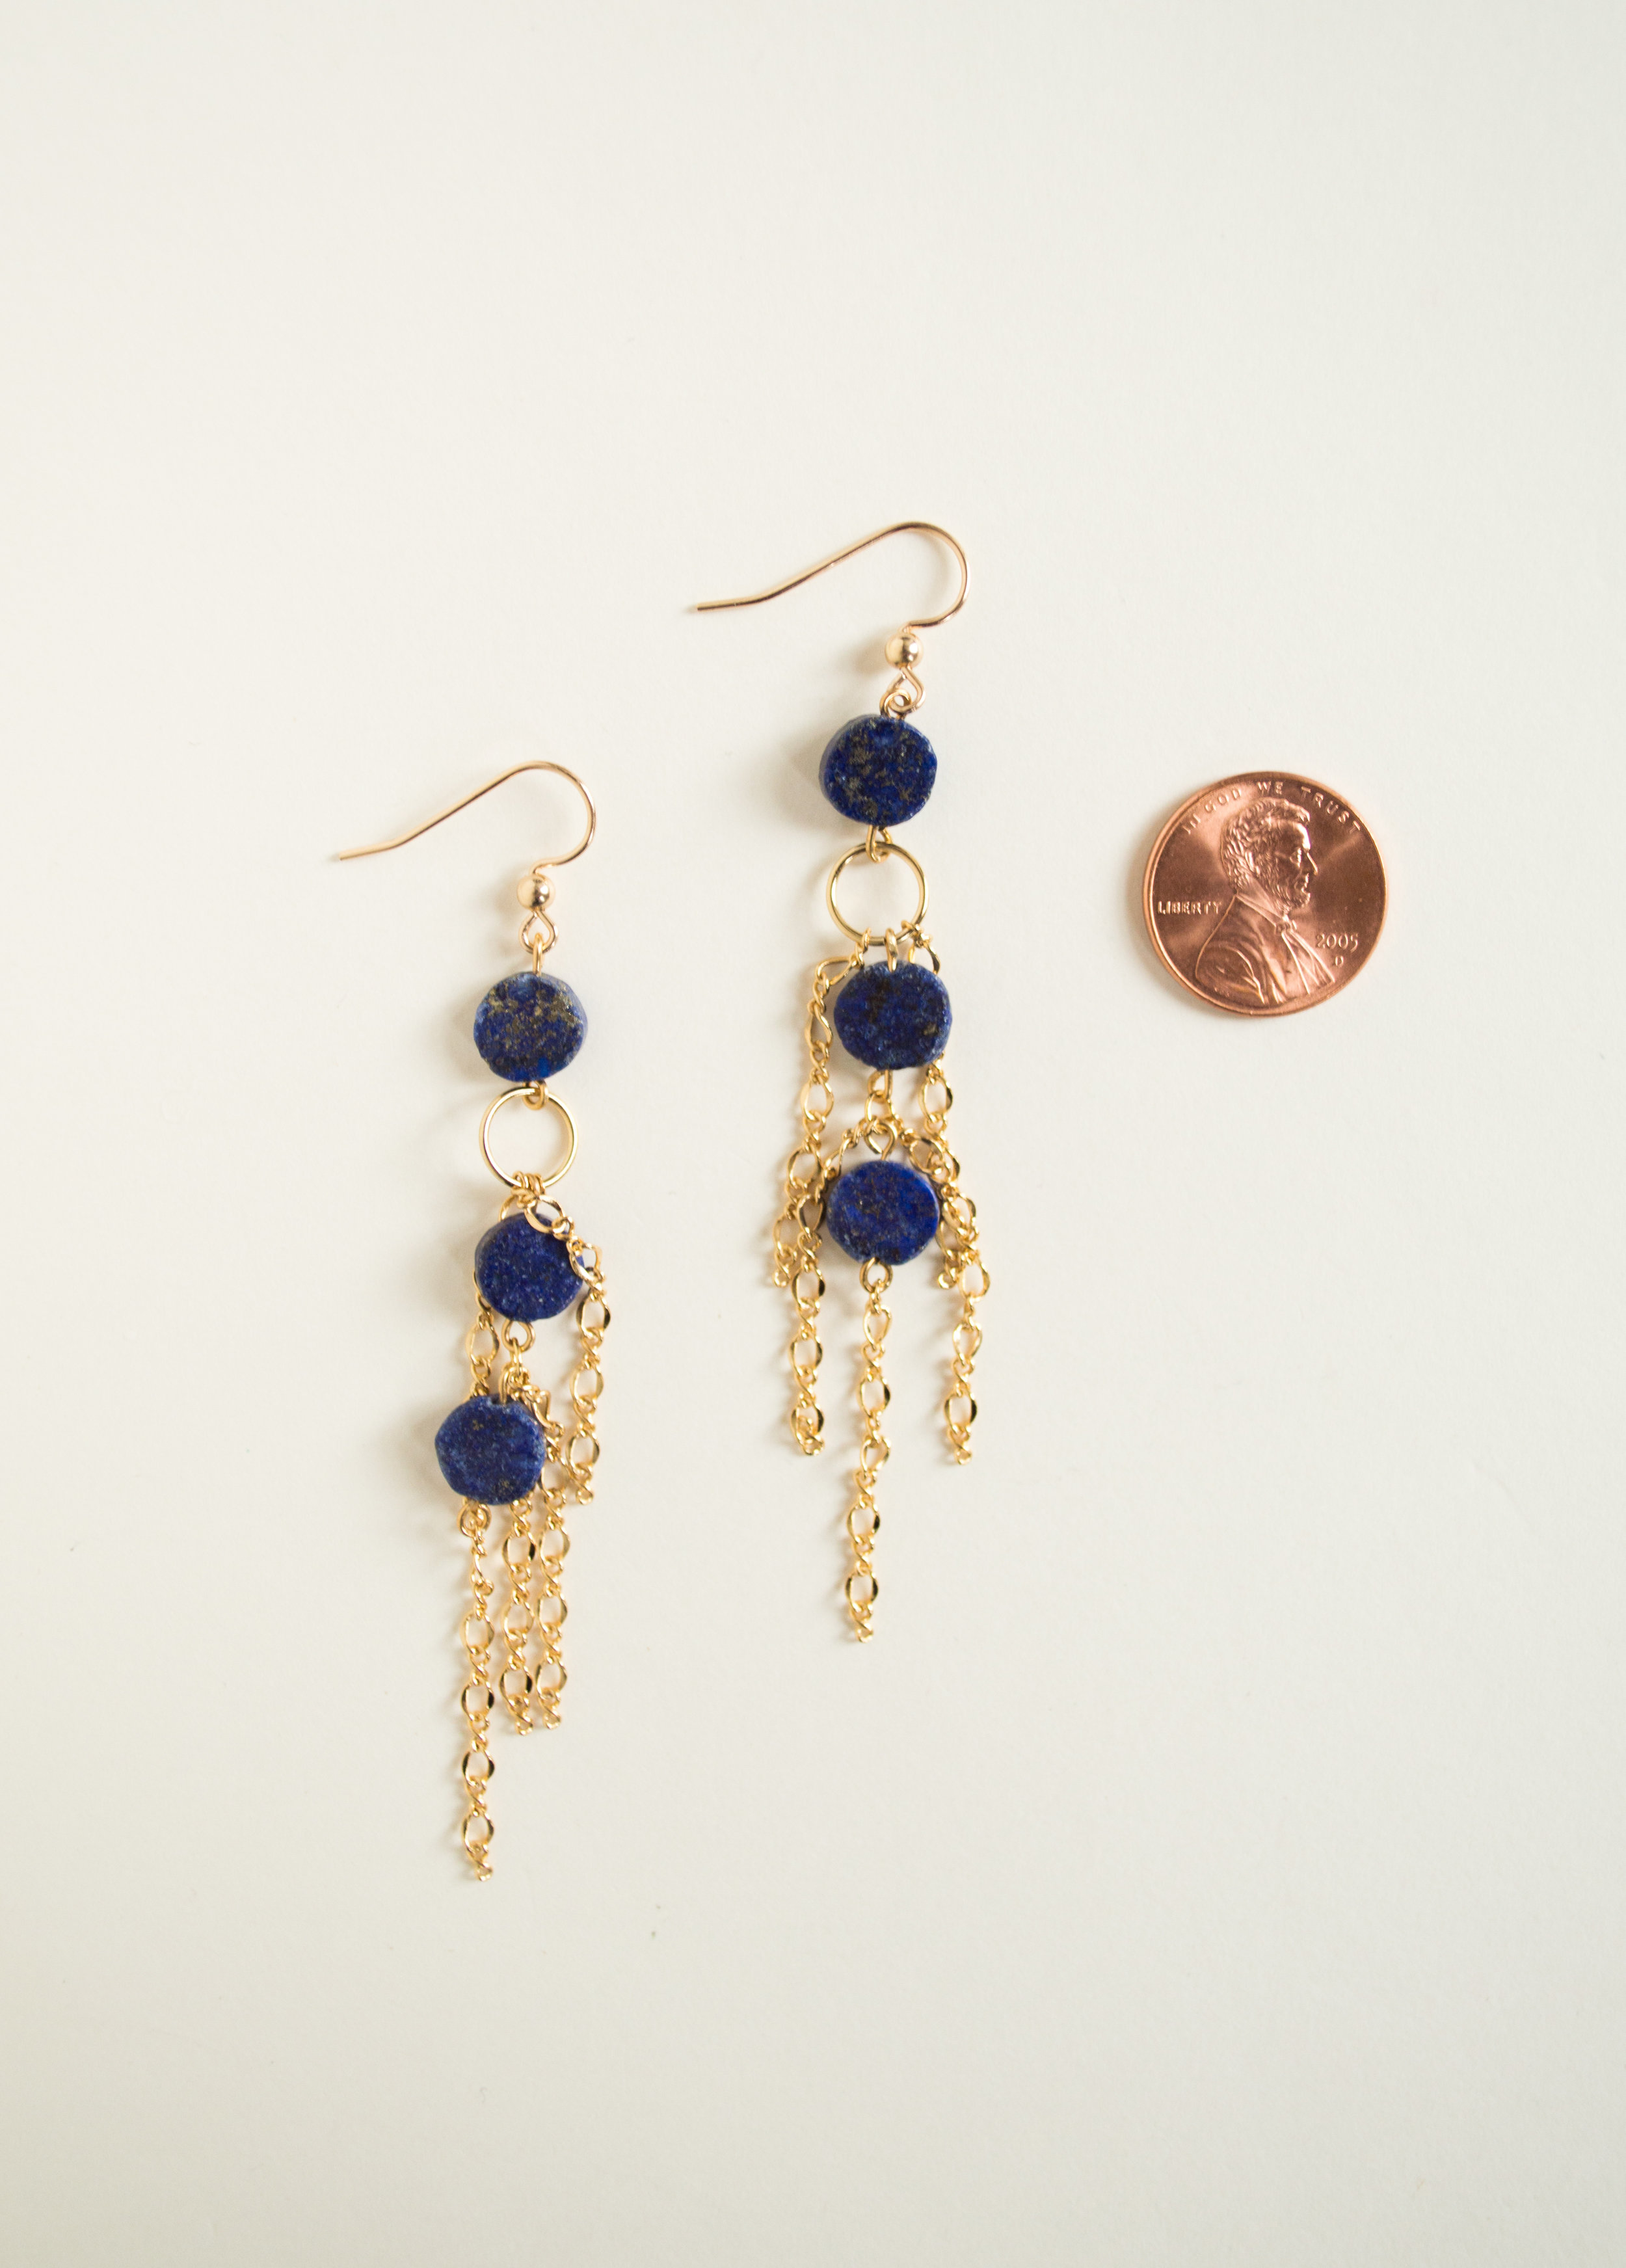
One of my best-selling pieces, Beach Vacation, made me realize that I don't have to Beyonce every piece (give a one word name) - I can use a non-name or phrase to evoke what I feel in making a piece. And thus, Tonight! These feel like a night out on the Lower East Side when your friend is in town from the UK and playing her new set and you need earrings that are just as ready as you are to stay out til the sun :)
